Read time: 17 minutes
We’ve all been there. You clone a promising repo, hit F5, and… nothing works. Missing dependencies, broken connection strings, containers that won’t start, and environment variables you have to guess.
Then, when you finally get something working locally, deployment becomes another nightmare. Kubernetes YAML files, infrastructure scripts, and a dozen services that need to talk to each other correctly.
.NET Aspire eliminates both of these problems.
In this comprehensive tutorial, you’ll build a complete distributed app using .NET Aspire and see exactly how it solves the “clone and run” problem and the “deployment nightmare” that plague modern .NET development.
We’ll create a .NET Aspire application with a Web API, background worker, PostgreSQL database, and deploy it all to Azure.
By the end, you’ll understand why .NET Aspire is changing how teams build and deploy distributed applications.
Plus, stick around to the end for some exciting news about diving even deeper into containers and .NET Aspire.
Let’s dive in.
What is .NET Aspire?
.NET Aspire is a set of tools, templates, and packages that speed up your code-to-cloud dev loop by helping you create production-ready apps from day 1.

It achieves this by providing several key out-of-the-box features:
- Dev-Time Orchestration: Simplifies your local dev experience so that anyone in your team can clone the repo, hit F5, and get the app, DB, and all external services running without issues on the first try.
- Integrations: NuGet packages designed to simplify connections to popular services and platforms, such as PostgreSQL or Azure Storage. Lego bricks that just click.
- Tooling: Project templates and tooling experiences for Visual Studio, VS Code, and the .NET CLI to help you create .NET Aspire projects or add .NET Aspire into your existing codebase.
- Observability: Includes a nice dashboard that lets you diagnose any issues across the entire system way before hitting Prod.
- Deployment: Define exactly how your system should be provisioned in the cloud, and then deploy everything with one command.
Now let’s see how to create a new .NET Aspire based application, step by step.
Prefer to watch? I also have a video tutorial that shows how to turn an existing API into an Aspire application:
Step 1: Install the templates
Make sure you have a working .NET SDK installation (version 8.0 or later). Then, open a terminal and run this command to install the latest Aspire templates:

You will also need some sort of container runtime in your box, like Docker Desktop or Podman, since Aspire will run any external dependencies as containers.
Step 2: Create your .NET Aspire solution
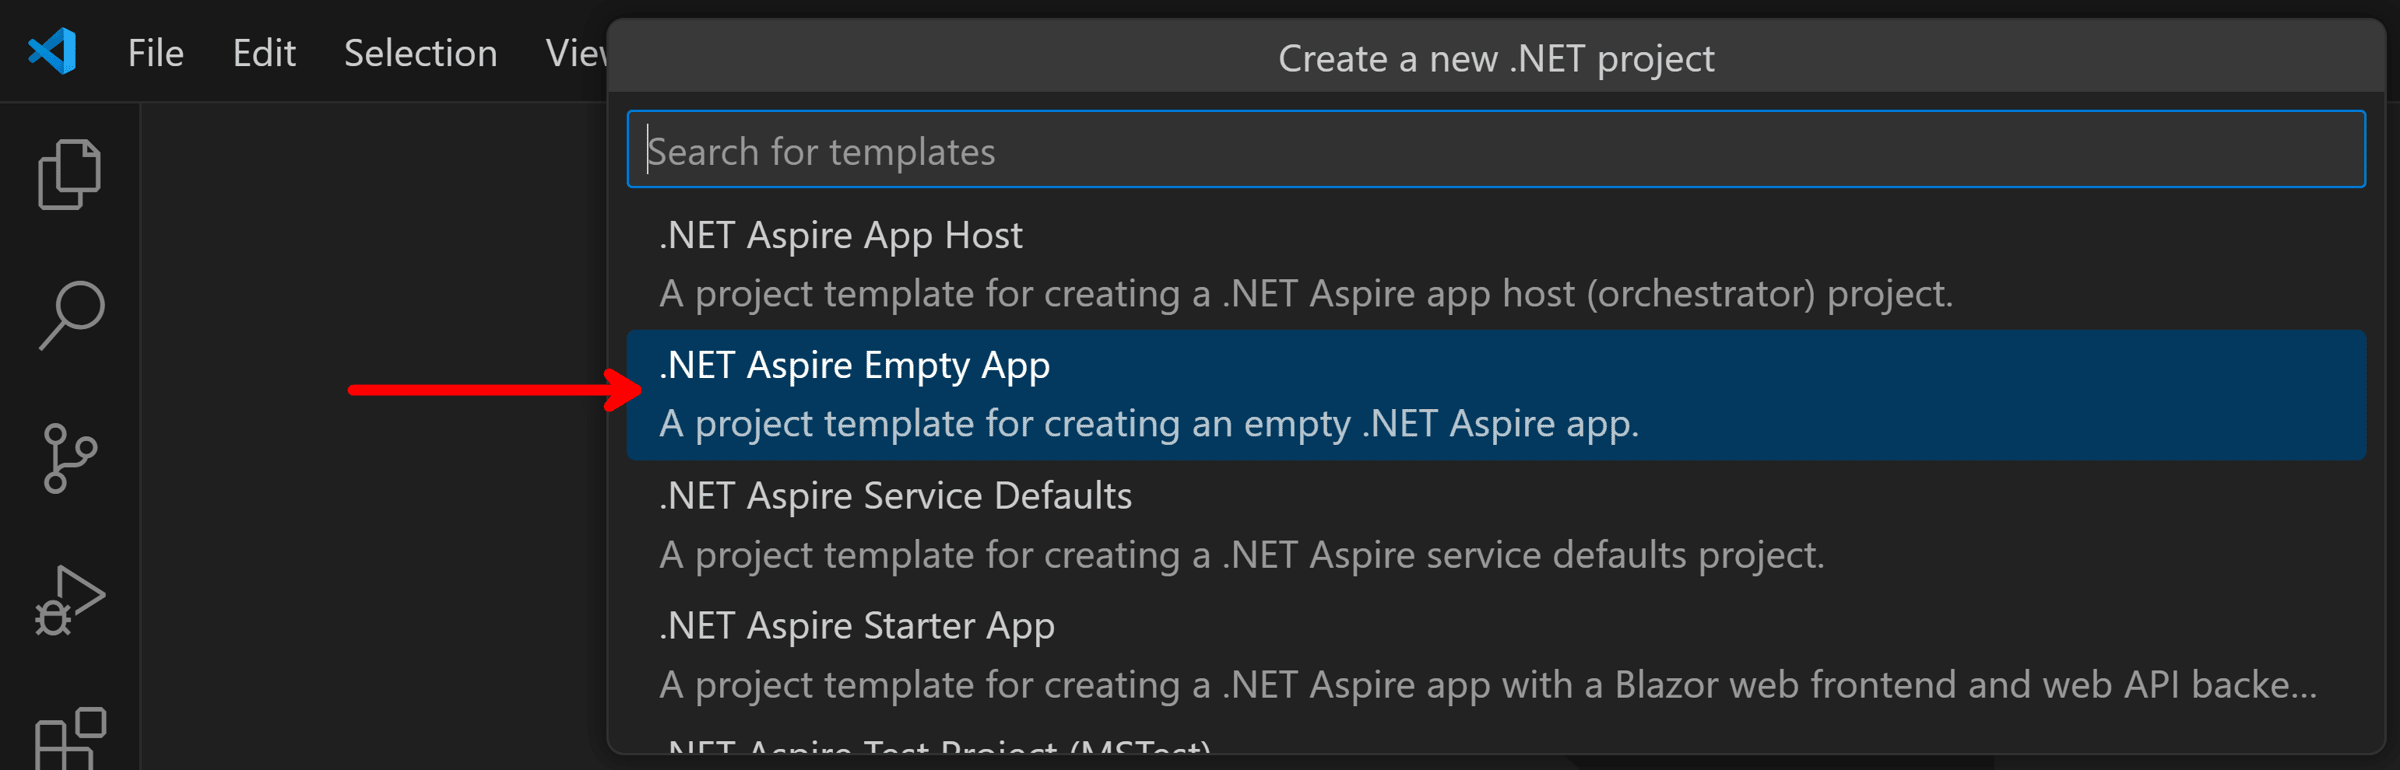
With the templates installed, you can create your Aspire solution either in Visual Studio, VS Code, or the .NET CLI.
Here I’ll use VS Code with the C# Dev Kit:


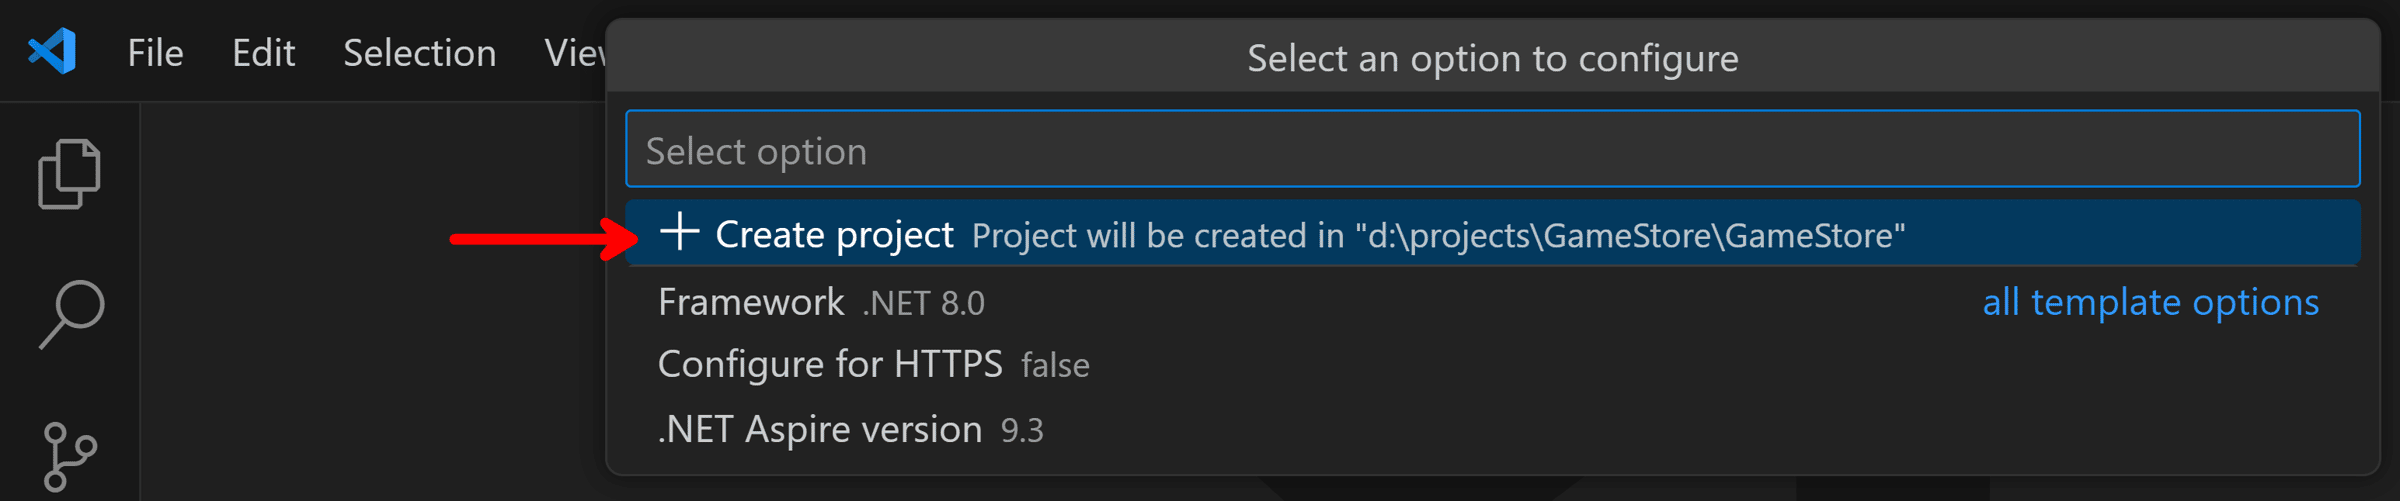
Our initial solution is ready:
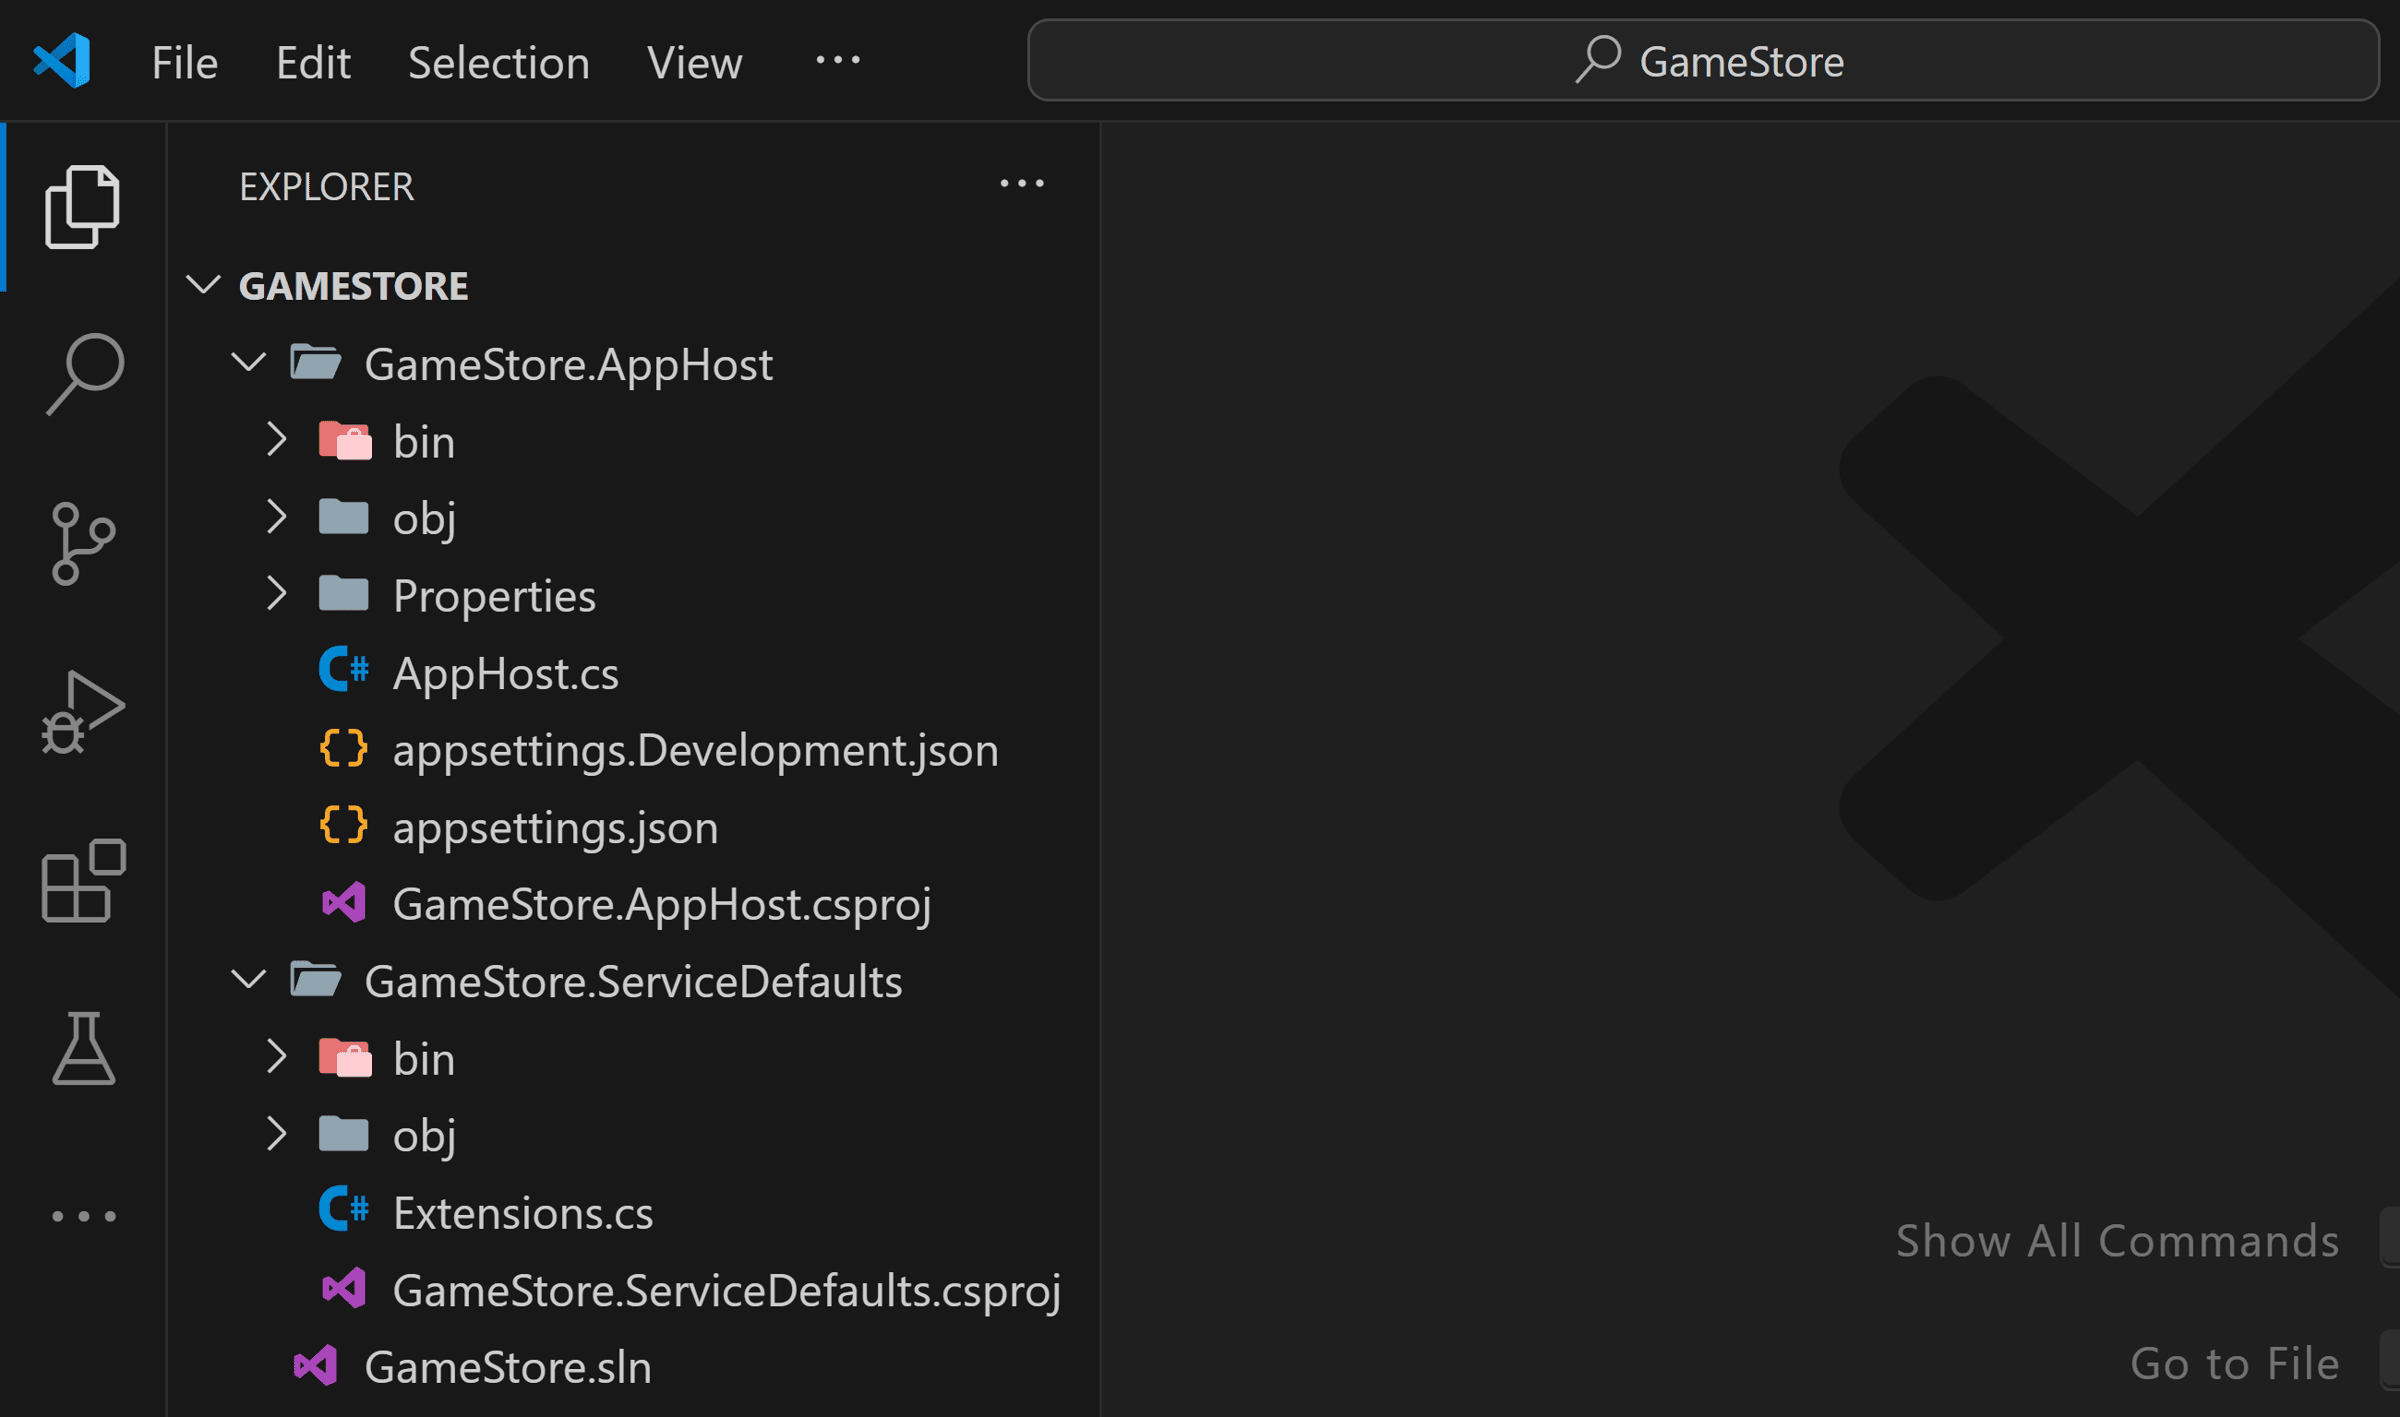
Now let’s add our first external dependency.
Step 3: Add a database
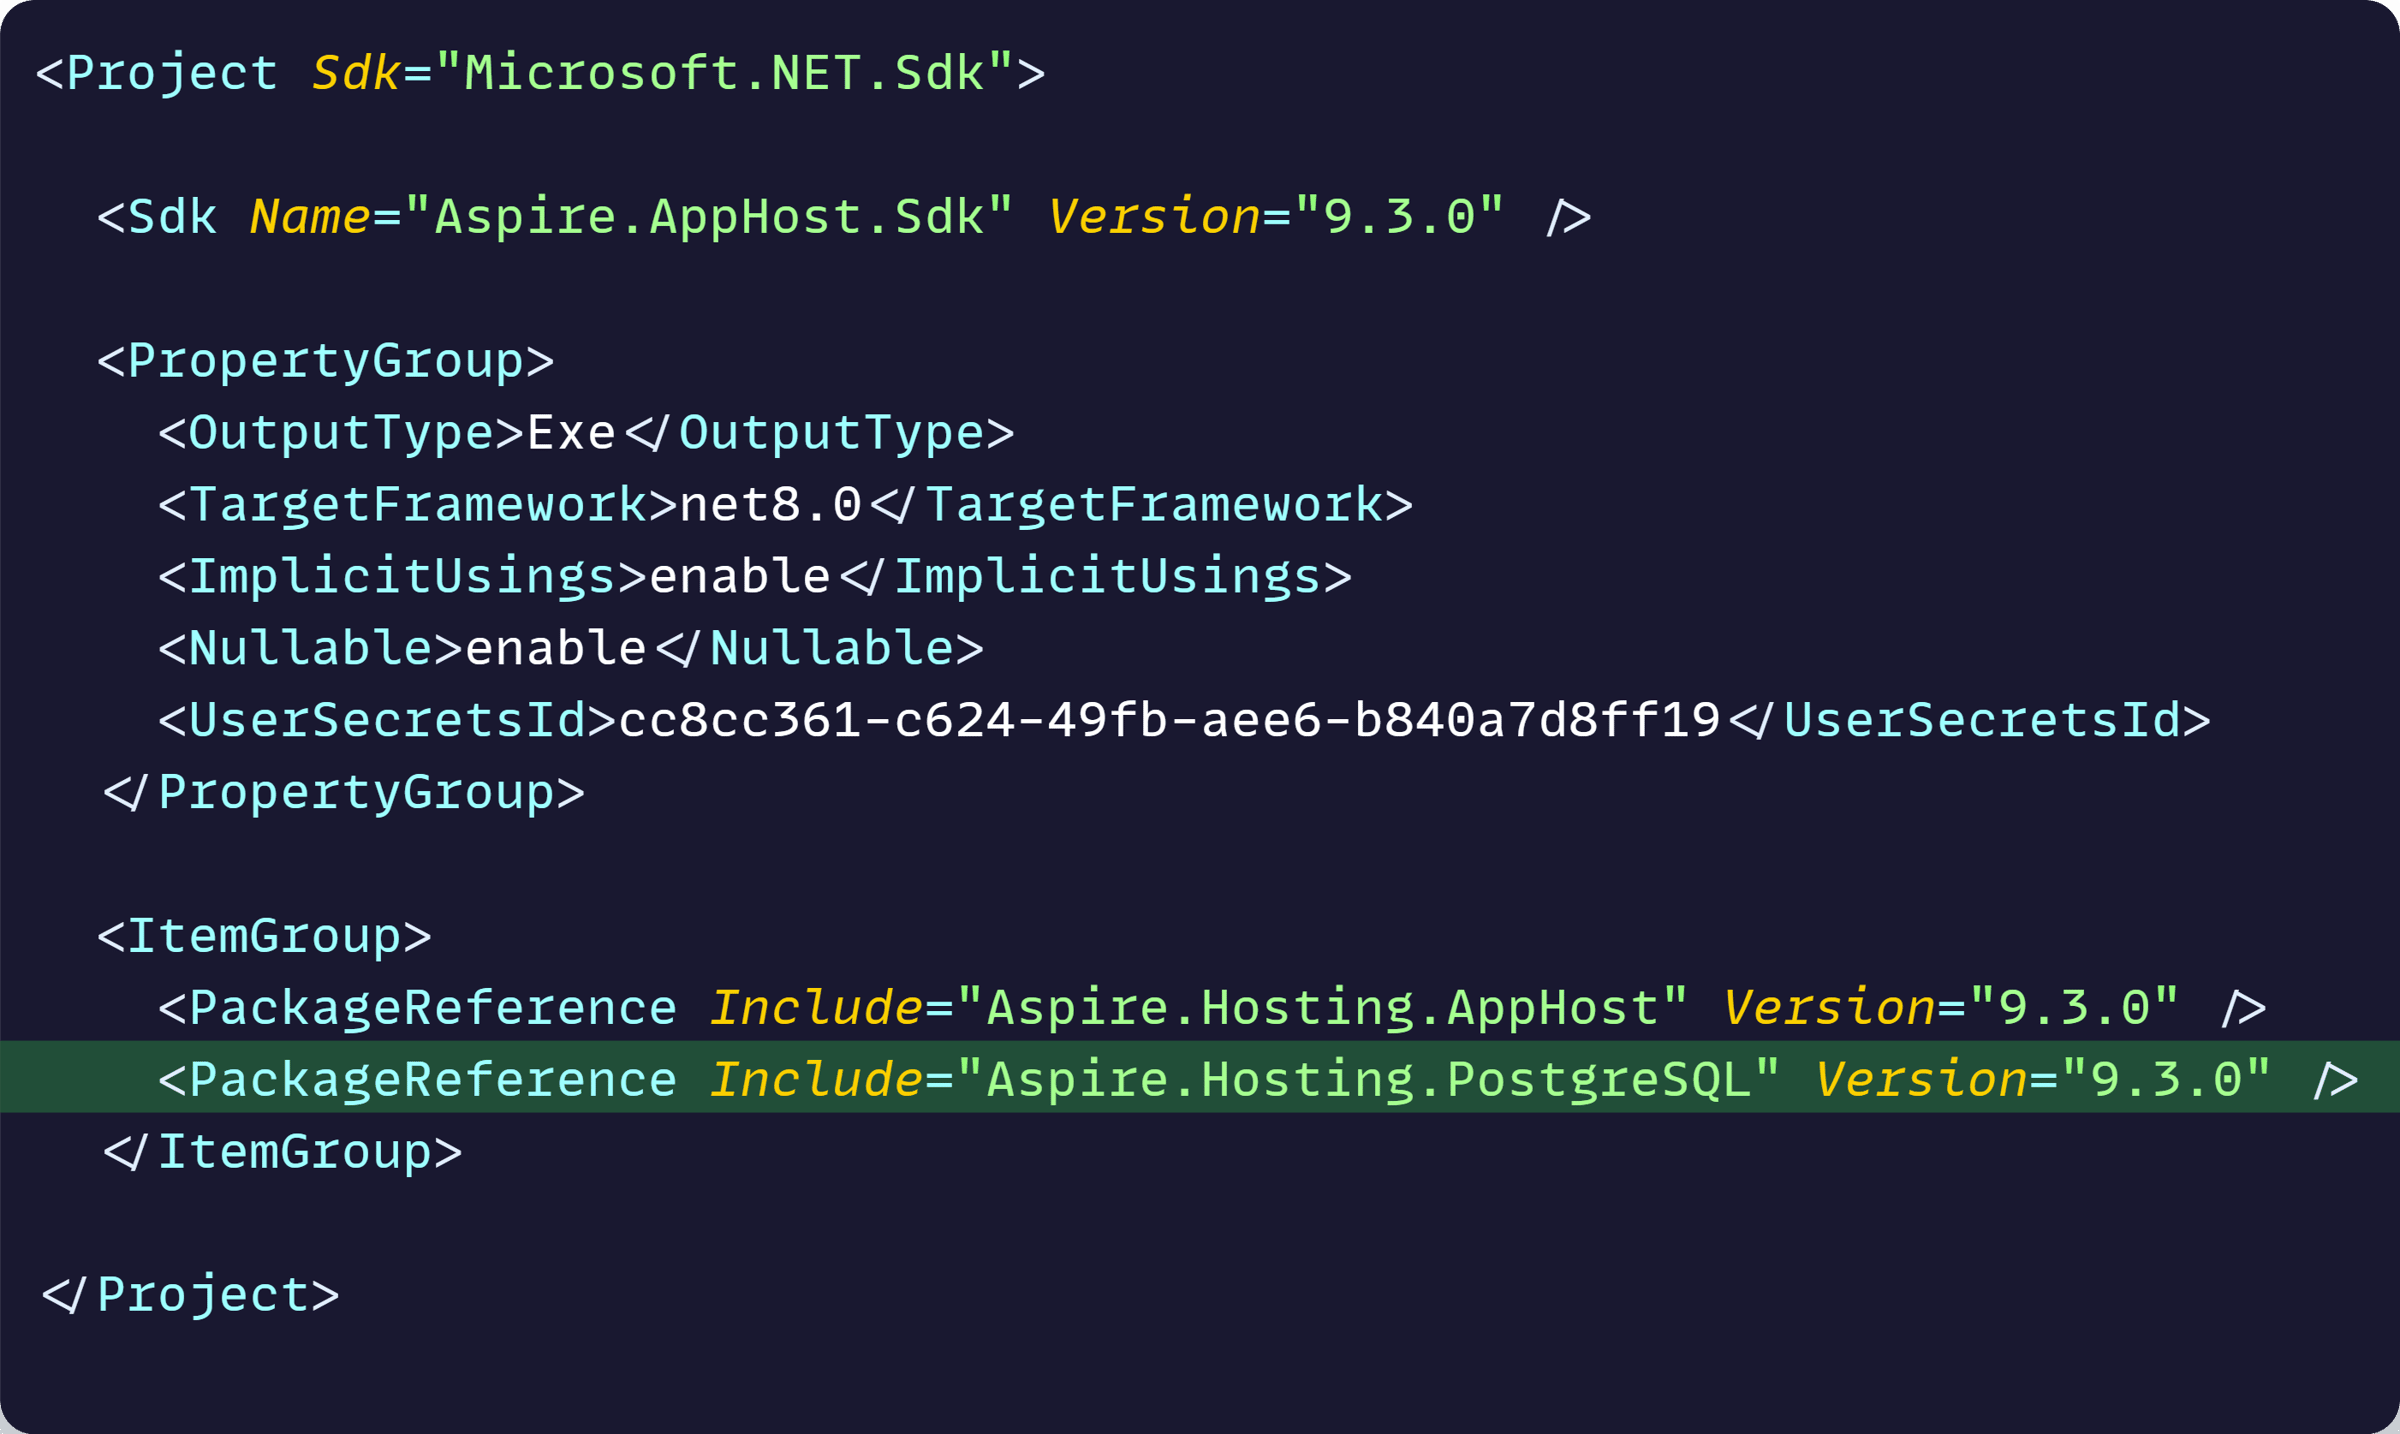
Most .NET backends will need some sort of database. Let’s bring in that external dependency right away via a .NET Aspire hosting integration.
Hosting integrations are nothing more than NuGet packages, so here I’ll add the Aspire.Hosting.PostgreSQL package to my AppHost project:
Now let’s open AppHost.cs and add a database to our application model:
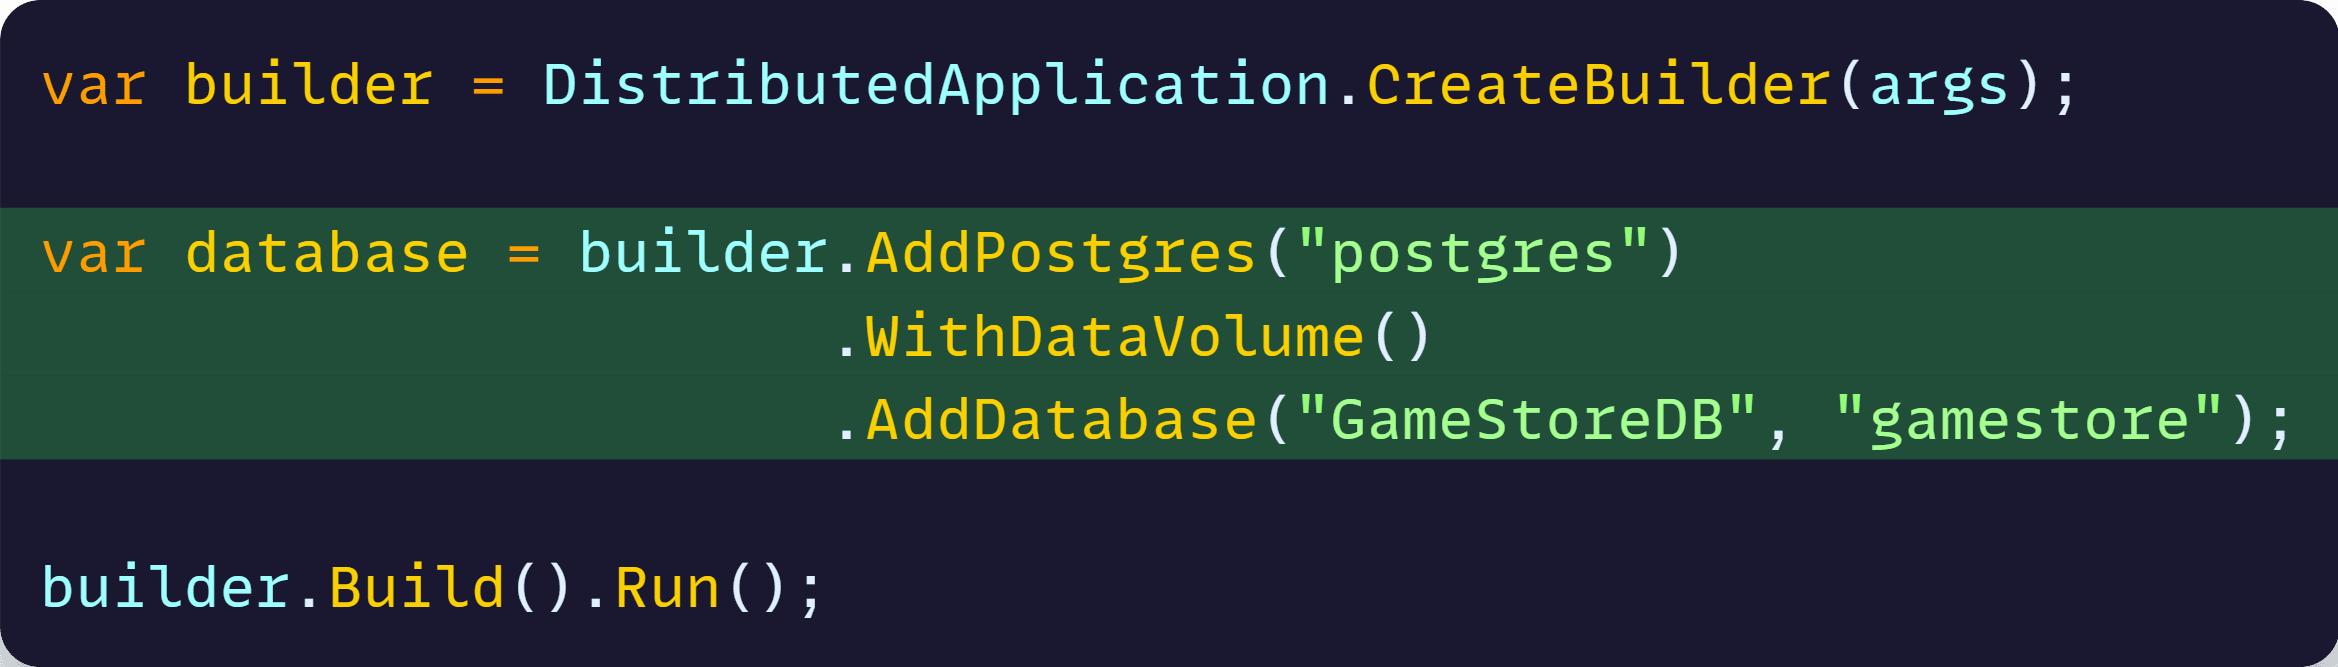
With that, when we run our application, .NET Aspire will:
- Pull down and run a PostgreSQL Docker container
- Add a gamestore database with a GameStoreDB connection string, ready to share with our .NET apps
- Add a data volume, so our DB is not destroyed when the container is gone
By the way, if you are not familiar with Docker, I got a couple of guides here and here.
Now let’s take care of our data model.
Step 4: Define the data model
Our two upcoming .NET apps, an ASP.NET Core API and a Worker, will need to interact with our data model and the related EF Core DBContext.
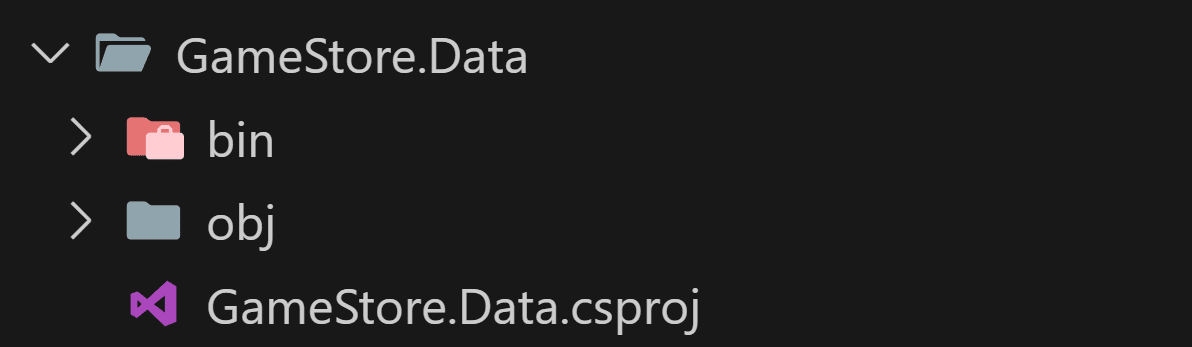
Therefore, let’s define those in a new reusable class library I’ll call GameStore.Data:
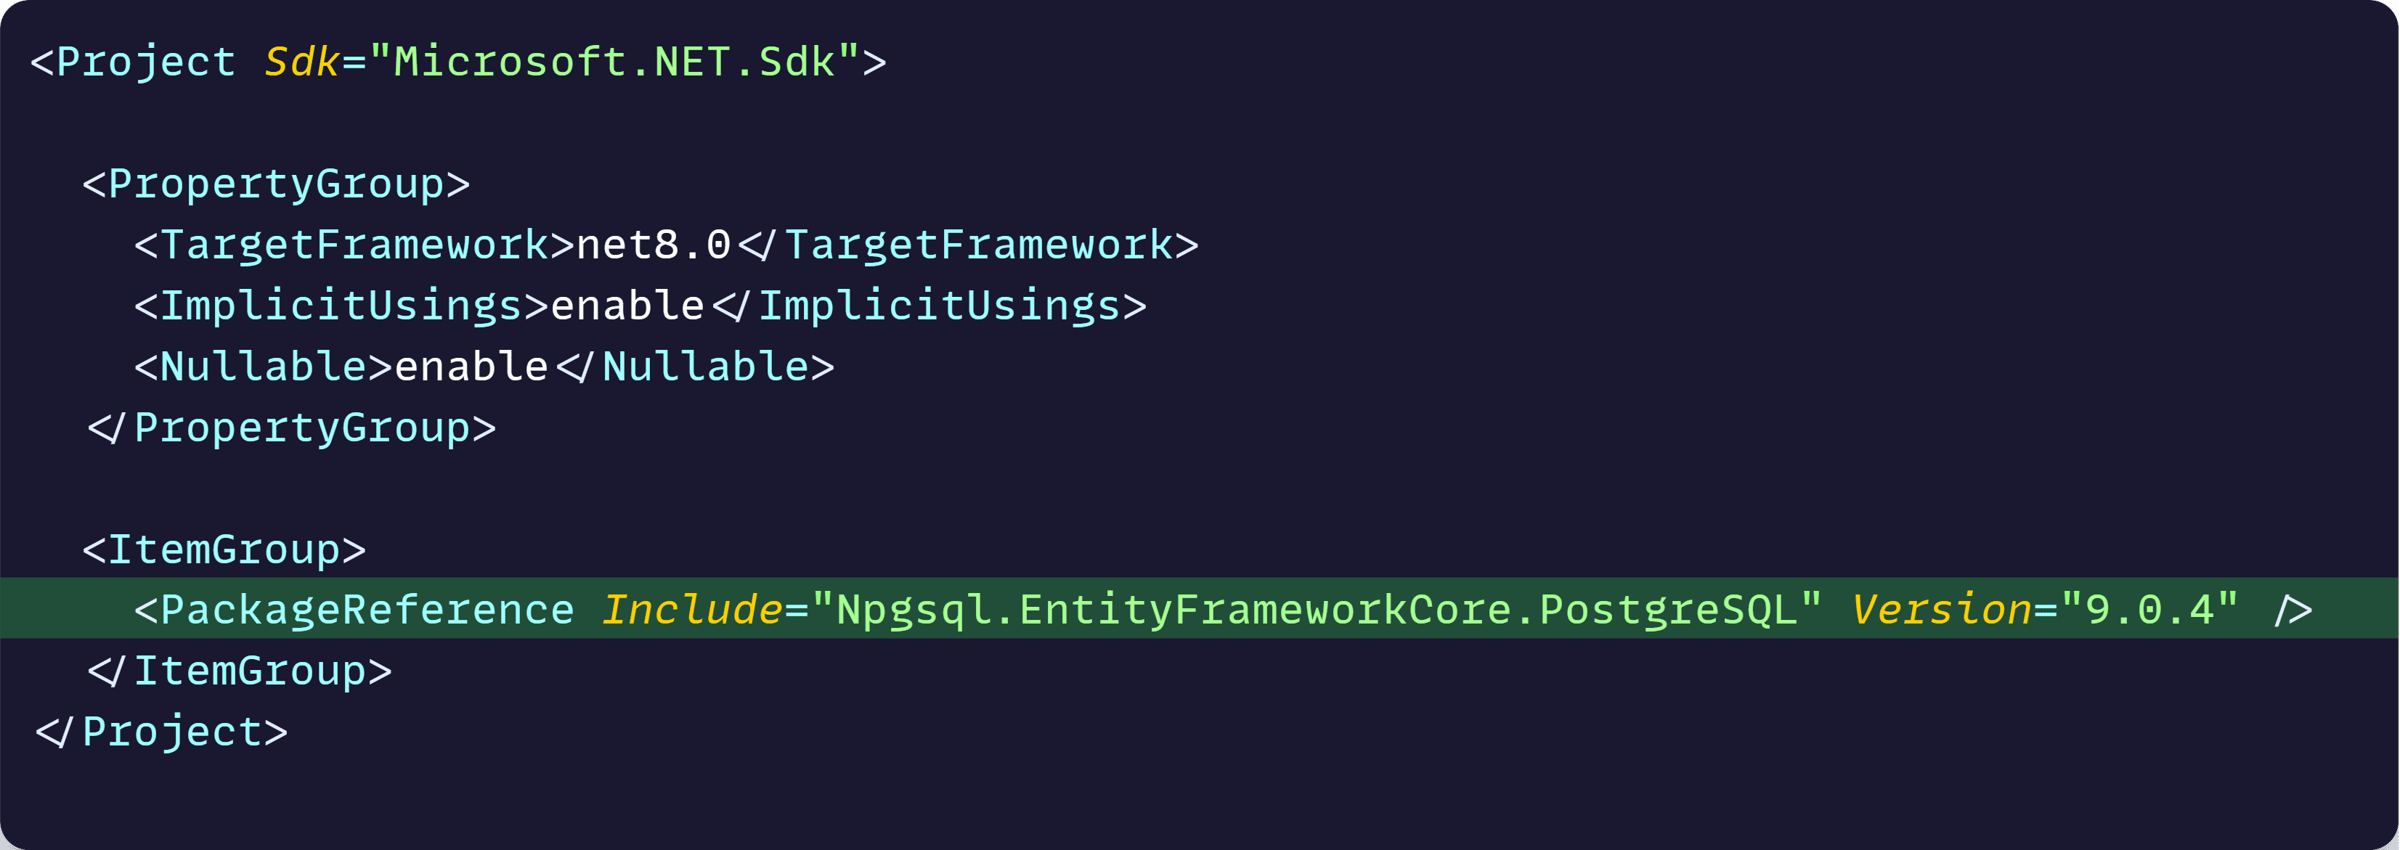
This new project will need a reference to the standard Npgsql NuGet package for EF Core:
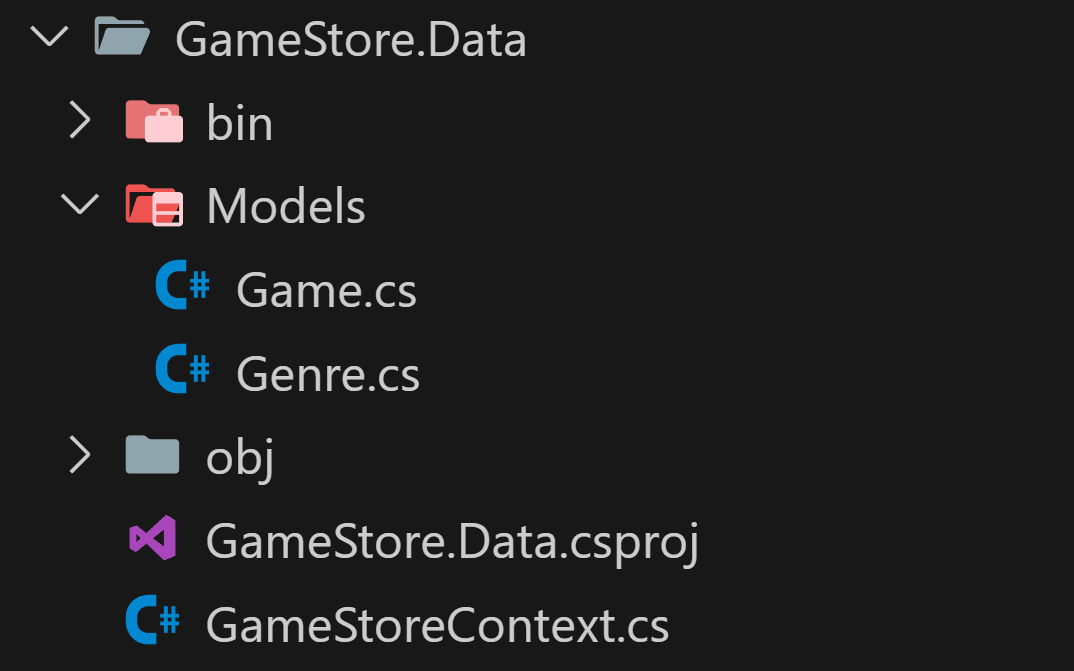
Here I will add my Game and Genre models, as well as the EF Core DbContext (GameStoreContext):
Since you are probably familiar with EF Core, I won’t dive into these classes here. But if you need a refresher, I have an EF Core getting started guide here.
Instead, let’s move on to our first application project.
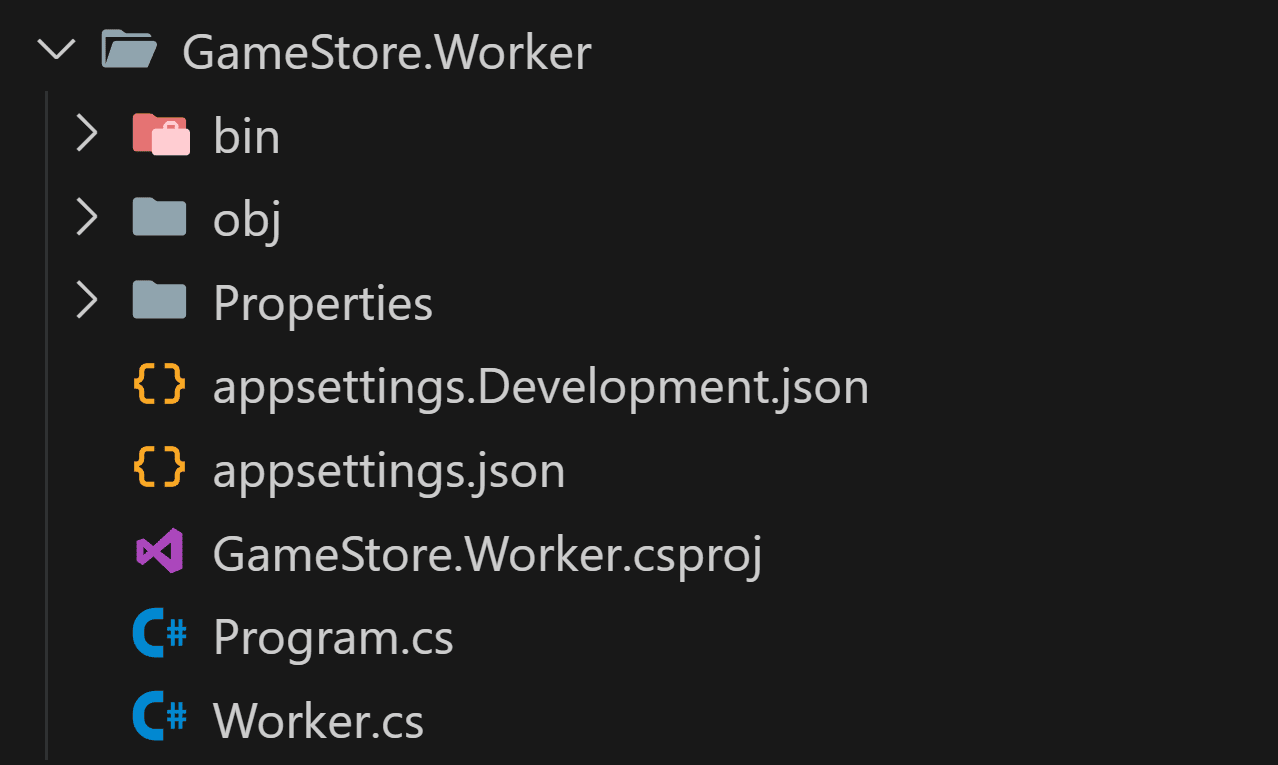
Step 5: Add the worker project
There are multiple ways to run your EF Core migrations and do any initial data seeding, but a simple way to get started is by adding a small worker project that can take care of those:
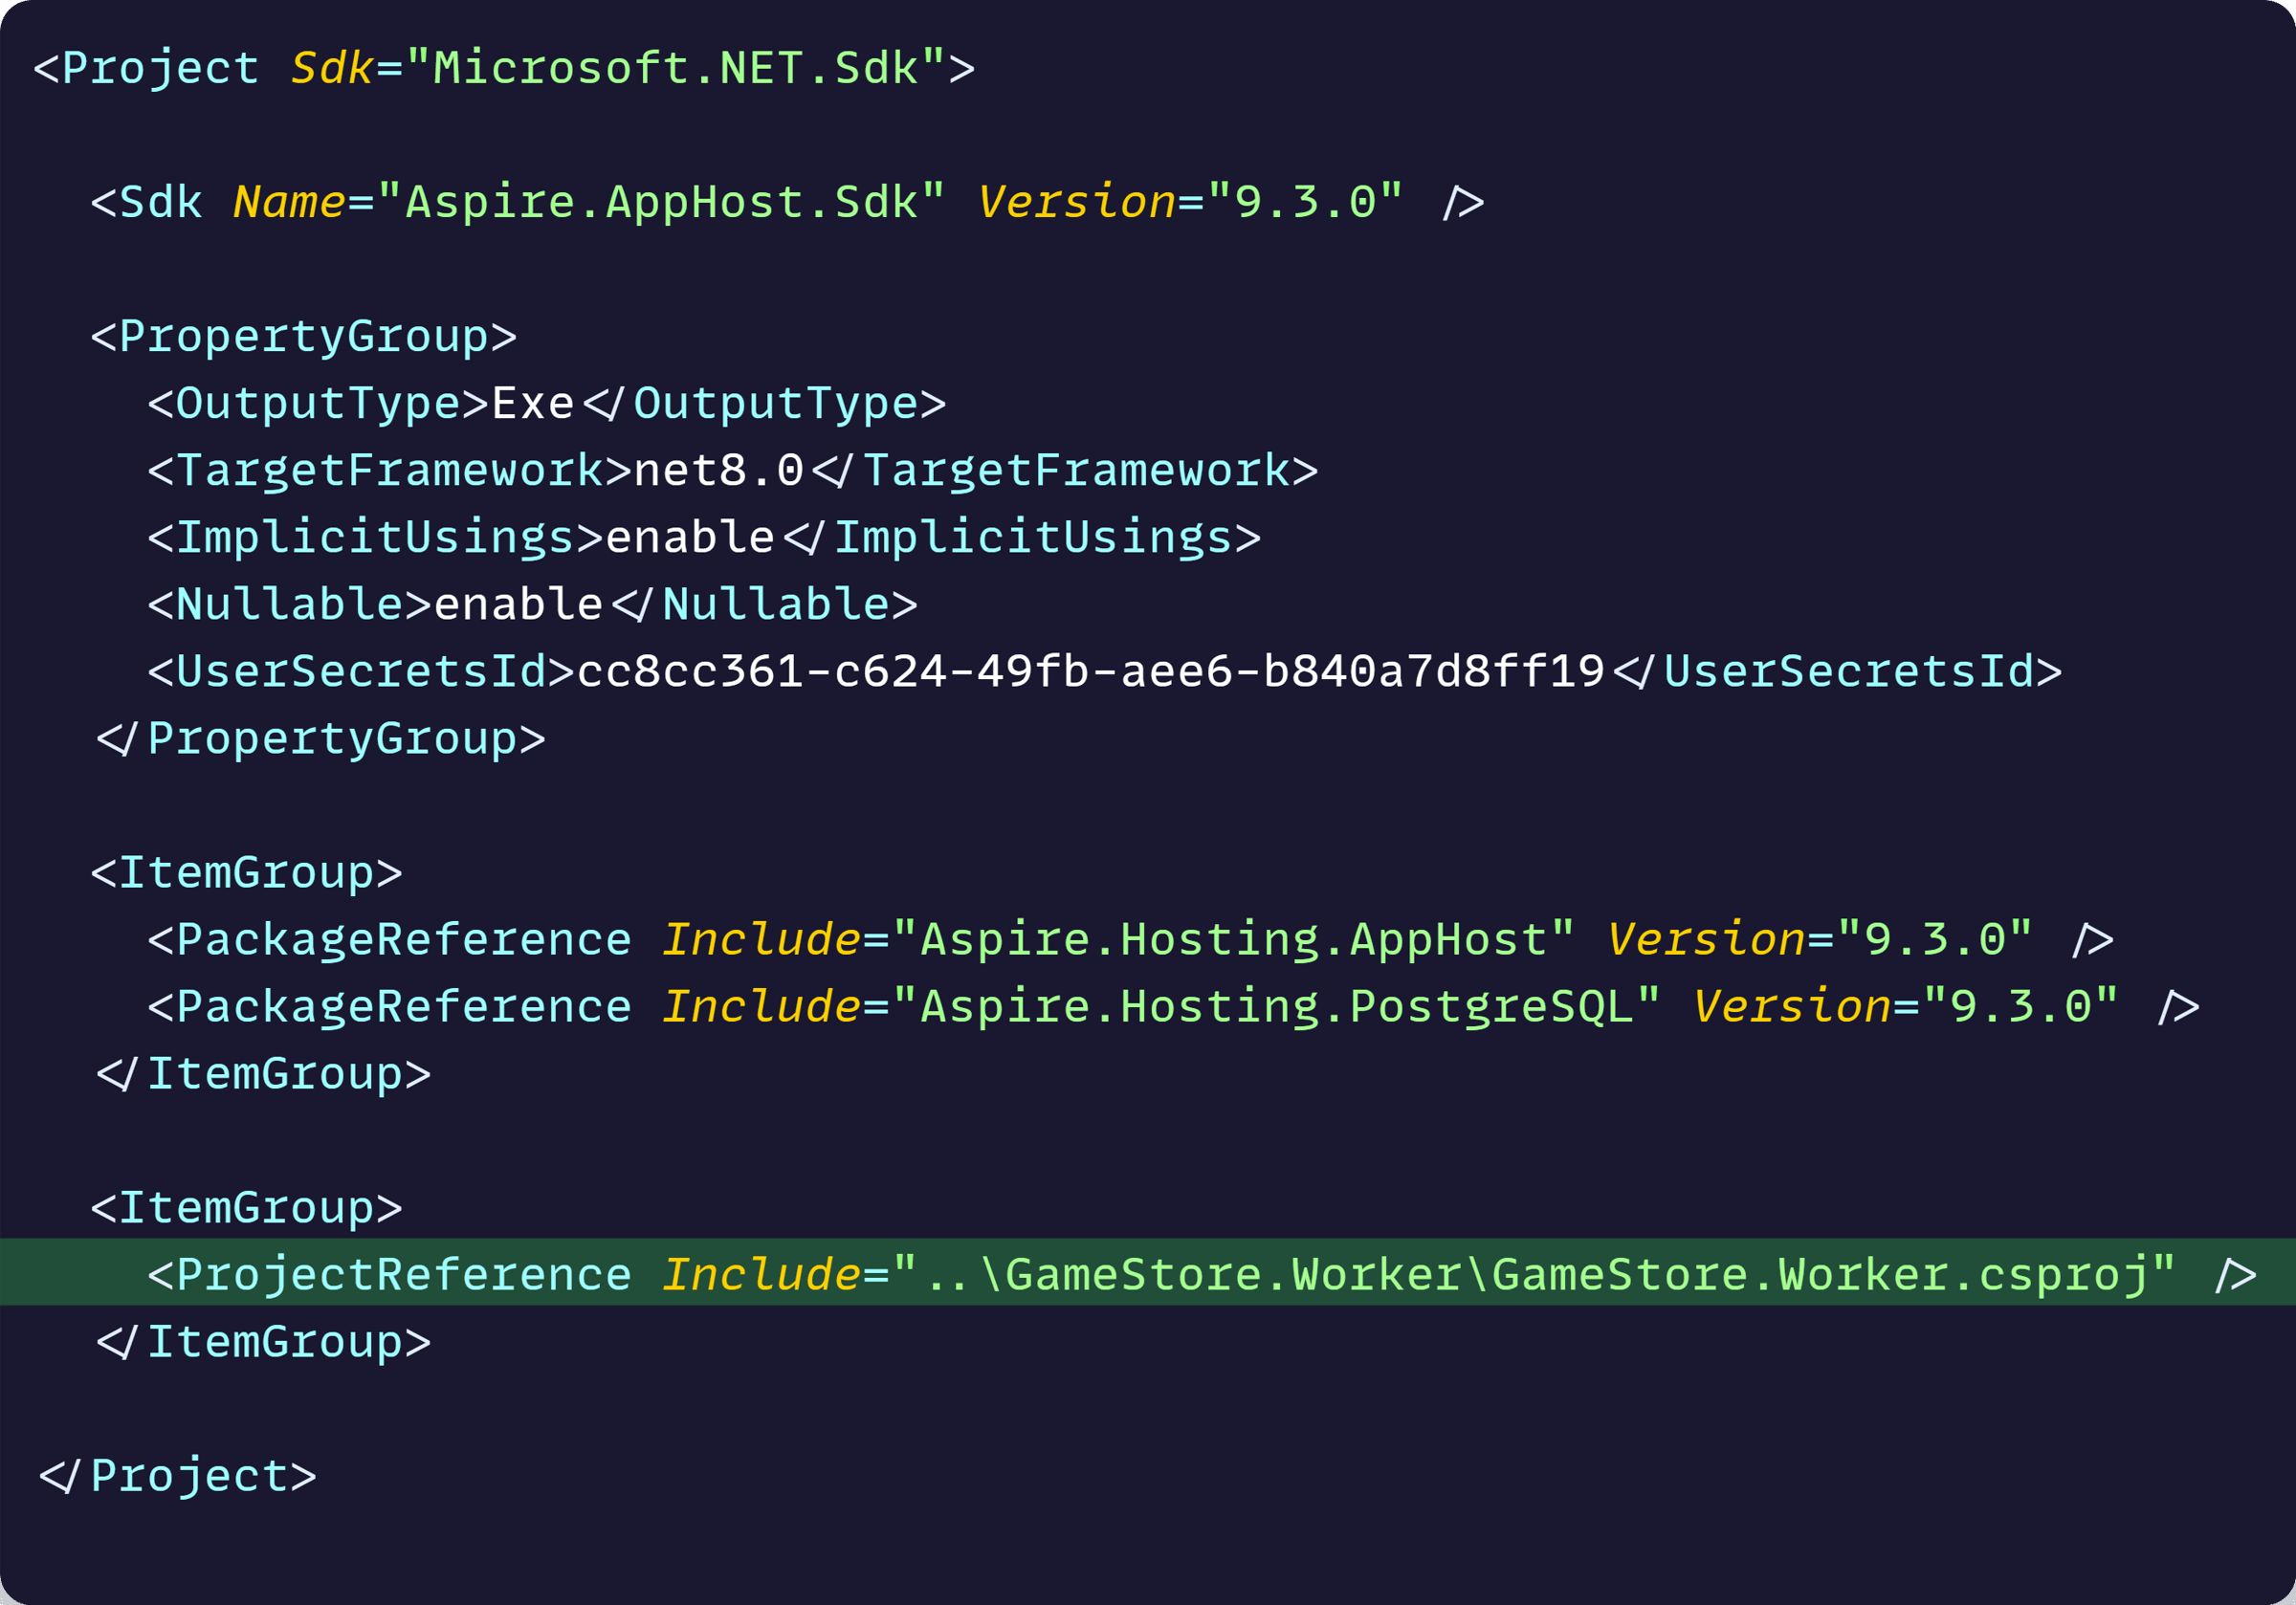
And let’s reference the new Worker project from the AppHost project:
Now, let’s add a few lines to AppHost.cs:
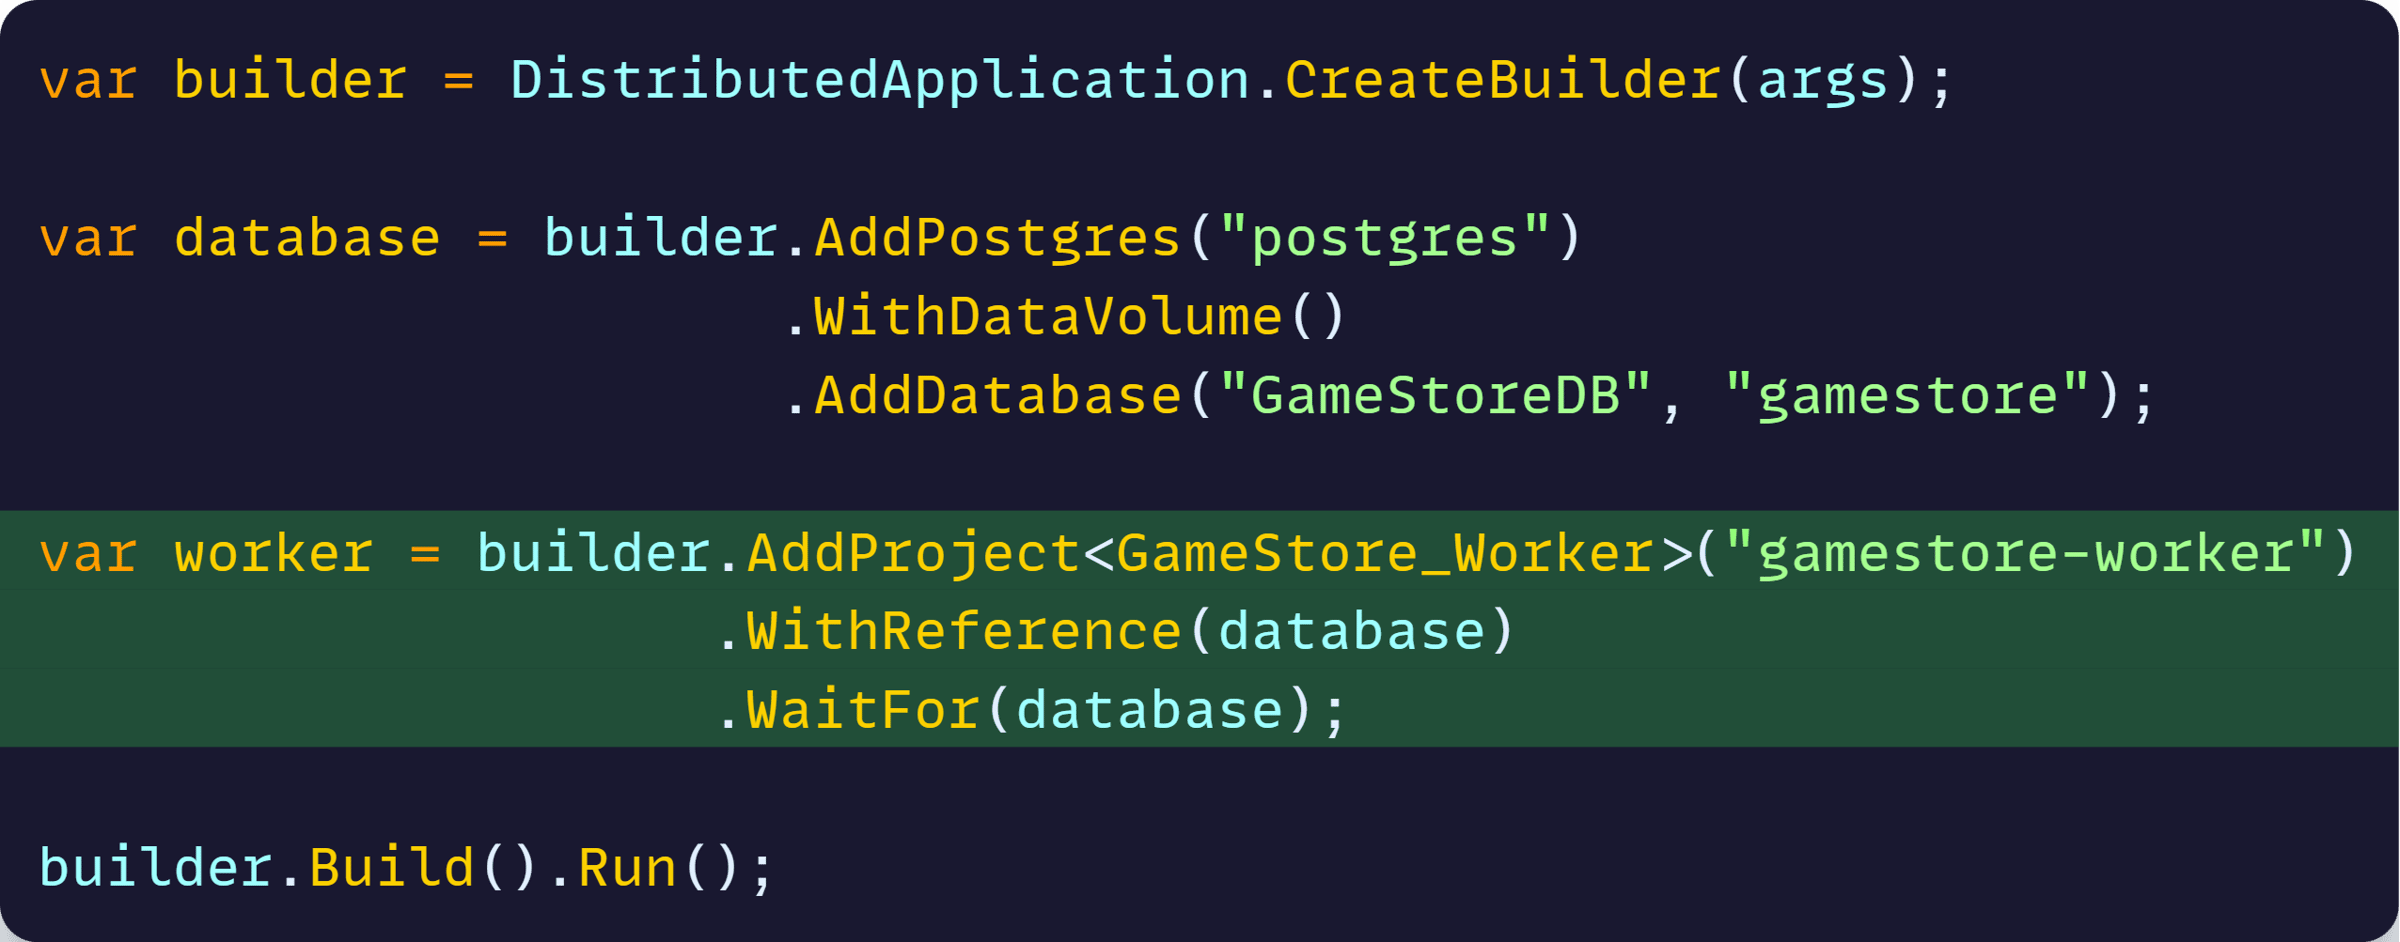
What this does is add our Worker project to the application model and make sure the Worker waits for the database to be ready before starting.
But most importantly, the WithReference call will forward the “GameStoreDB” database connection string to our Worker project as an environment variable named ConnectionStrings__GameStoreDB.
That way, the Worker project won’t need to worry about any details to connect to the DB. All it needs to know is that there will be a “GameStoreDB” connection string key it can use to connect to the DB.
Now, on the Worker project side, let’s add a few NuGet packages as well as a reference to our GameStore.Data project:
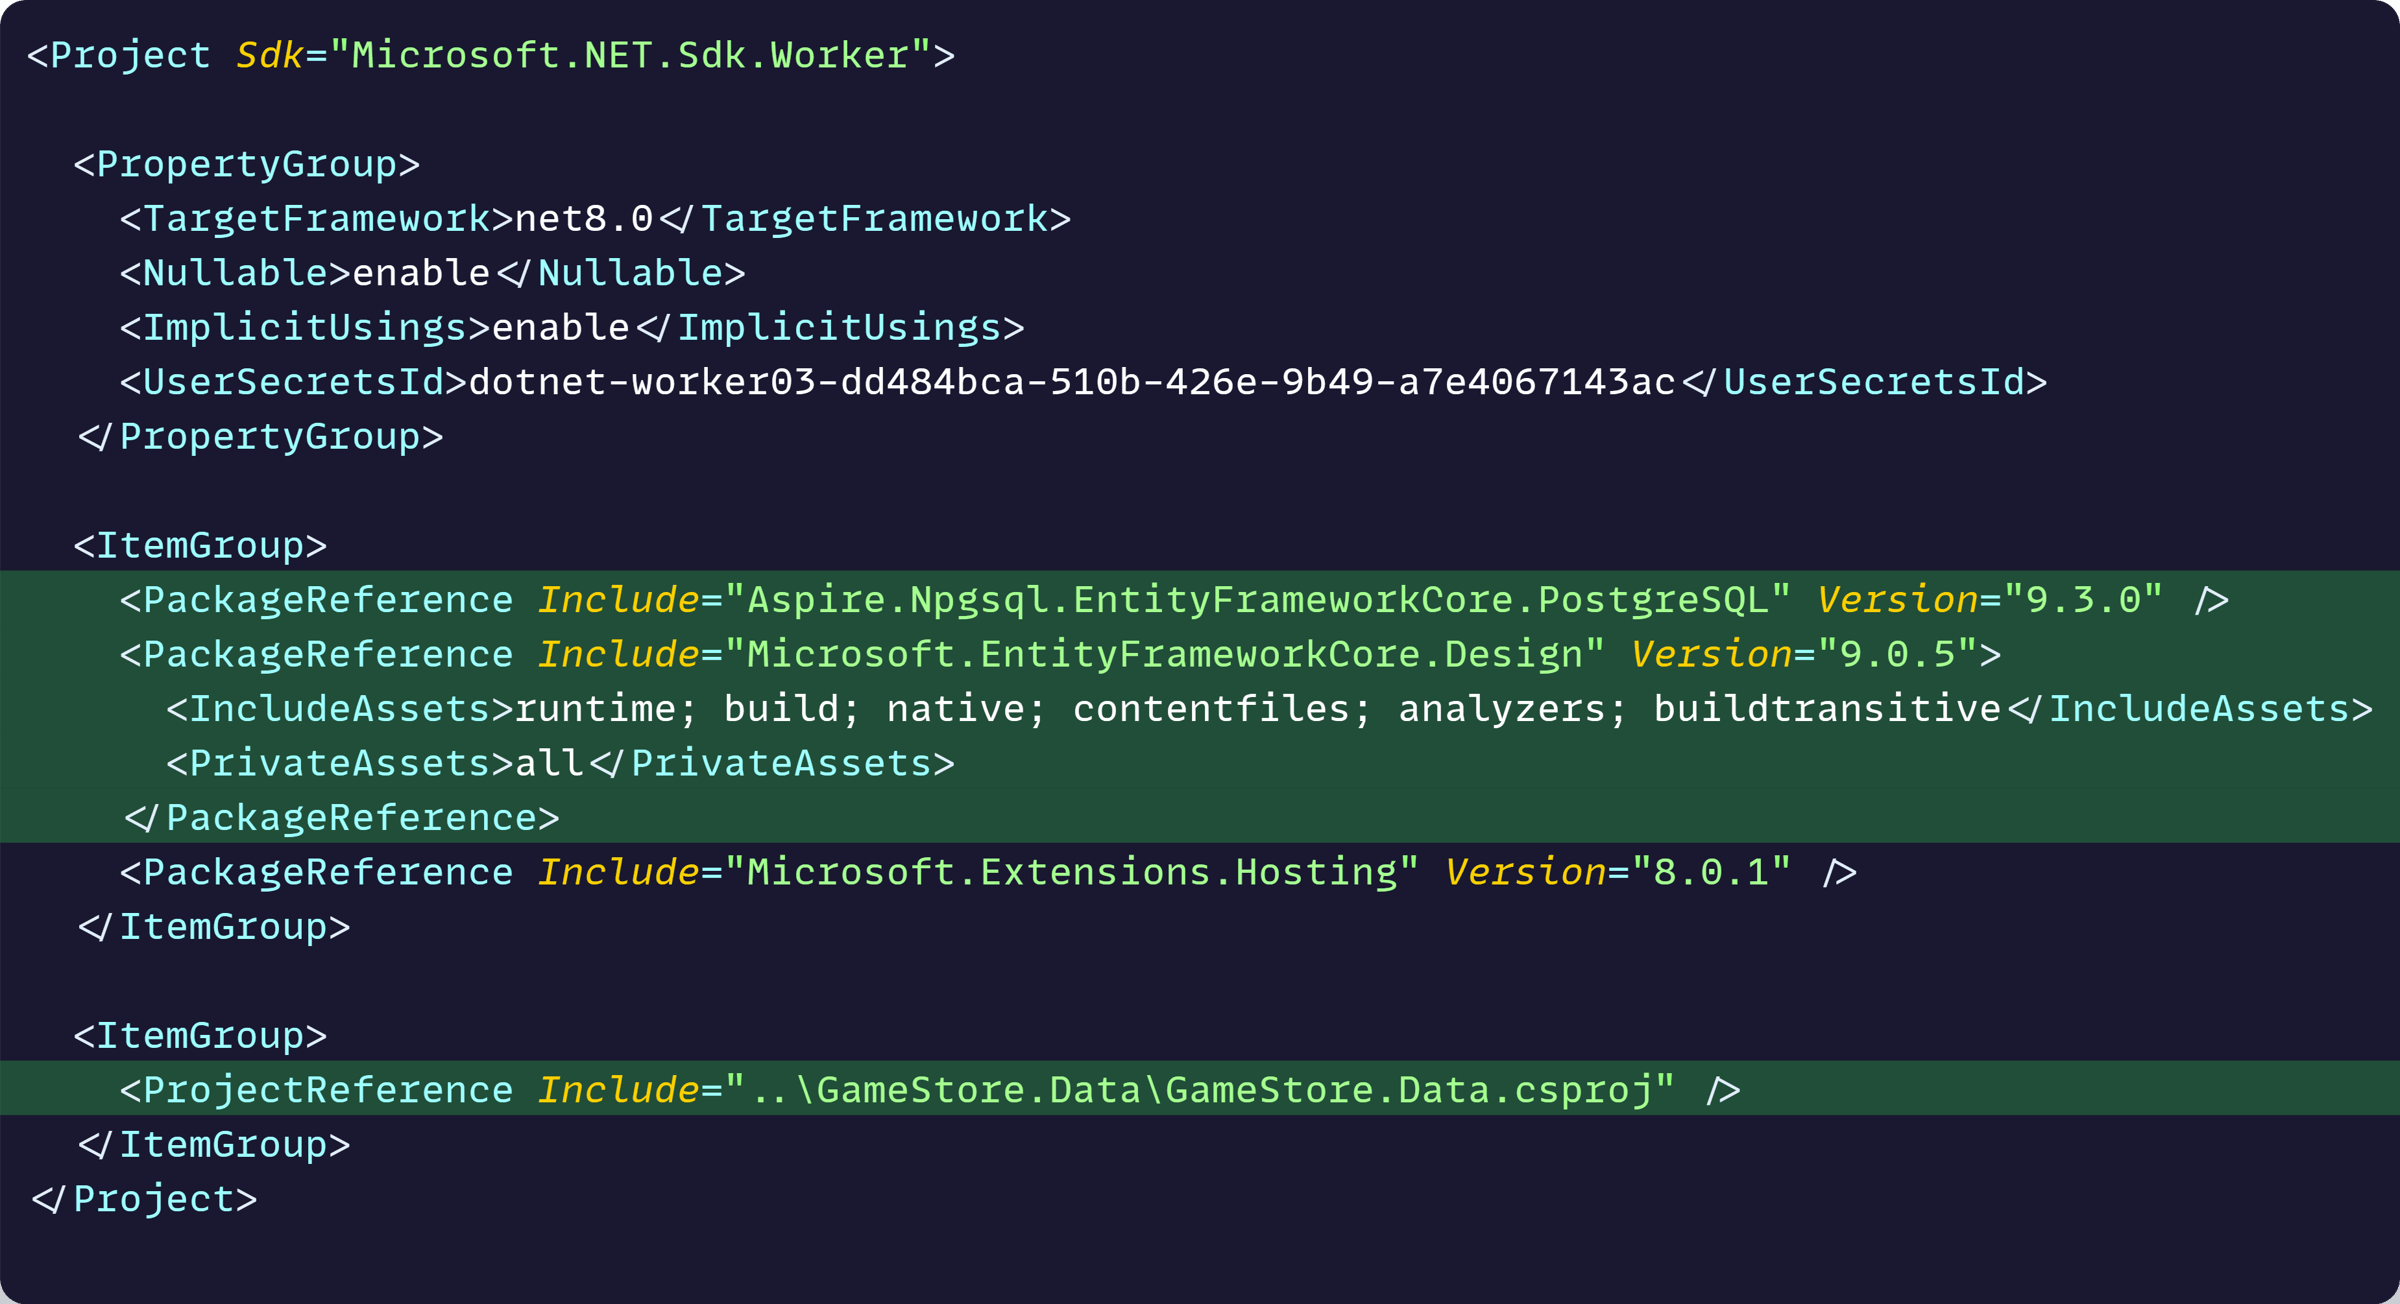
The most interesting package there is Aspire.Npgsql.EntityFrameworkCore.PostgreSQL, which is the .NET Aspire client integration for PostgreSQL.
It simplifies the code needed to configure the PostgreSQL connection and adds health checks, connection retries, and telemetry by default.
We can now make a single call to **AddNpgsqlDbContext
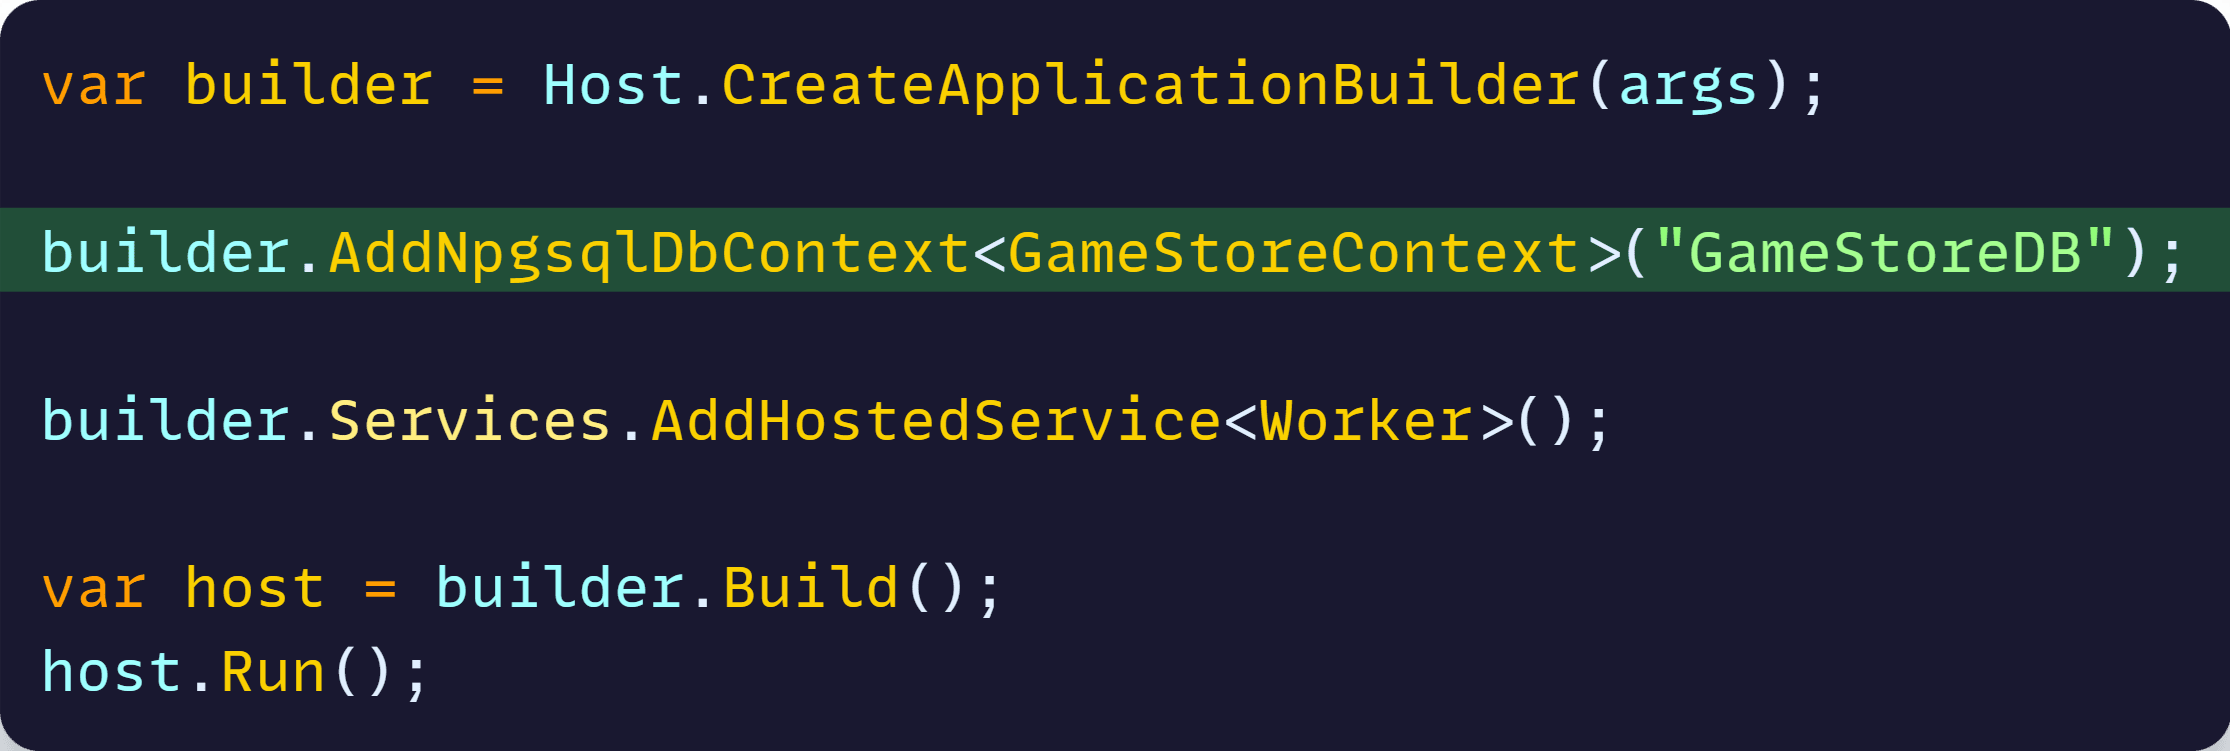
Notice that “GameStoreDB” there matches exactly the name we specified in AppHost.cs, when we added the DB to the application model.
.NET Aspire’s PostgreSQL client integration will look for the ConnectionStrings__GameStoreDB environment variable and grab the connection string from there.
Because of these, we don’t need to add any connection string to this Worker. Let .NET Aspire take care of that.
Next, let’s configure our data seeding and EF Core migrations.
Step 6: EF Core data seeding and migrations
We add our data seeding logic by expanding our AddNpgsqlDbContext
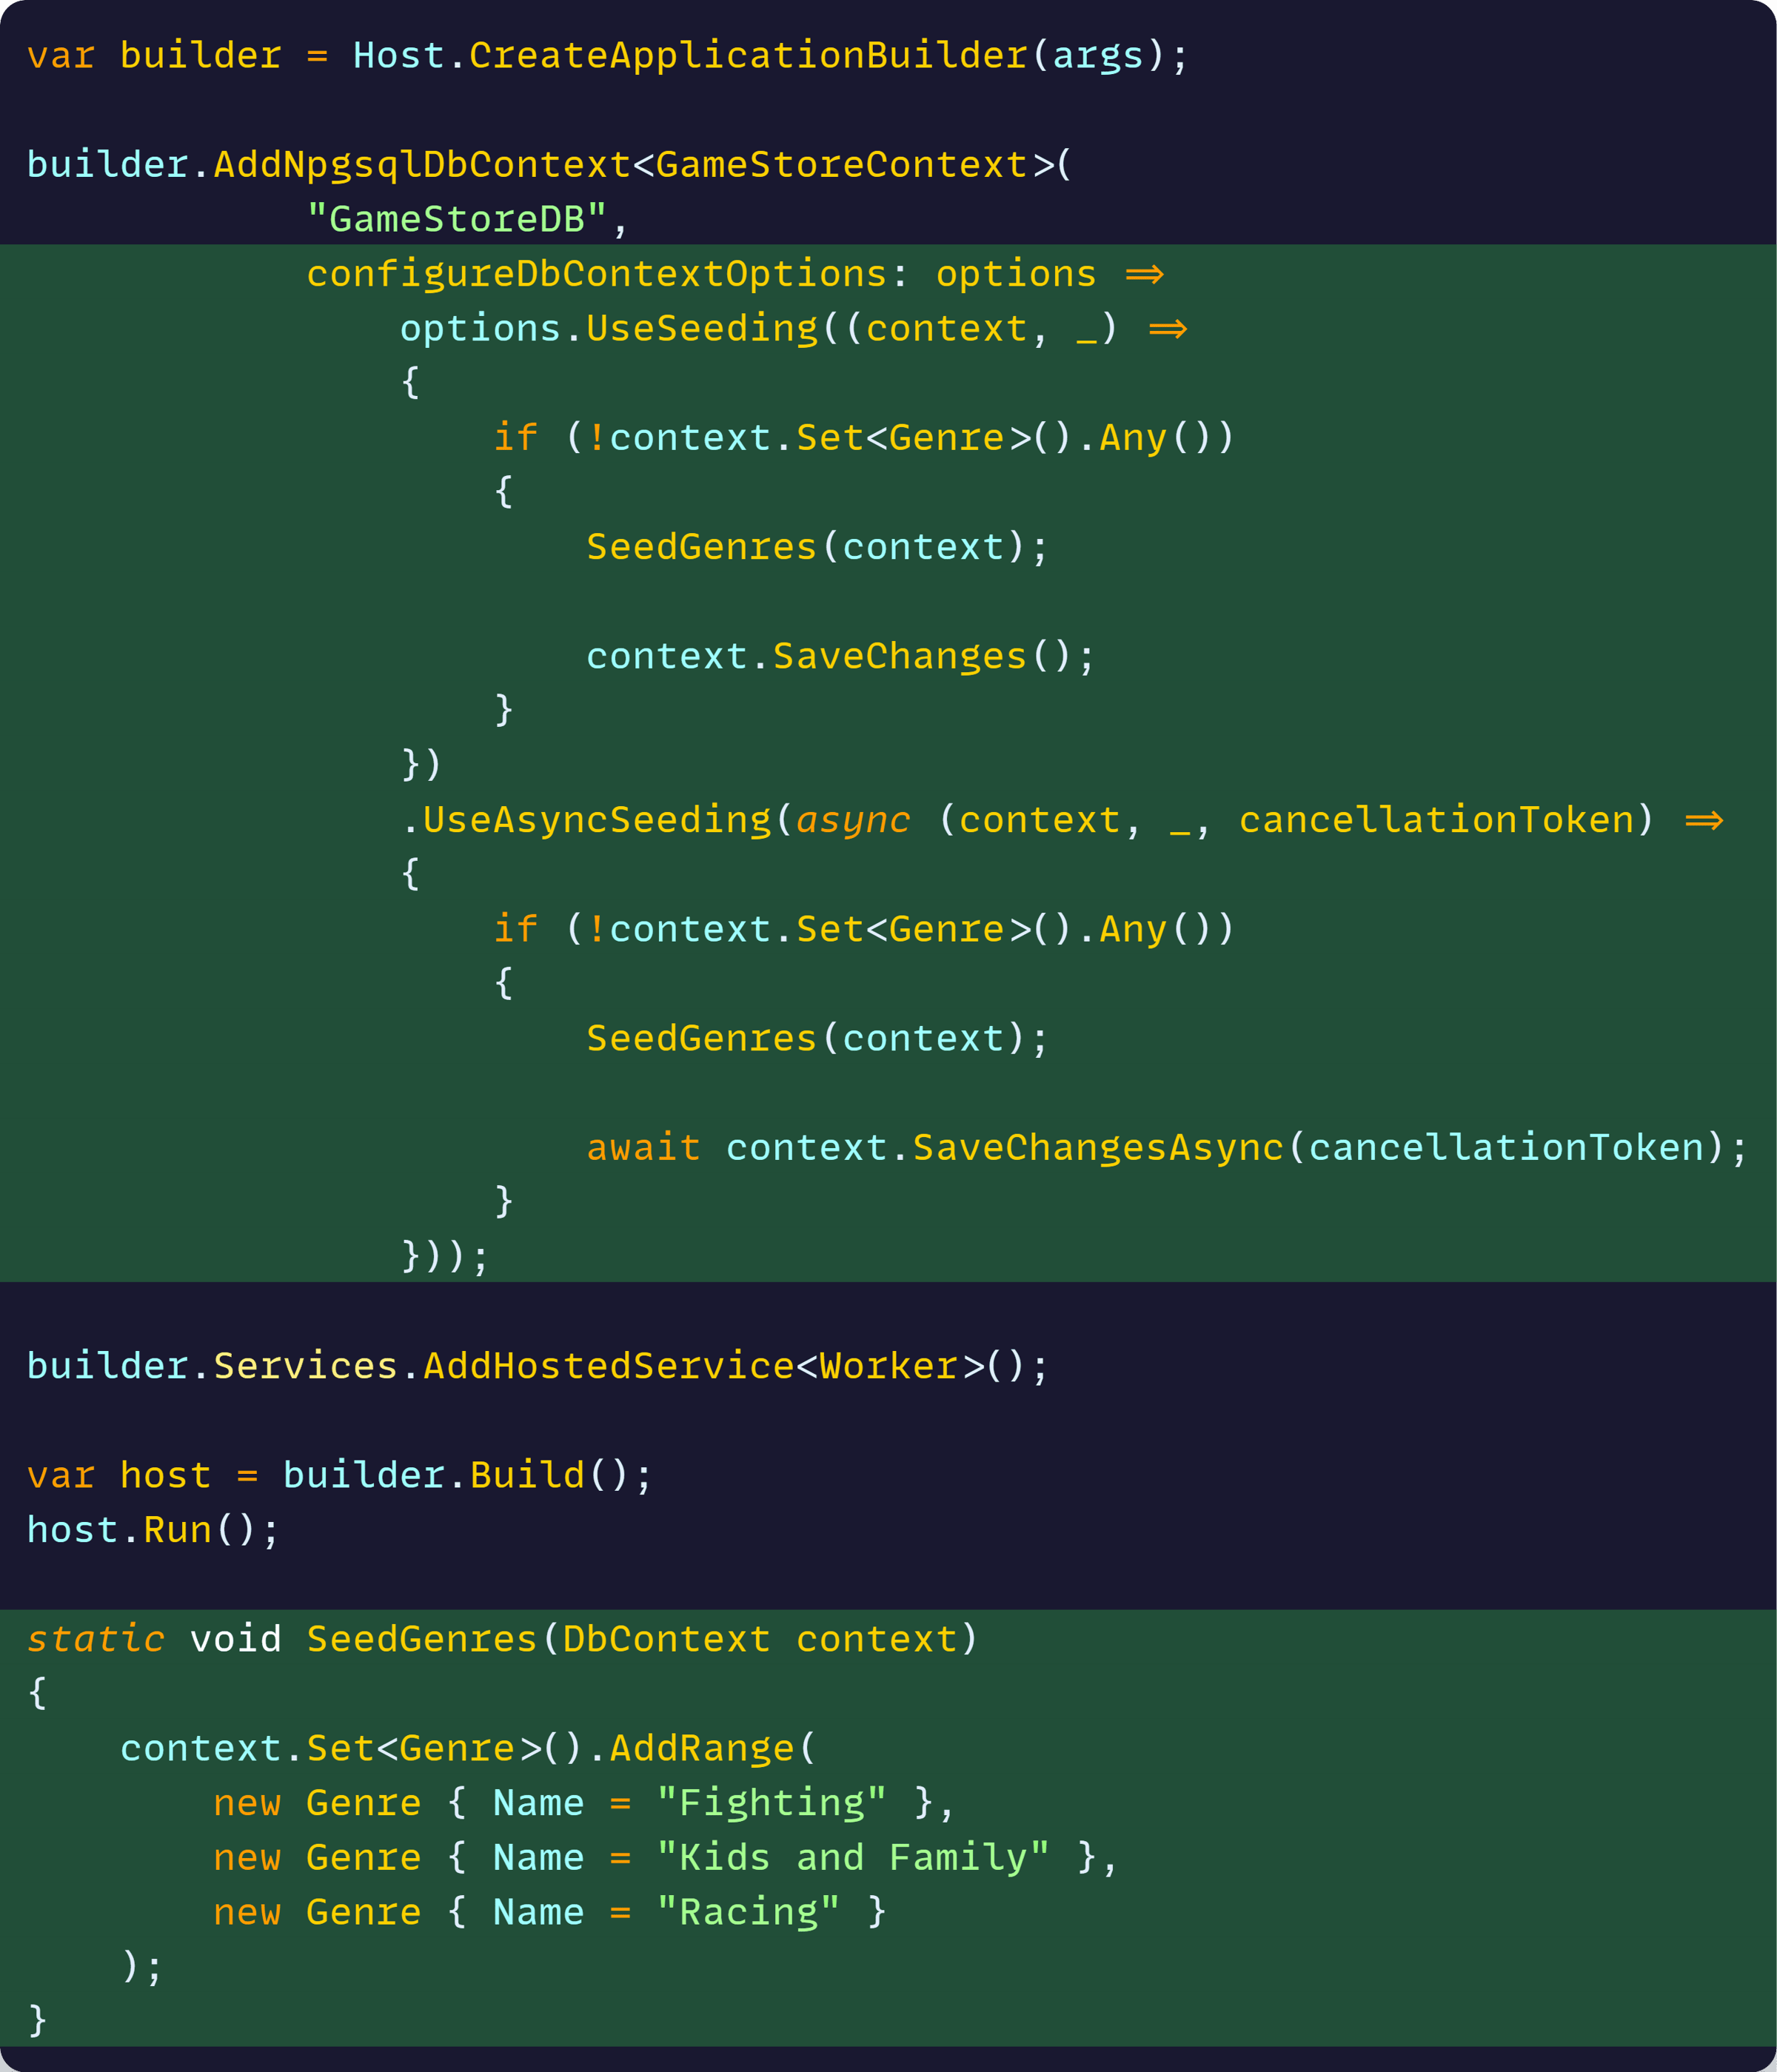
If that syntax is not familiar to you, I covered it in detail over here.
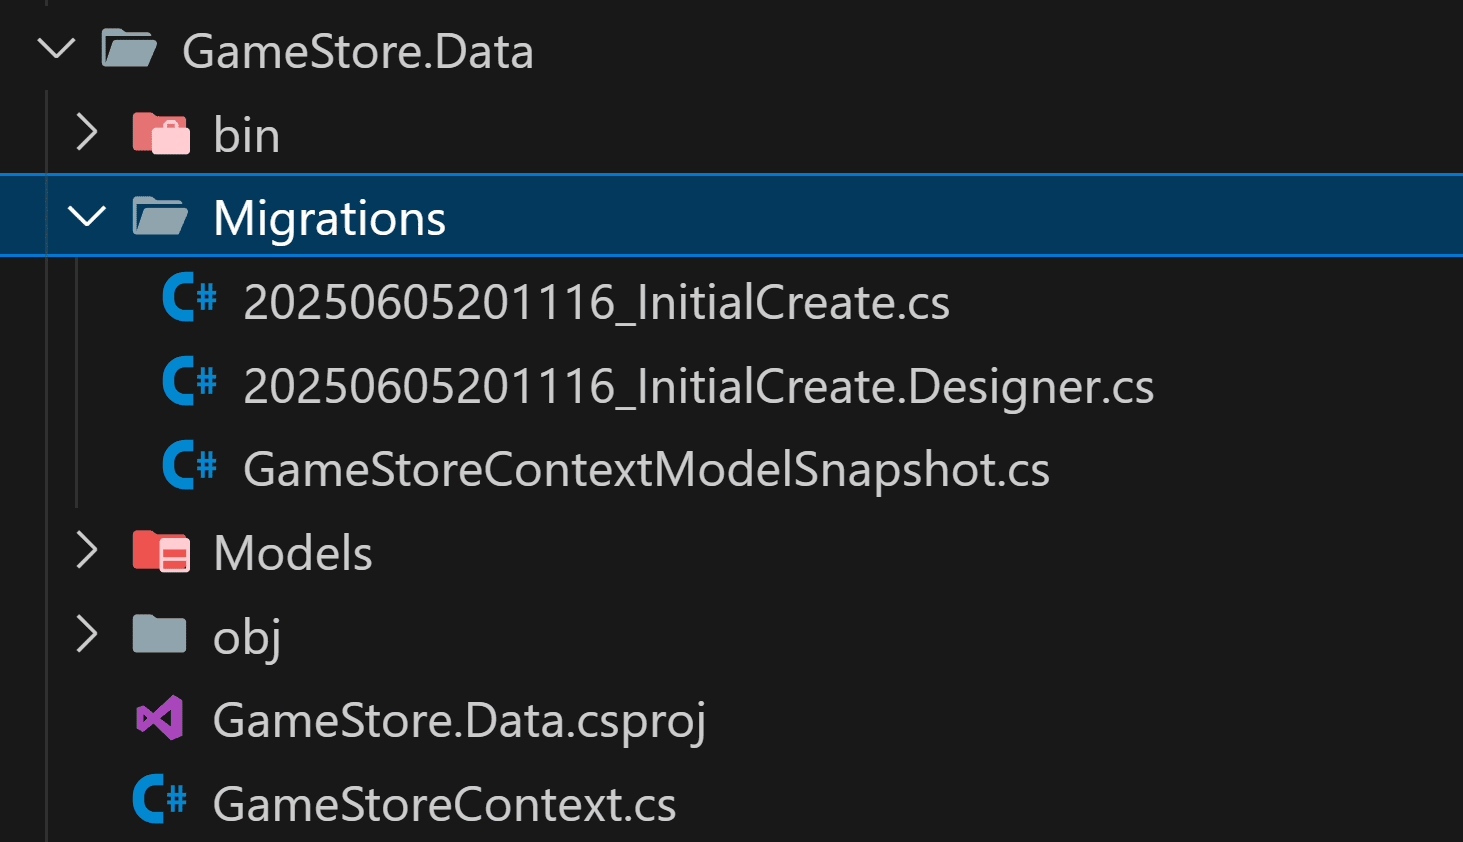
Then, back to our terminal, let’s run the standard command to generate our first EF Core migration:

Migrations are ready in our GameStore.Data project now:
Now let’s add a few lines to Worker.cs to kick off the migration on startup:
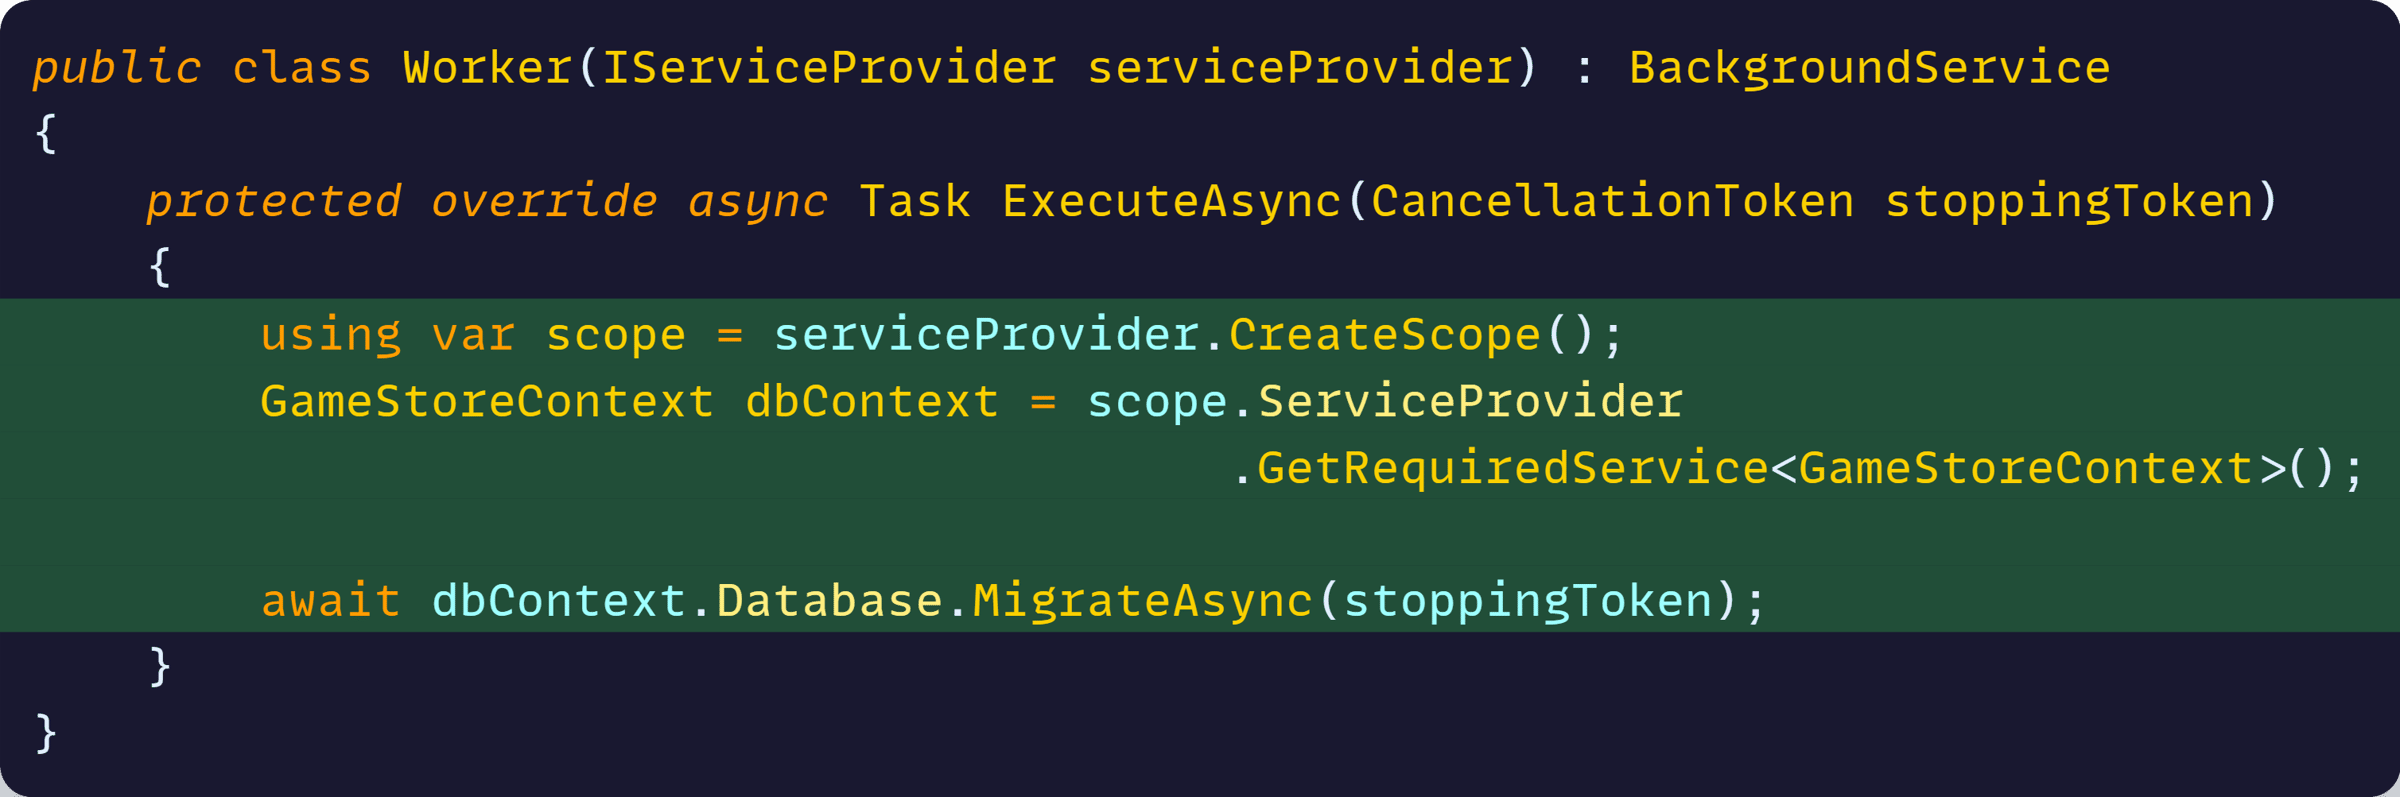
Our Worker project is ready.
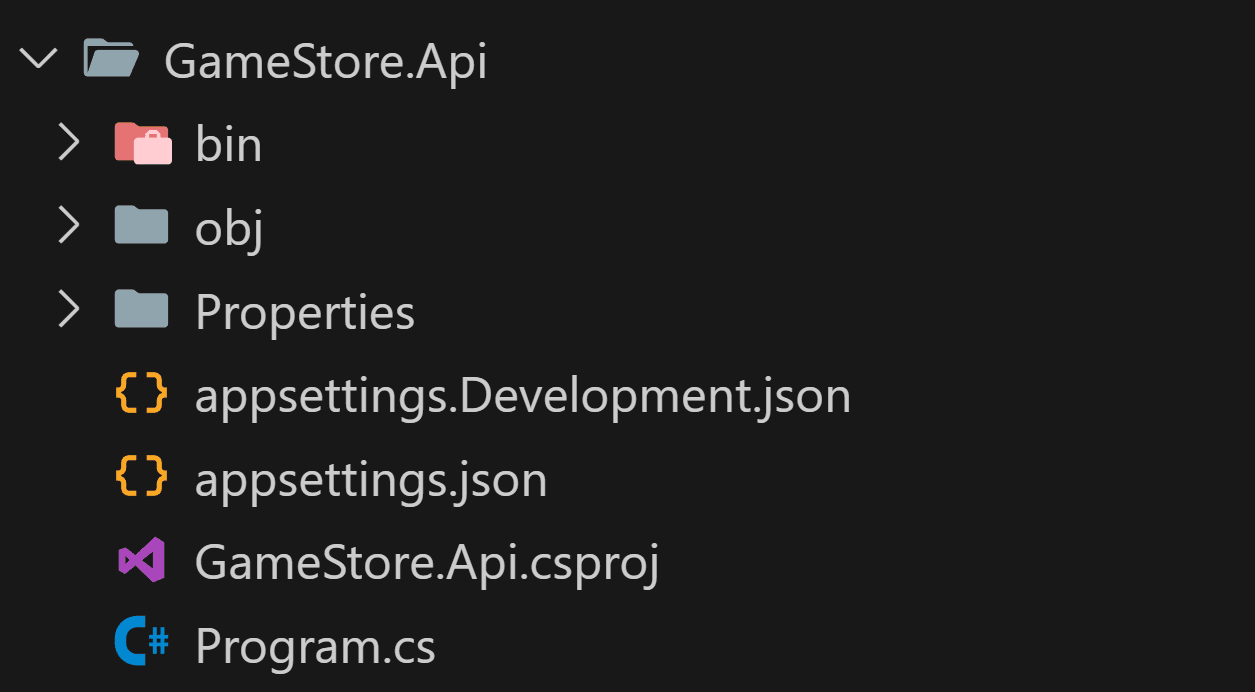
Step 7: Add the API project
The final piece is our ASP.NET Core API project, which will expose a series of endpoints to manage Games and Game Genres:
Just like with the Worker, we need to add a reference to it from the AppHost project and include it in the application model:
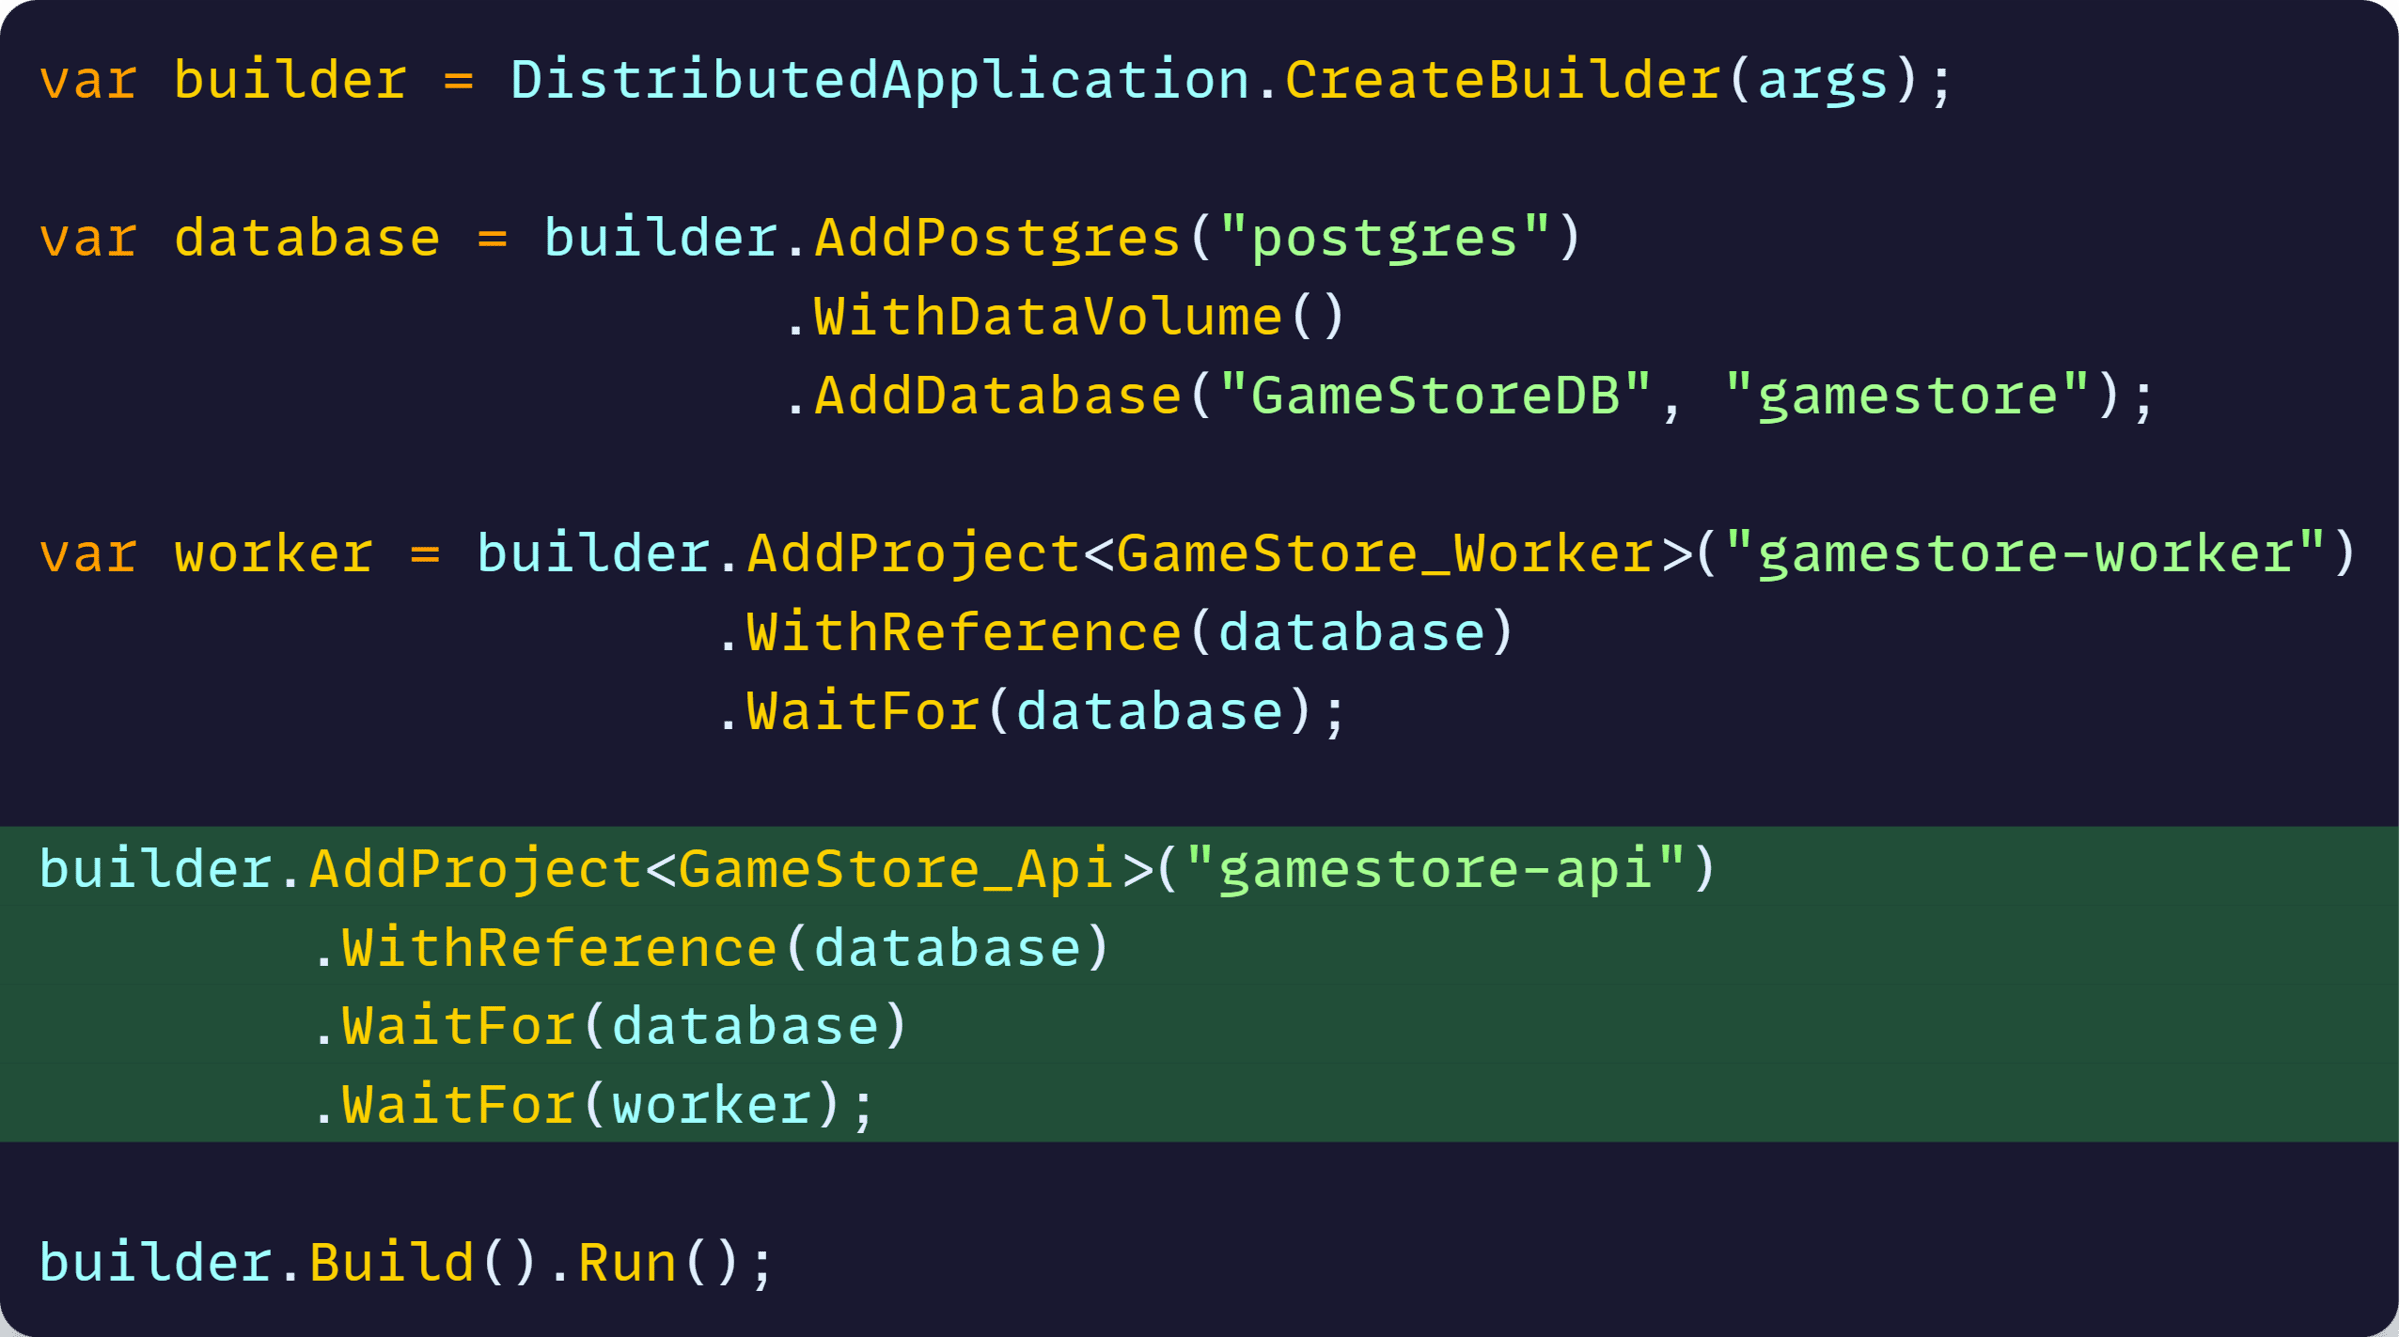
This tells Aspire that it must launch our API project along with the rest, but not before waiting for both the database and the Worker to be ready to go.
And, since we also use the WithReference call here, the same ConnectionStrings__GameStoreDB environment variable will be sent to the API, so it doesn’t need to worry about how to talk to the DB.
Now let’s add the relevant NuGet packages to the API project, including the Aspire PostgreSQL client integration, plus a reference to the Data project:

And let’s register our DBContext and connect to the DB by using the same AddNpgsqlDbContext
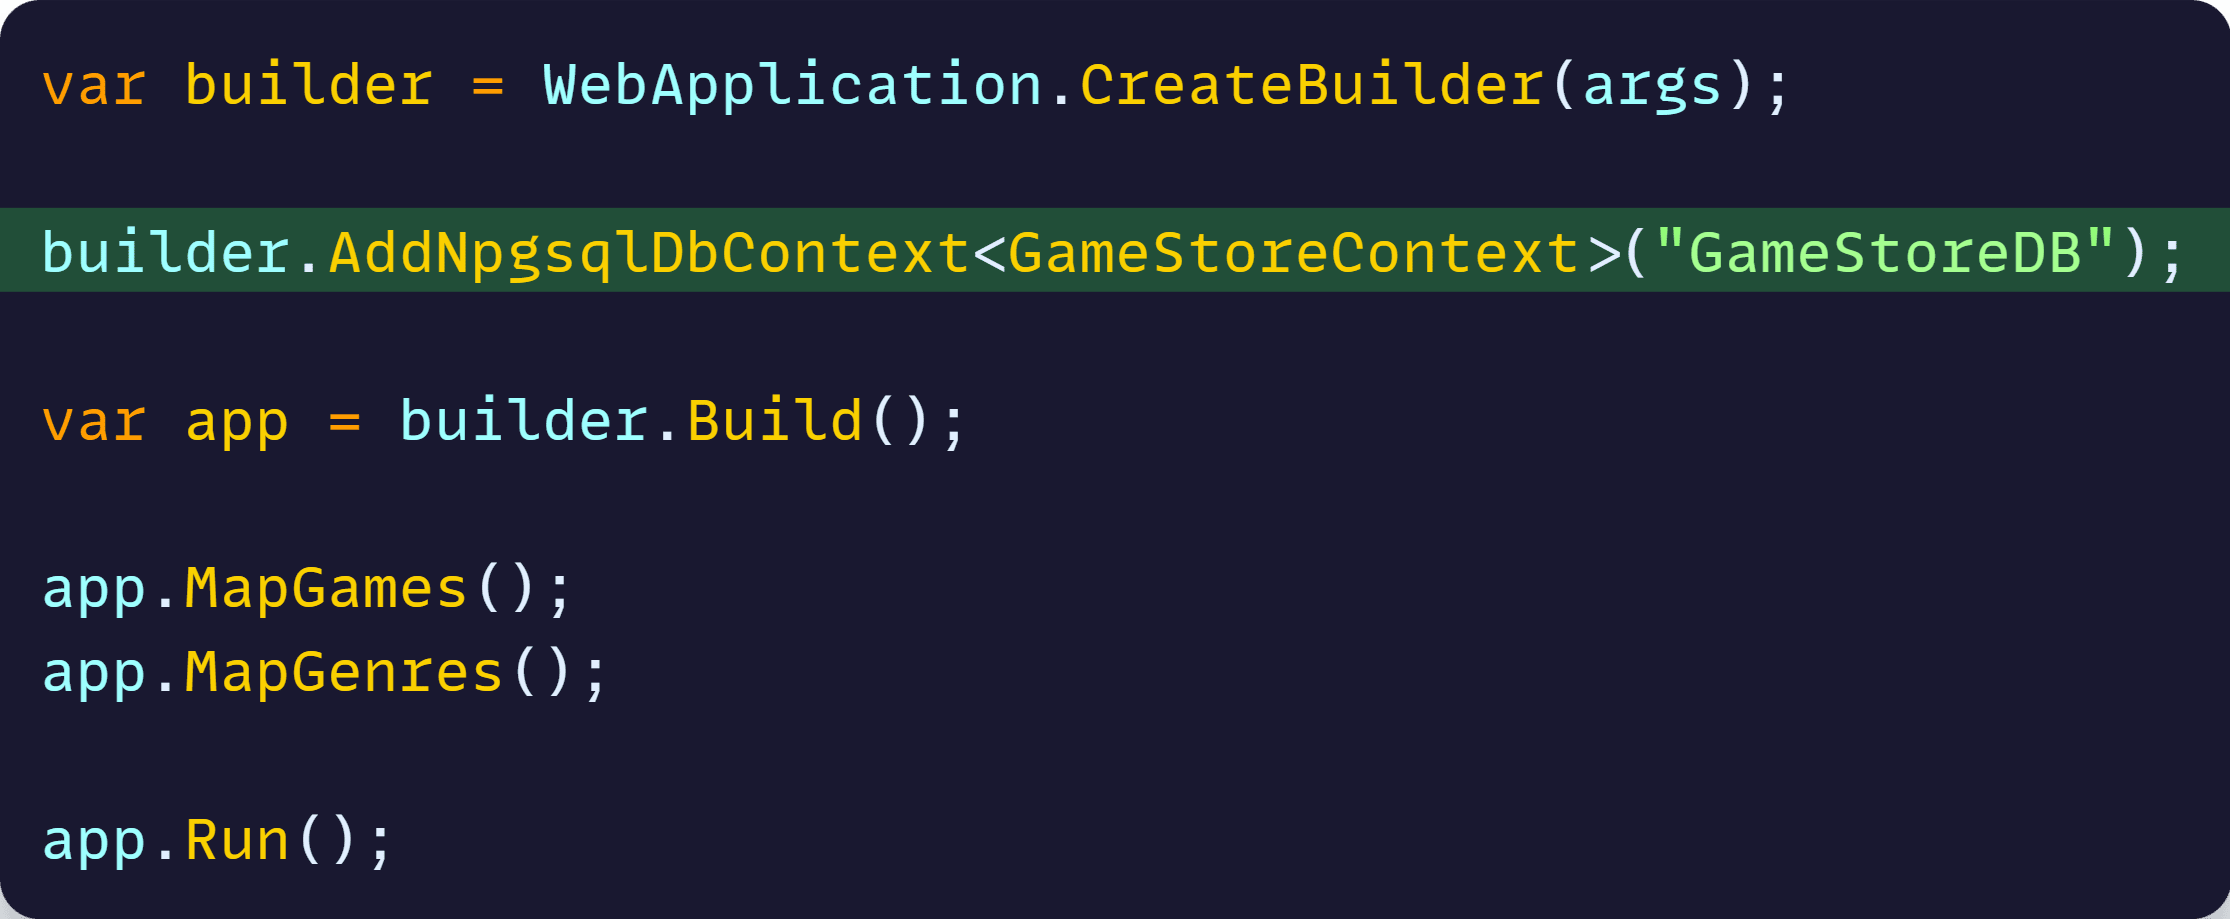
Again, no connection strings needed in the API project, and we get health checks, connection retries, and telemetry for free.
Finally, let’s add all our API endpoints:

There’s nothing special about the implementation of the API endpoints. It’s standard CRUD style ASP.NET Core Minimal APIs.
However, if you are not familiar with structuring code around features, check out my Vertical Slice Architecture article here.
We could run our Aspire solution now, but there’s one missing piece.
Step 8: Use the Service Defaults
As soon as you run your app locally, or deploy to Prod you will want to have some sort of metrics, know if everything is healthy, and a way to correlate logs when things are not working as expected.
That’s exactly the purpose of the ServiceDefaults project that comes with Aspire and that we have not used so far:
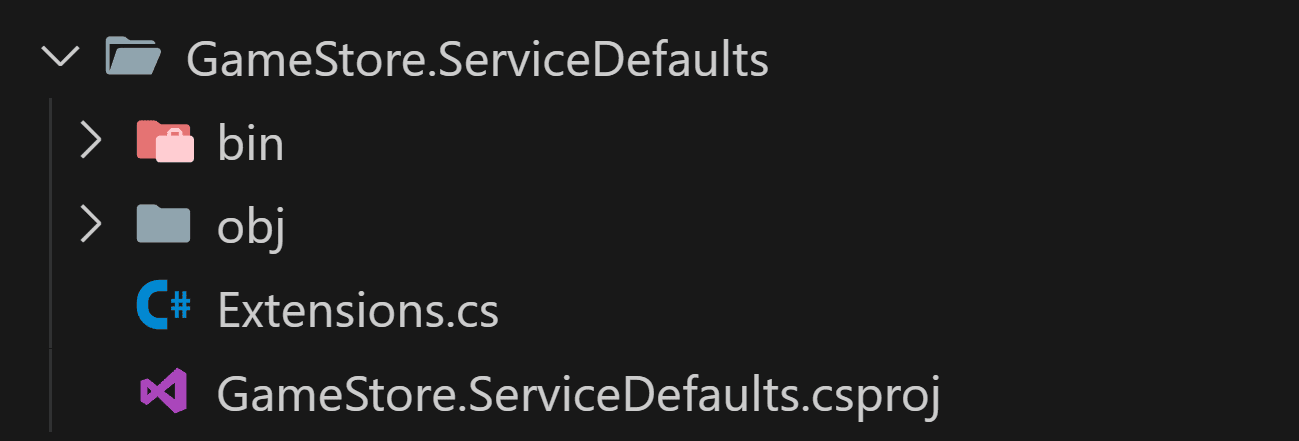
That Extensions class includes handy extension methods that you can call as-is from your projects to enable health checks and OpenTelemetry for your app. You can customize them too if needed.
So start by adding a reference to ServiceDefaults from your API project and then add two lines to your API’s Program.cs file:
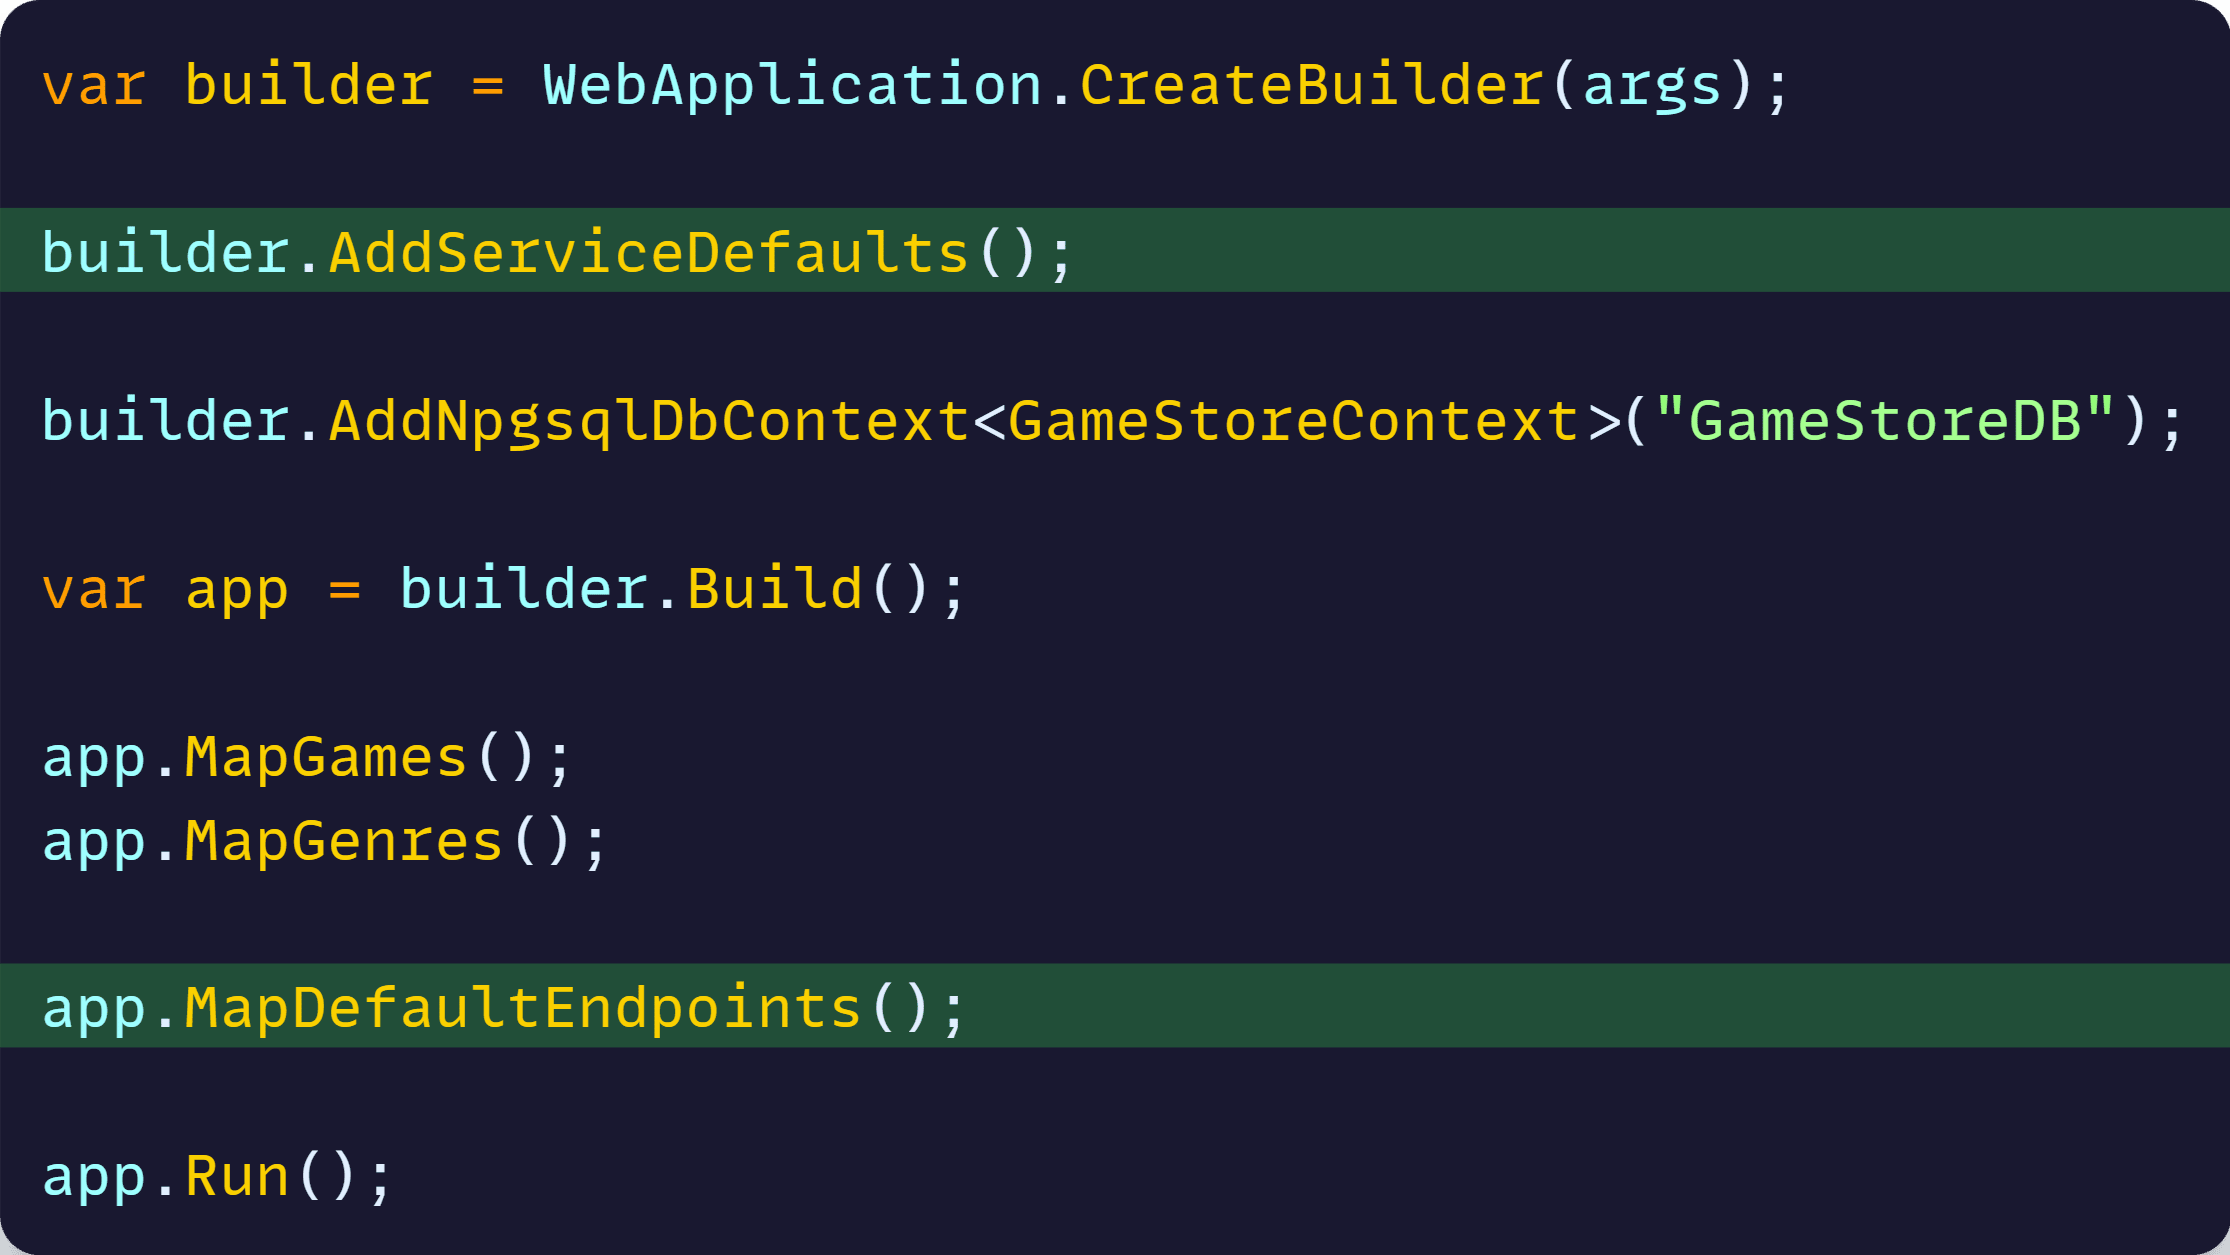
AddServiceDefaults registers all the health checks and OpenTelemetry services, while MapDefaultEndpoints adds a couple of health endpoints that your container orchestrator can call to check the health of your app.
Time to test things out.
Step 9: F5
Now, hit F5, ask your IDE to choose the AppHost as your startup project, and wait for Aspire to standup the entire system.
If you instead do dotnet run as I prefer, you’ll get something like this:
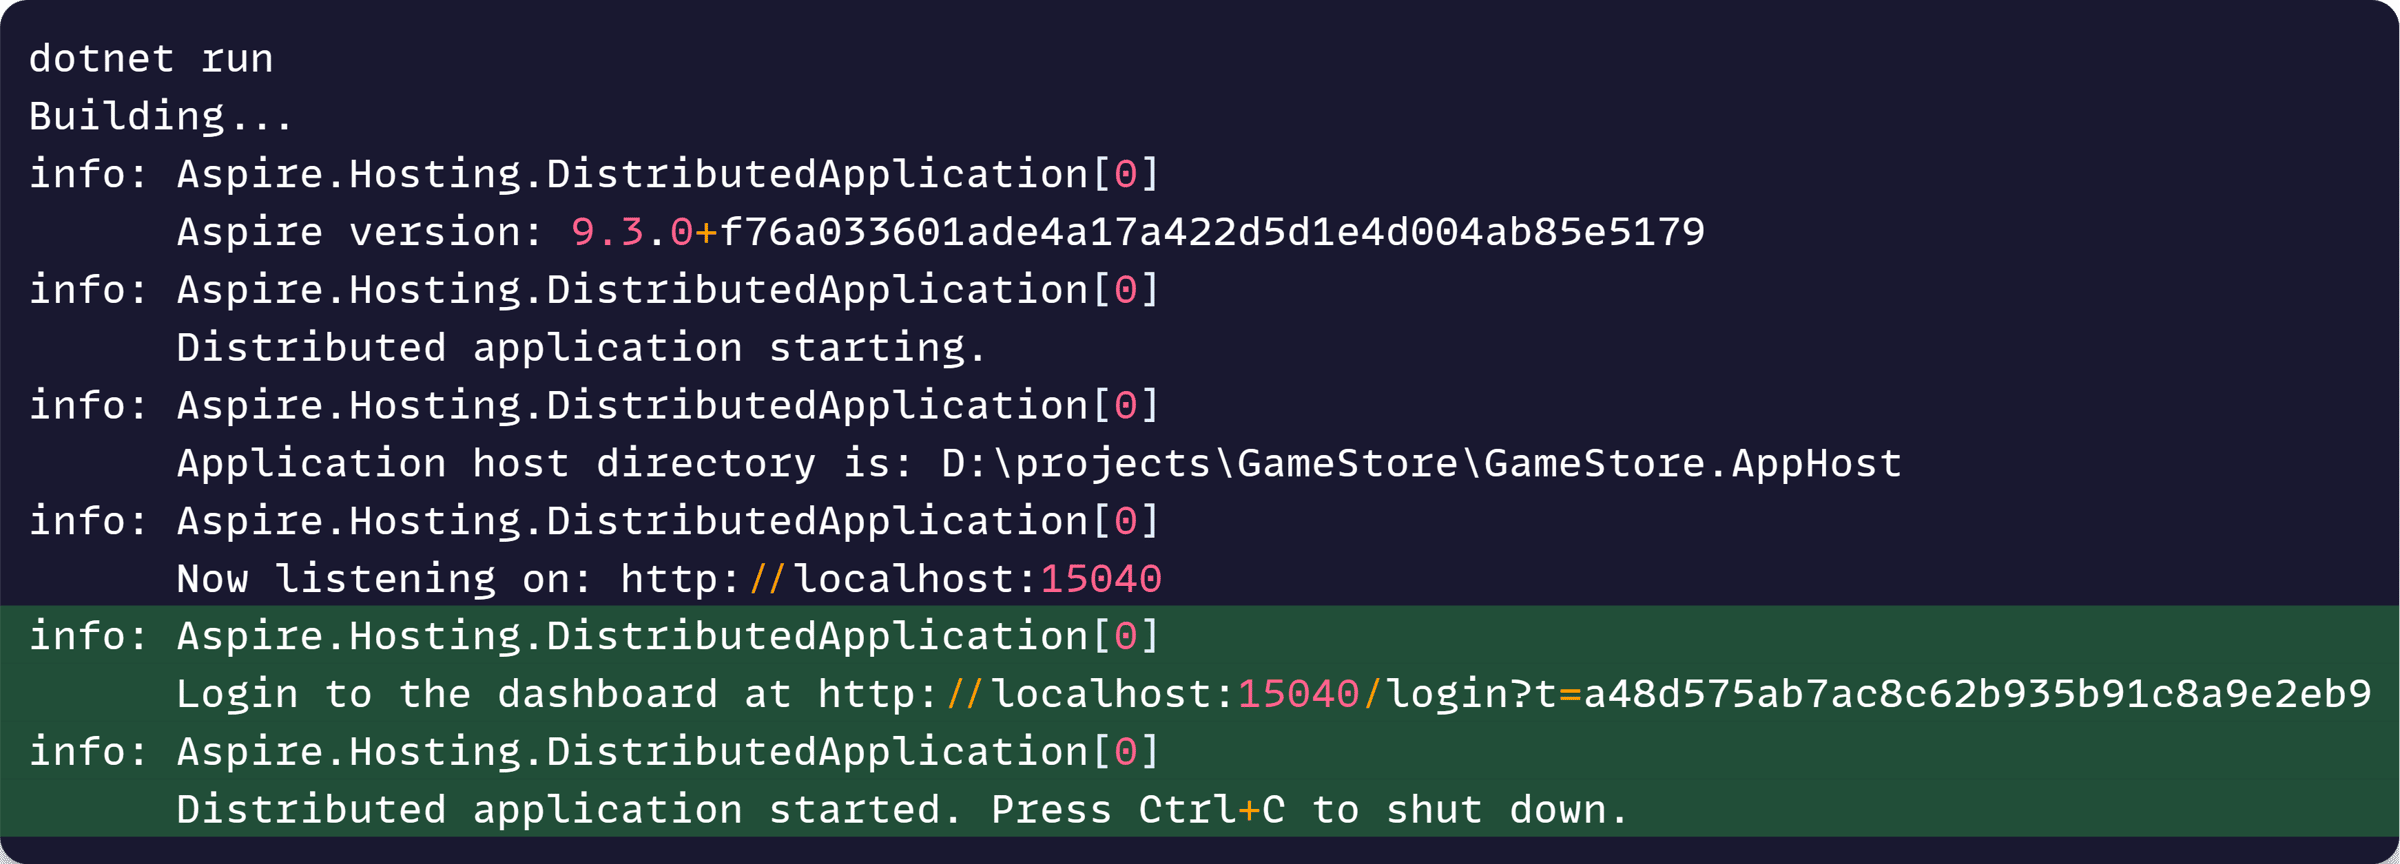
This reveals that you are no longer running a standard ASP.NET Core app, but a .NET Aspire distributed app, which is hosting your API and Worker, plus the PostgreSQL database.
You can use the link there to browse to your Aspire Dashboard:
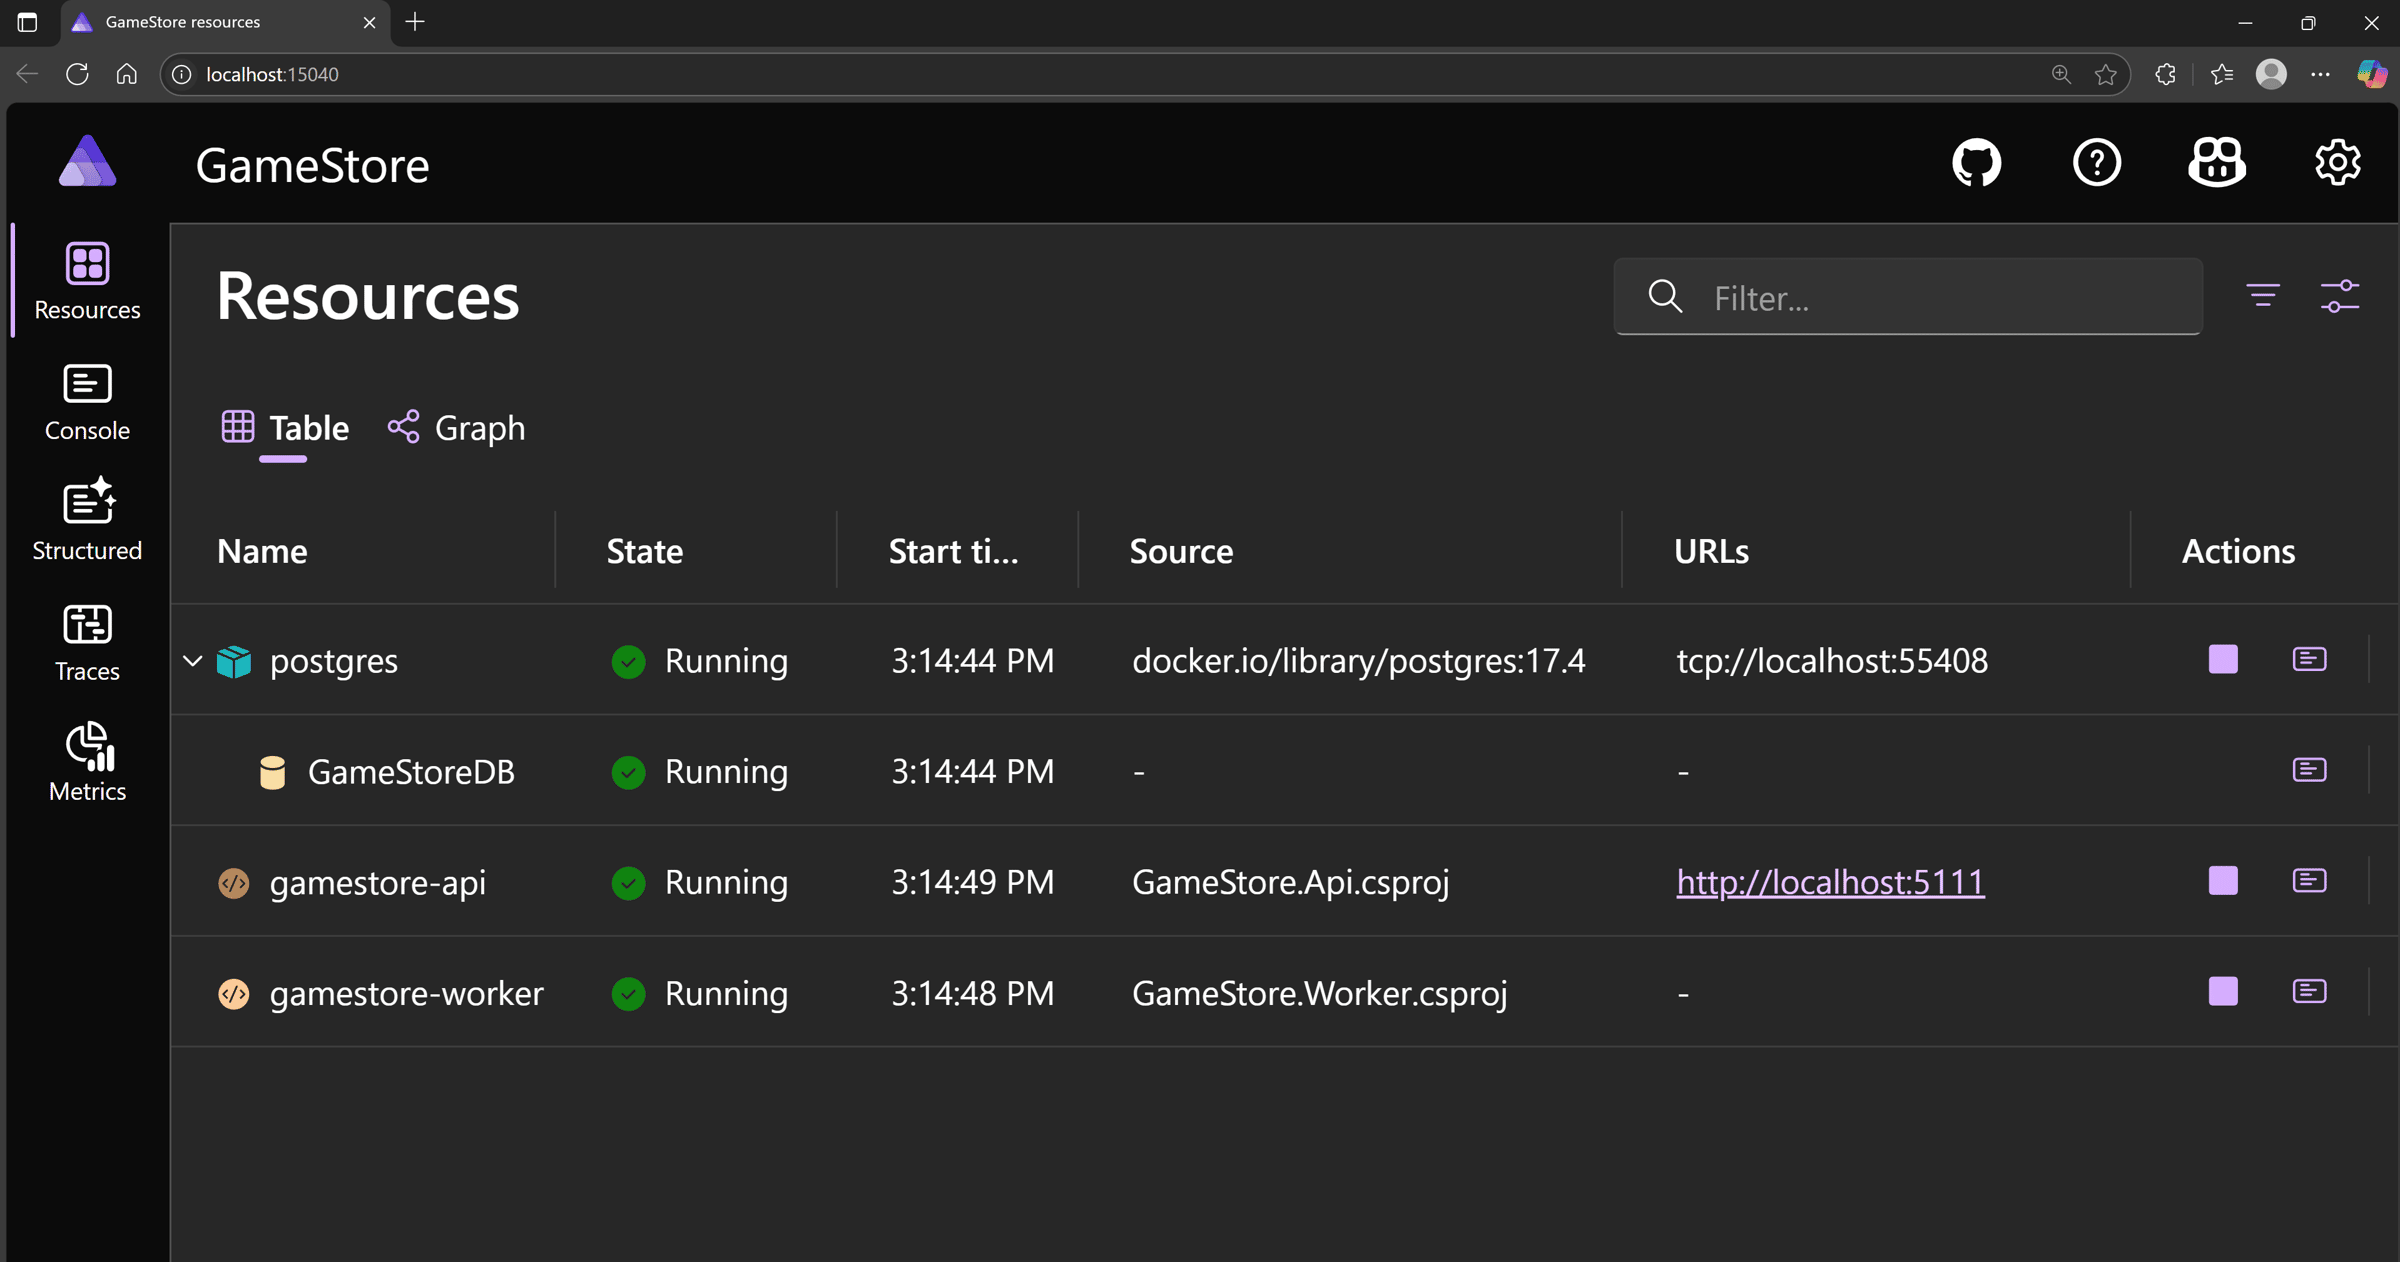
This is the place where you can see the status of your entire system, understand how things are connected and diagnose issues before going to Prod:
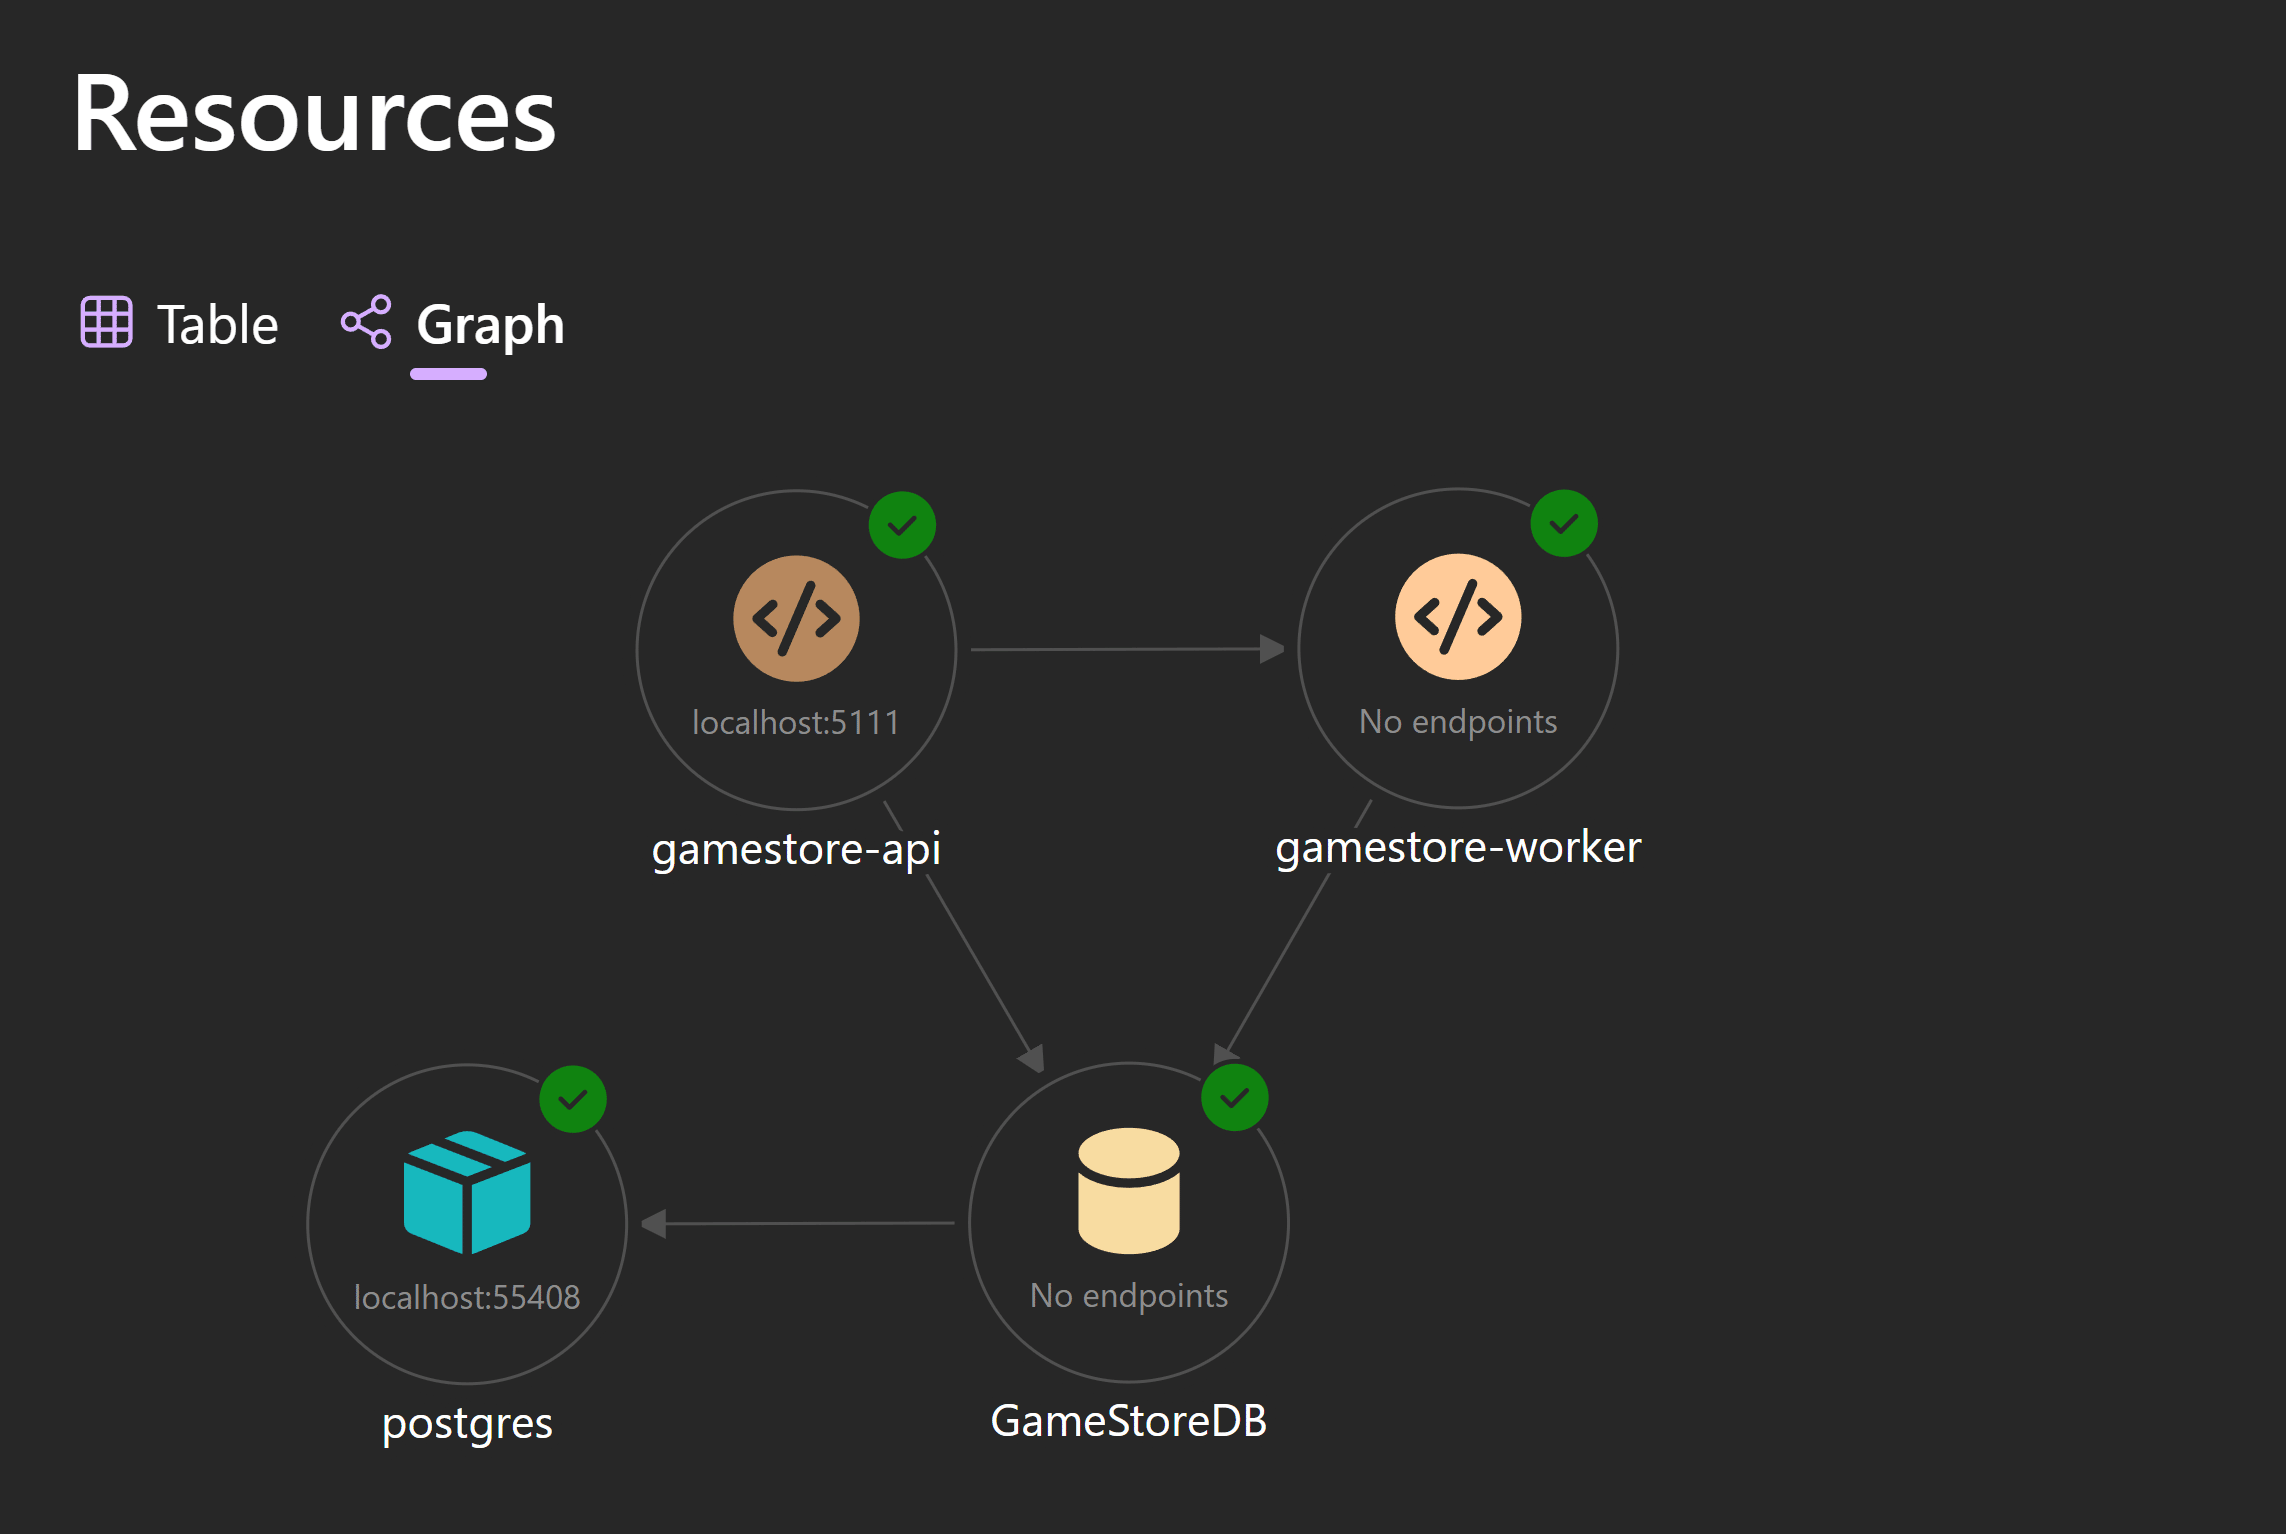
Notice that we not only have our Worker and API running and healthy, but also Aspire took care of running a PostgreSQL container and share connection details with both projects.
In fact, you can inspect every environment variable shared by the AppHost with your projects just by clicking on the relevant project:
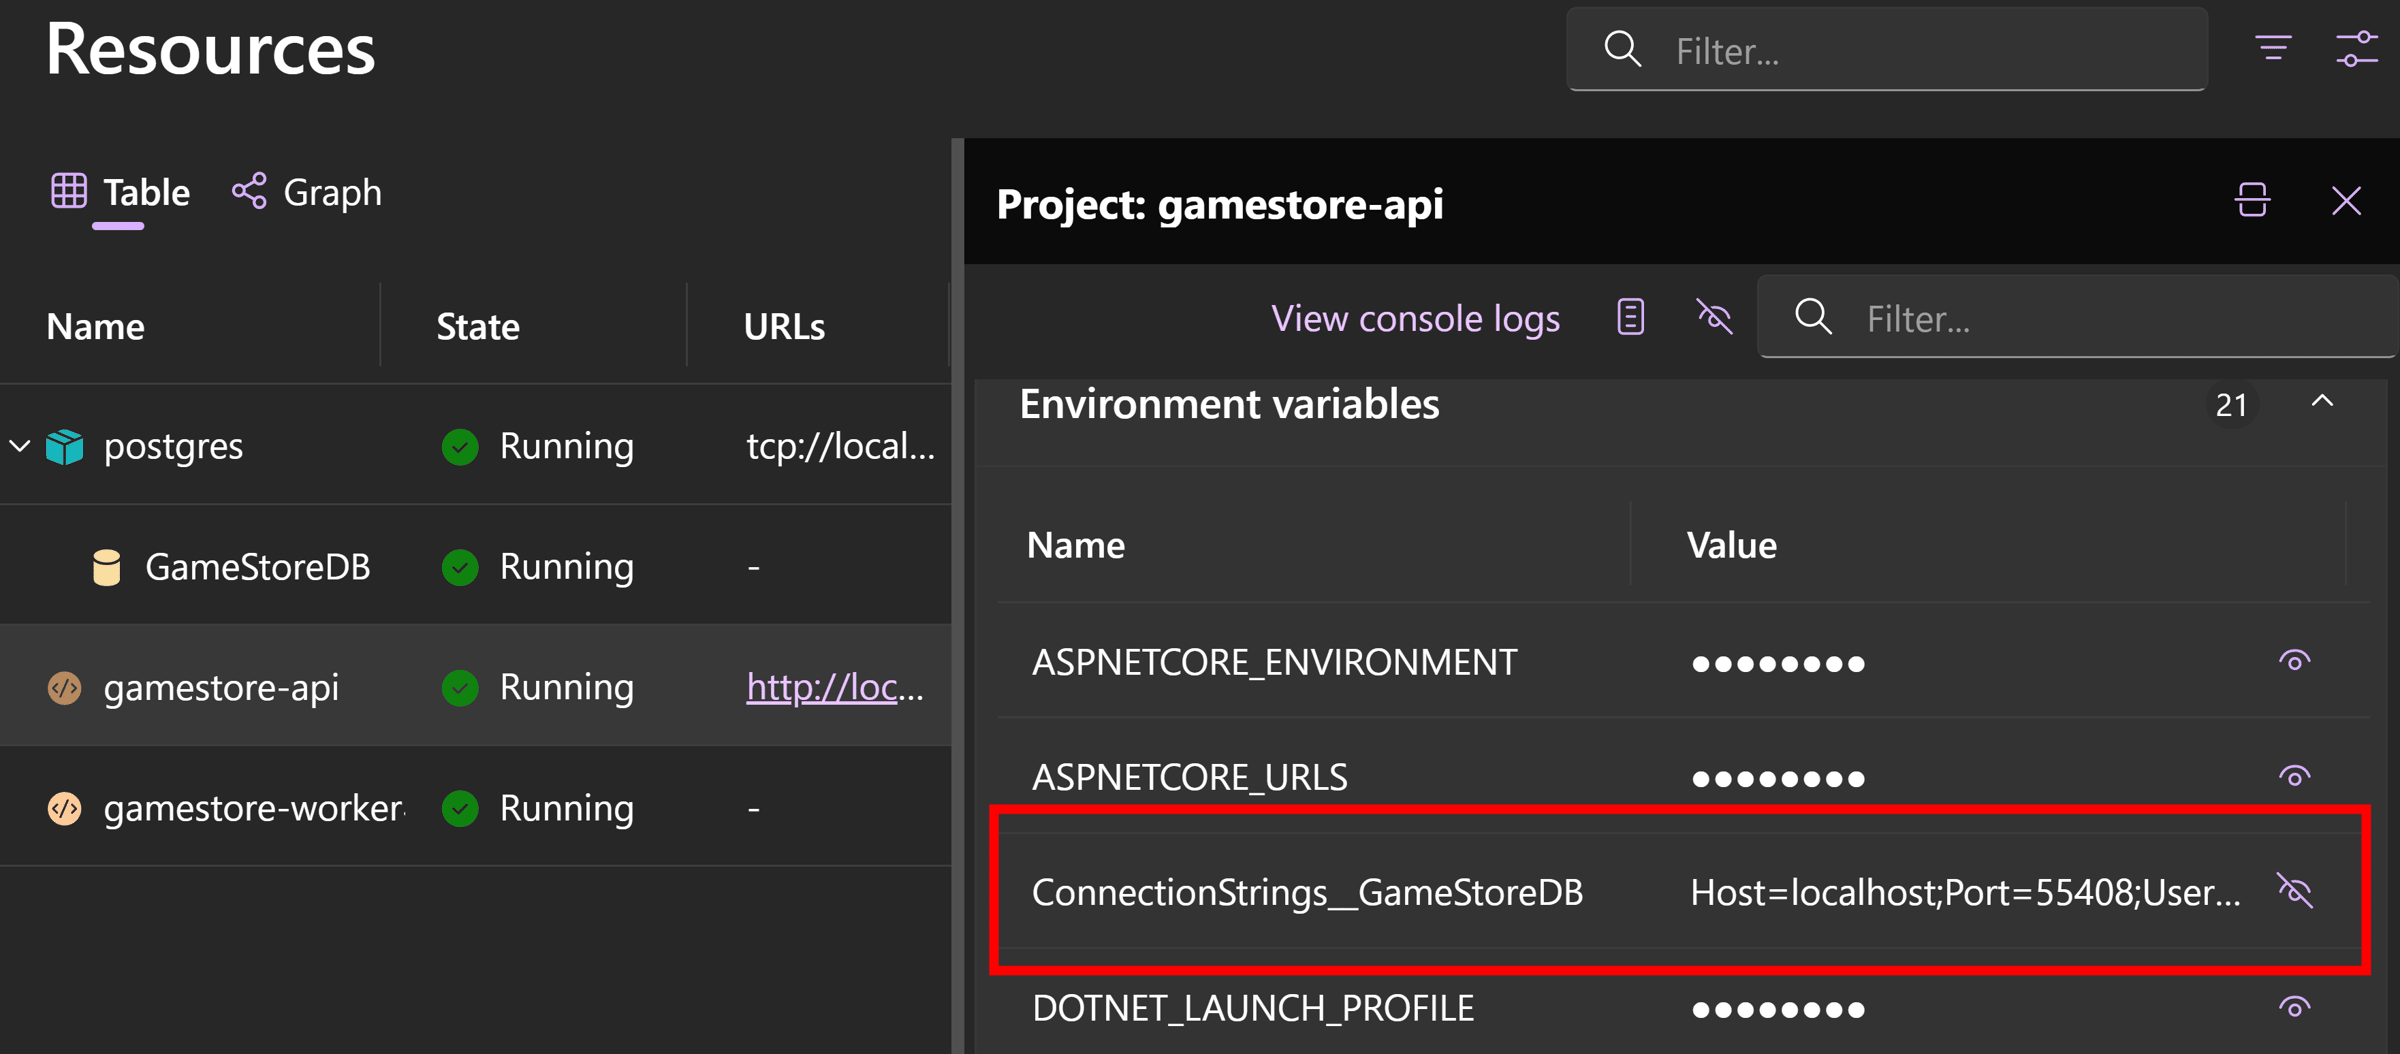
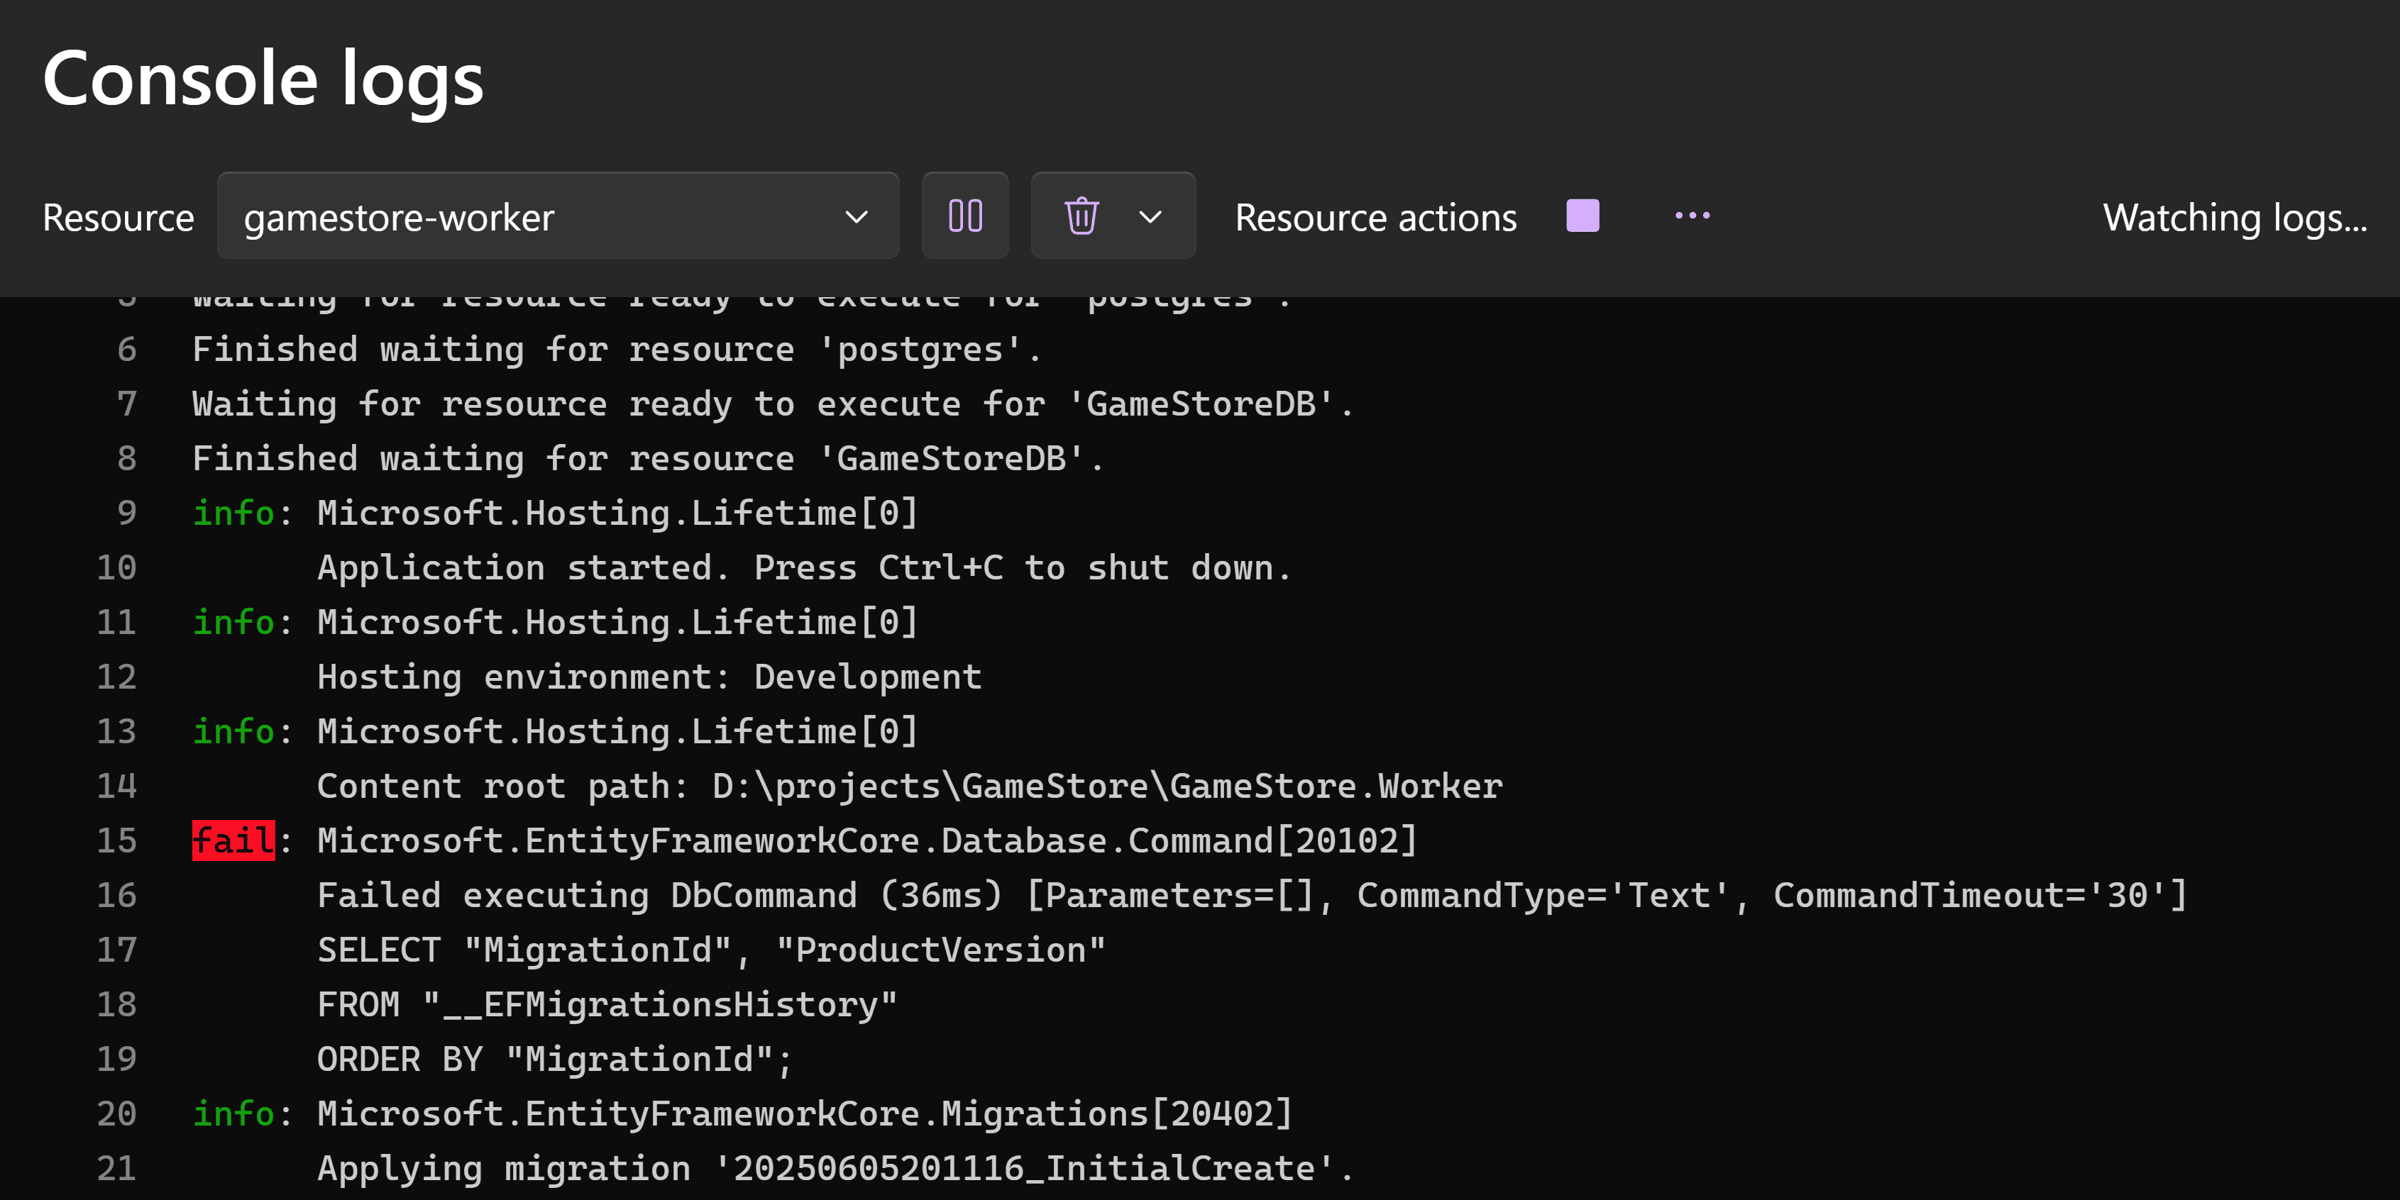
You can see logs coming out of any of your projects in real time:
And you can see some cool distributed traces across services too. But before checking those out, we should test our API to see if it is really working, end-to-end.
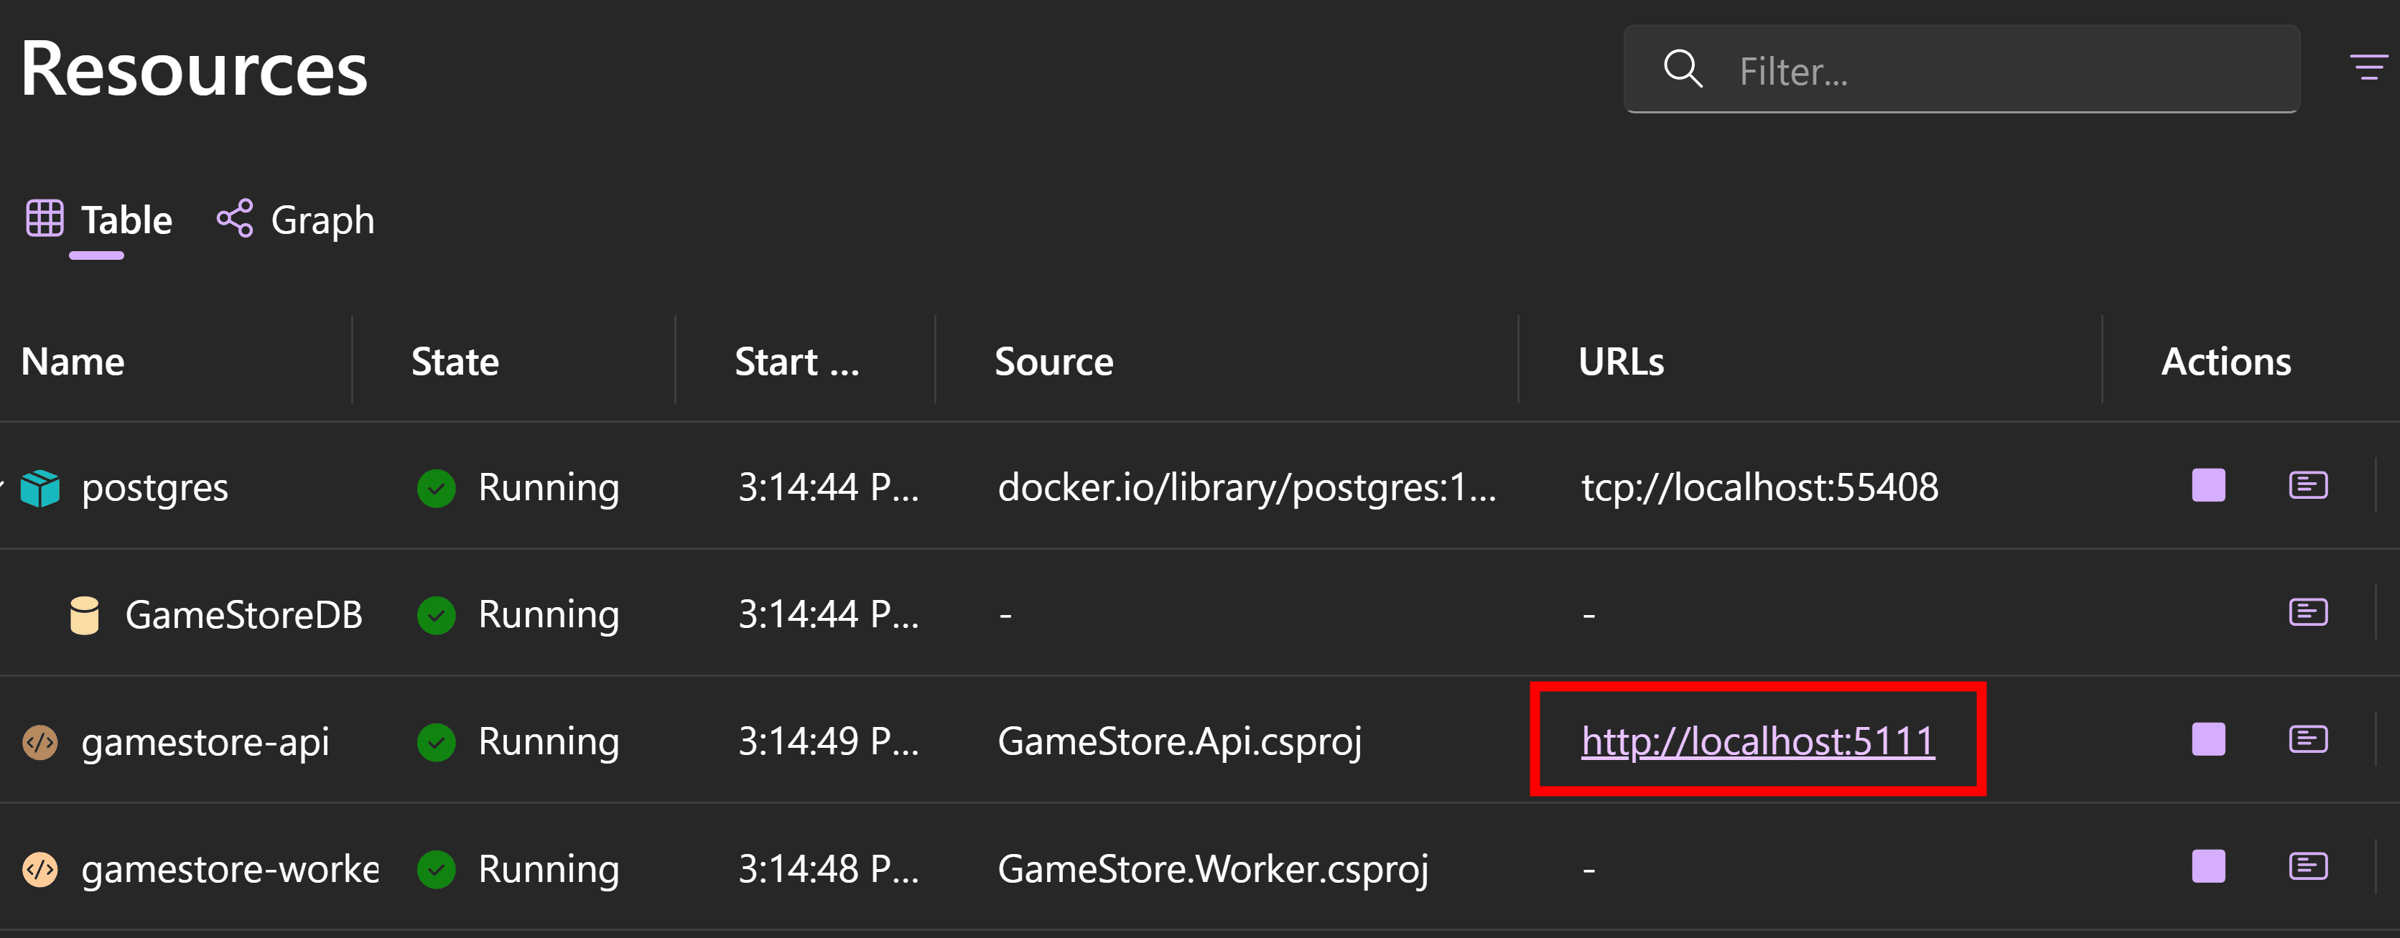
So let’s grab our assigned API endpoint from the dashboard:
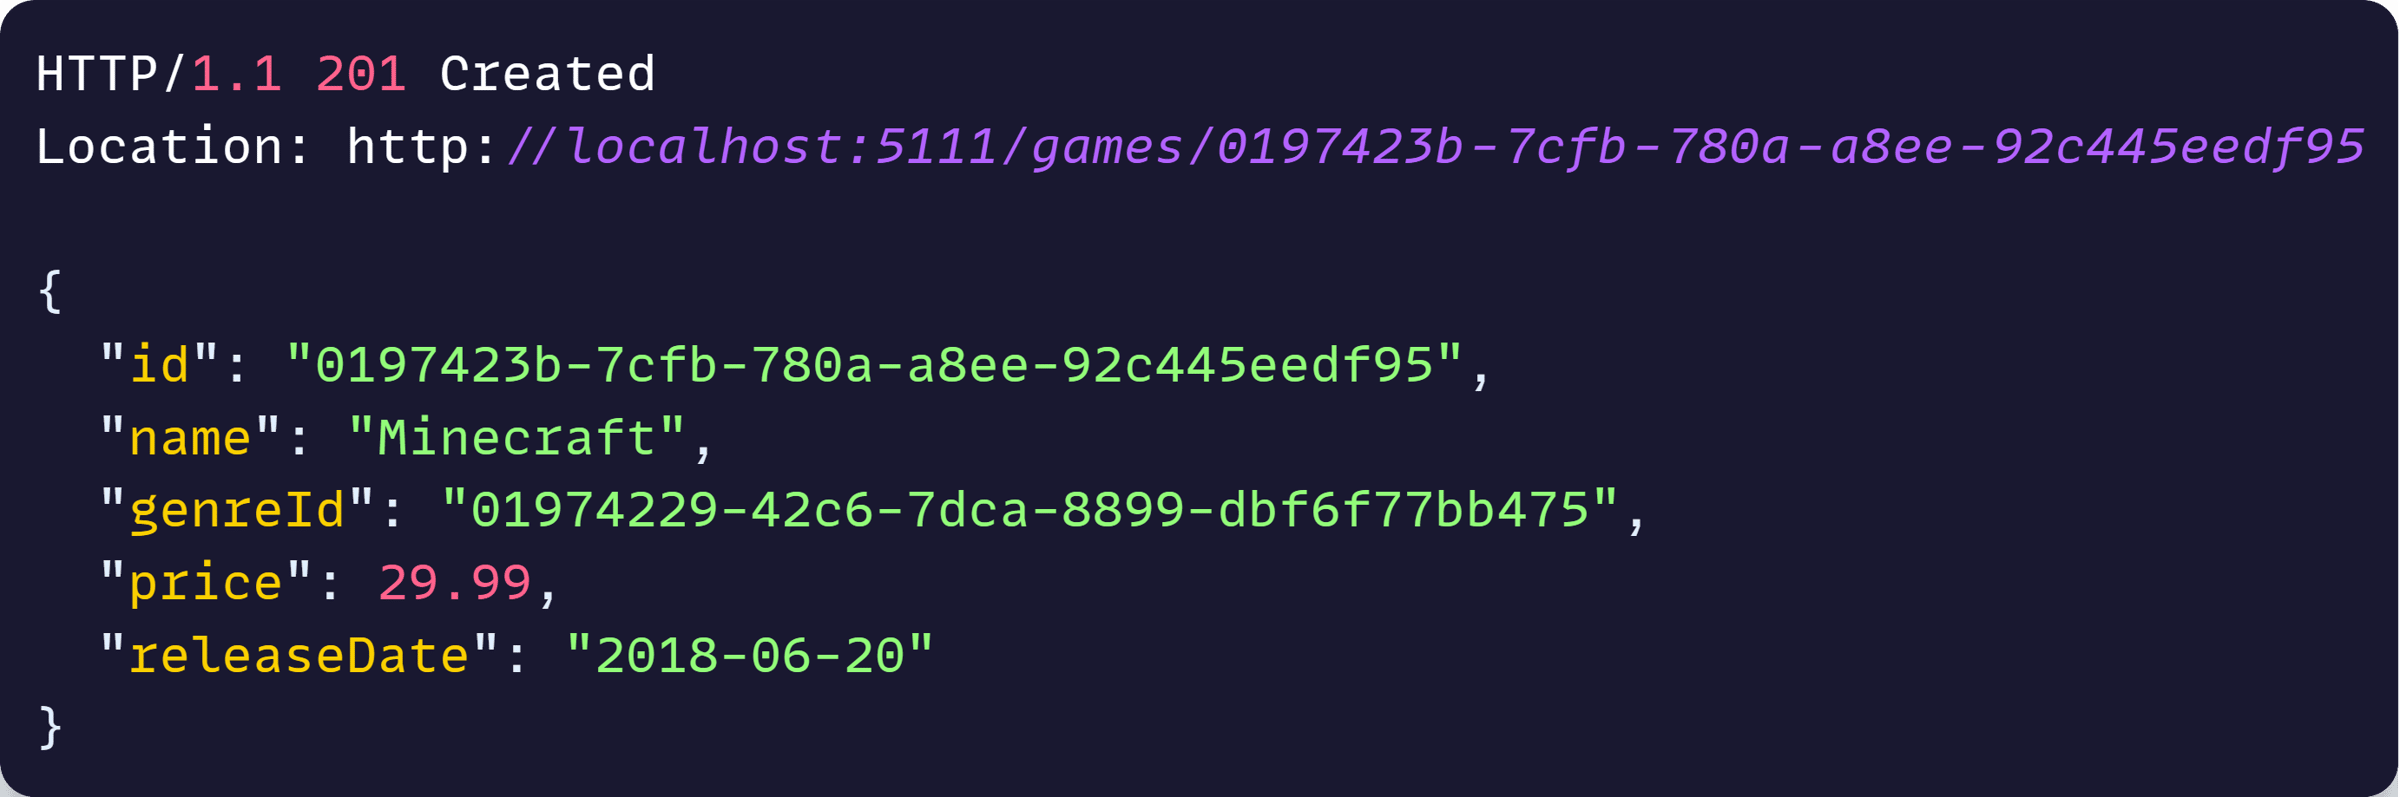
And send an HTTP request with Postman or your favorite API testing tool:
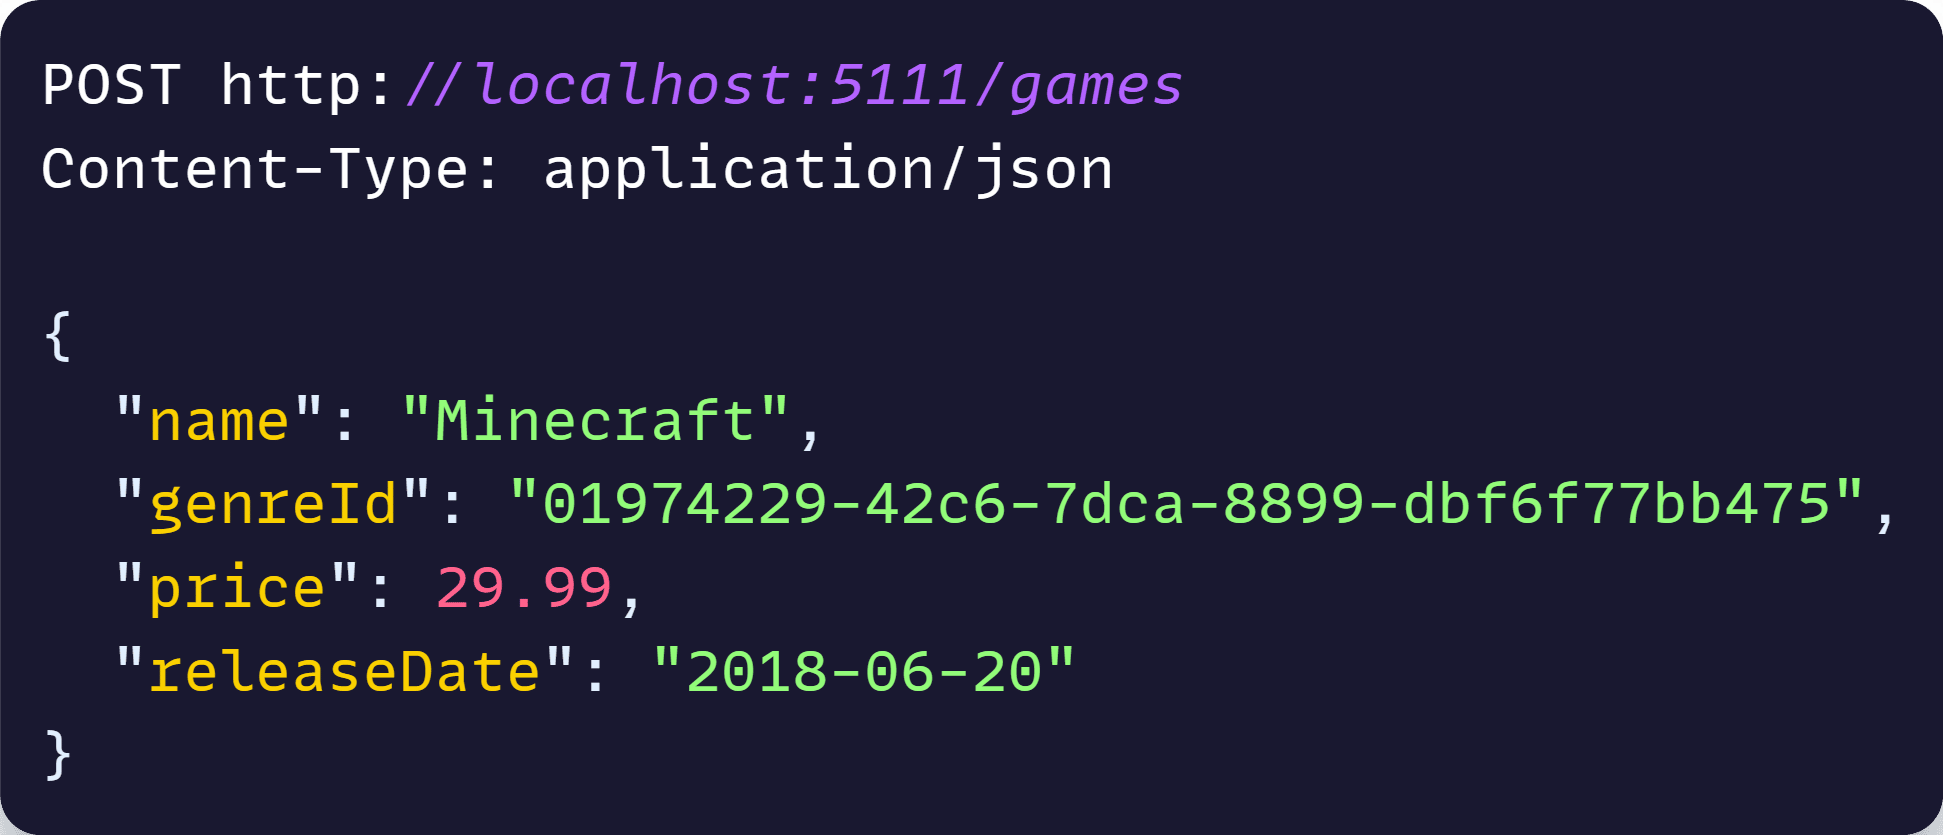
Success!
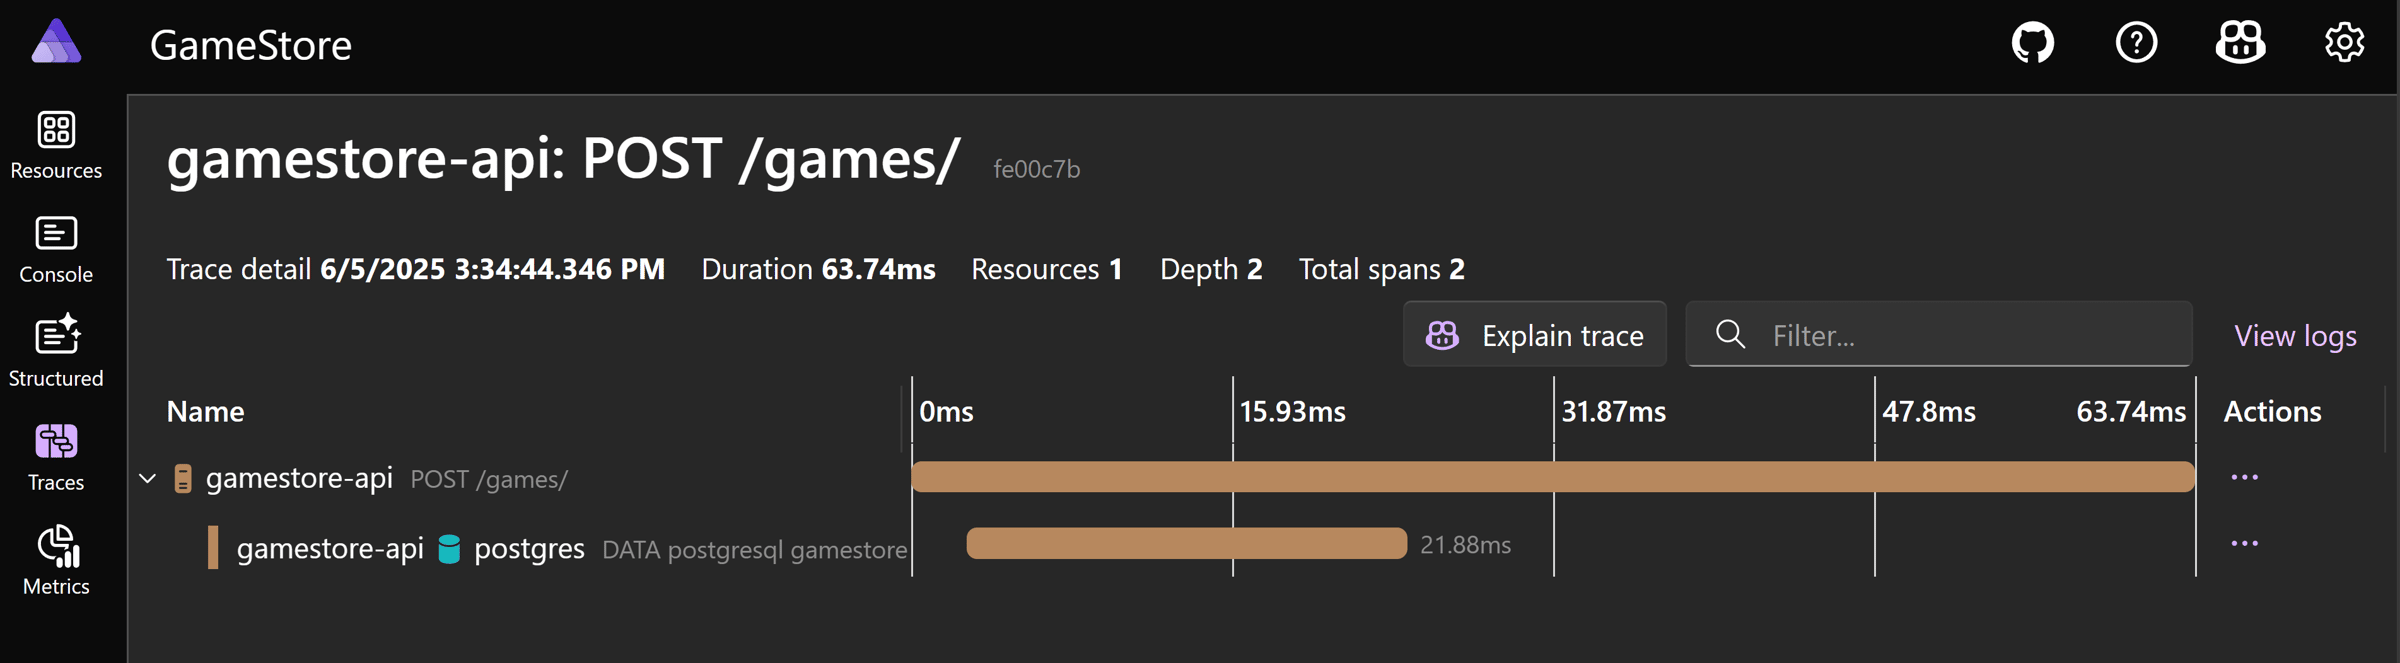
And if you go back to the Dashboard, in the Traces section, you will find a nice visualization of your request, with plenty of handy details to diagnose issues if there is any:
Now, let’s deploy this.
Step 10: Cloud deployment
Now that we know that everything works locally, and sorted out any potential issues, we can confidently deploy the entire thing to the cloud.
Let’s say we choose to go with the Azure cloud. Then, the first thing to do is to switch to a PostgreSQL hosting integration specifically designed for Azure PostgreSQL:
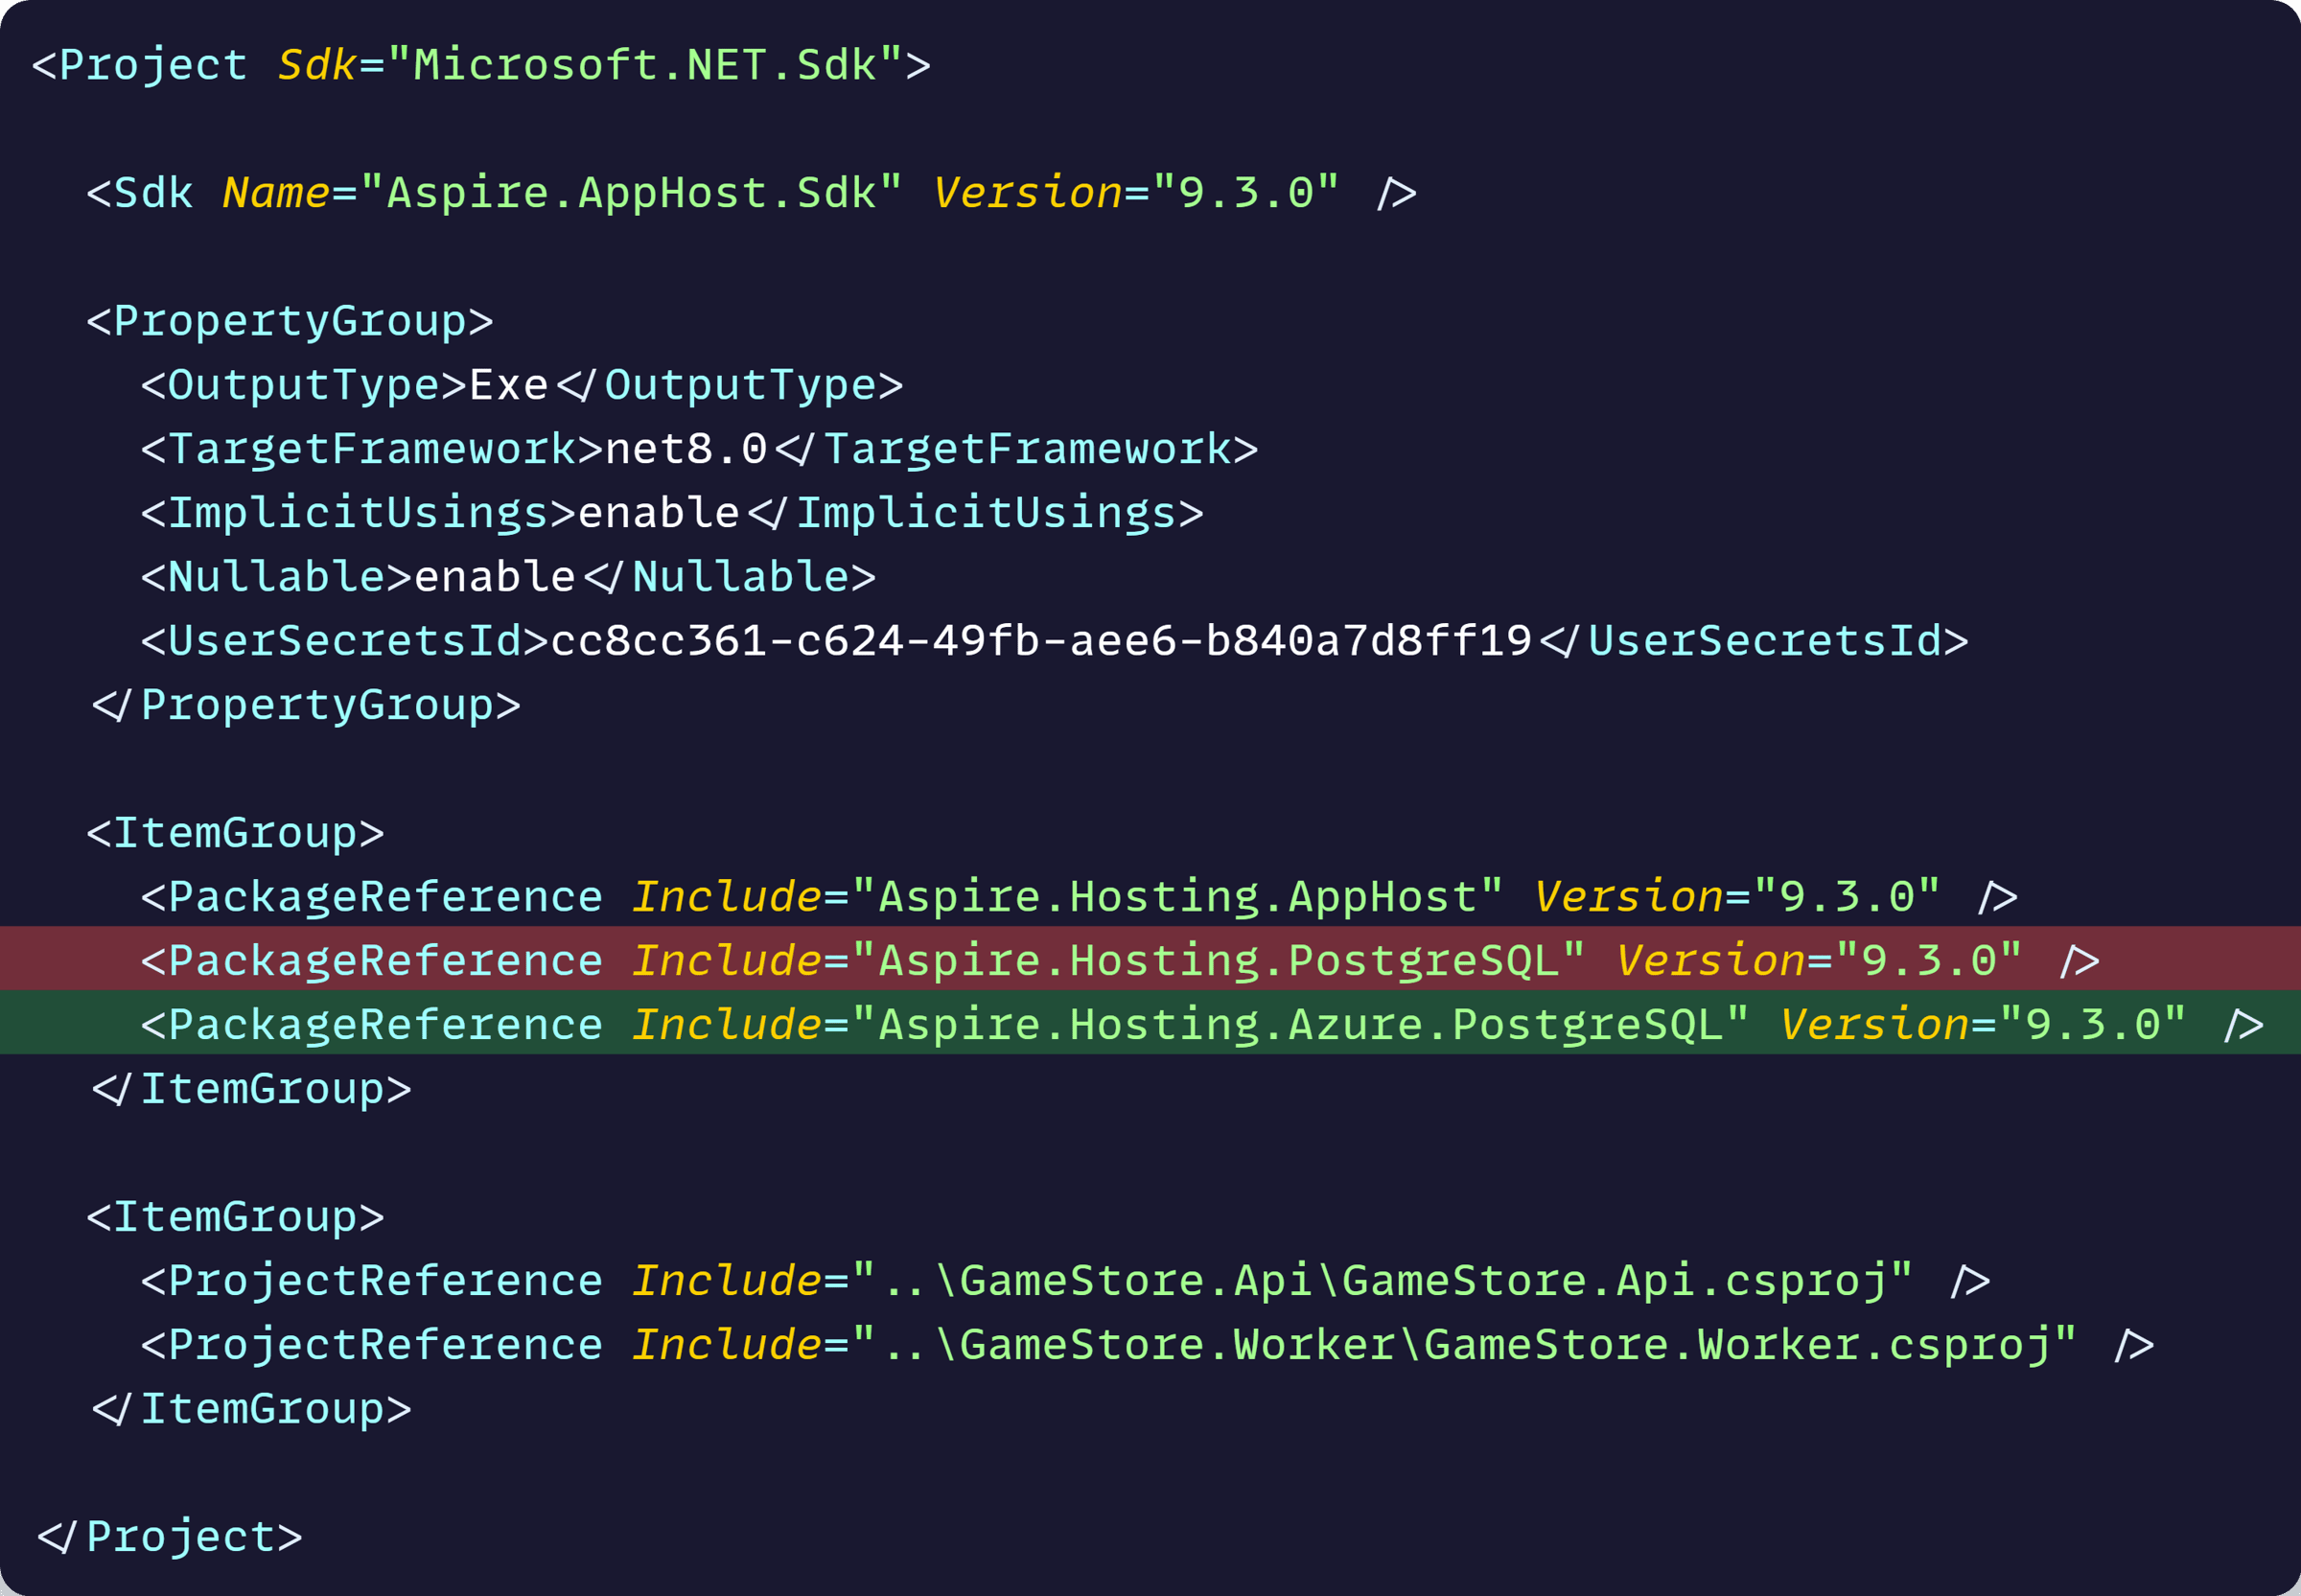
That will let us express exactly how we want our PostgreSQL server and database to be provisioned in Azure.
We’ll keep it simple here, so we will just call the AddAzurePostgresFlexibleServer method, while adding a call to RunAsContainer, so we can keep using our local PostgreSQL container:
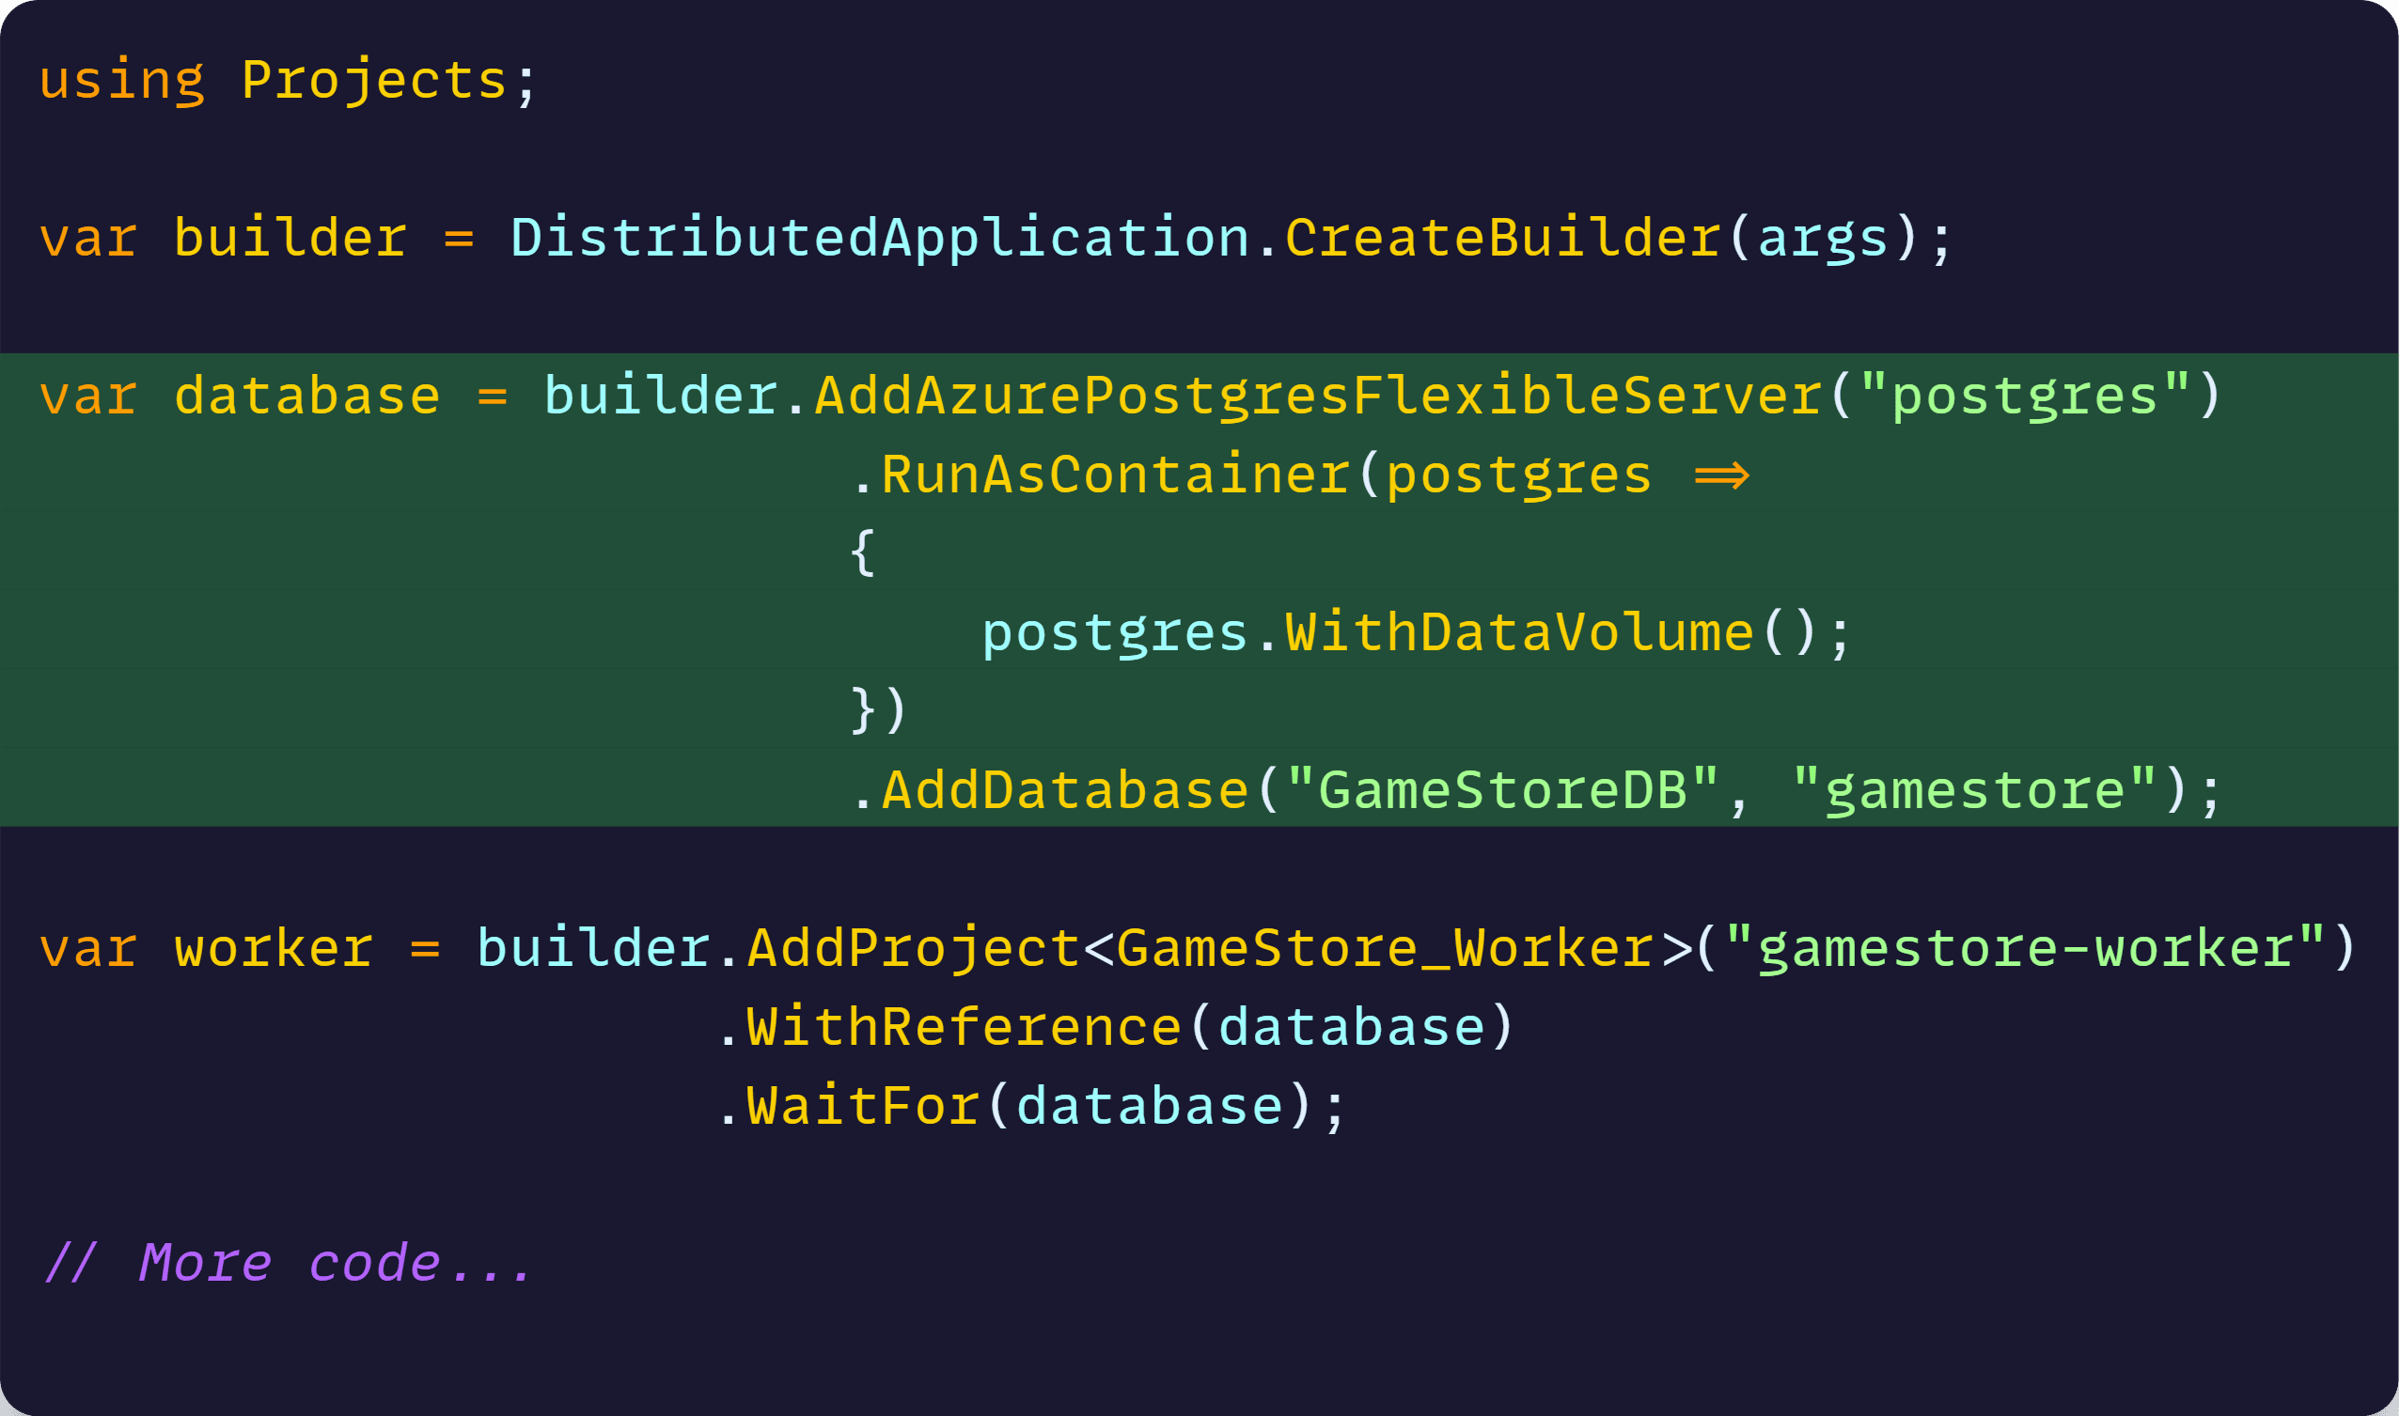
Notice how we don’t have to change anything in our application logic, neither in the API nor the Worker. They don’t care about this change, it’s irrelevant.
Next, make sure you have the Azure Developer CLI (AZD) installed, plus access to an Azure subscription.
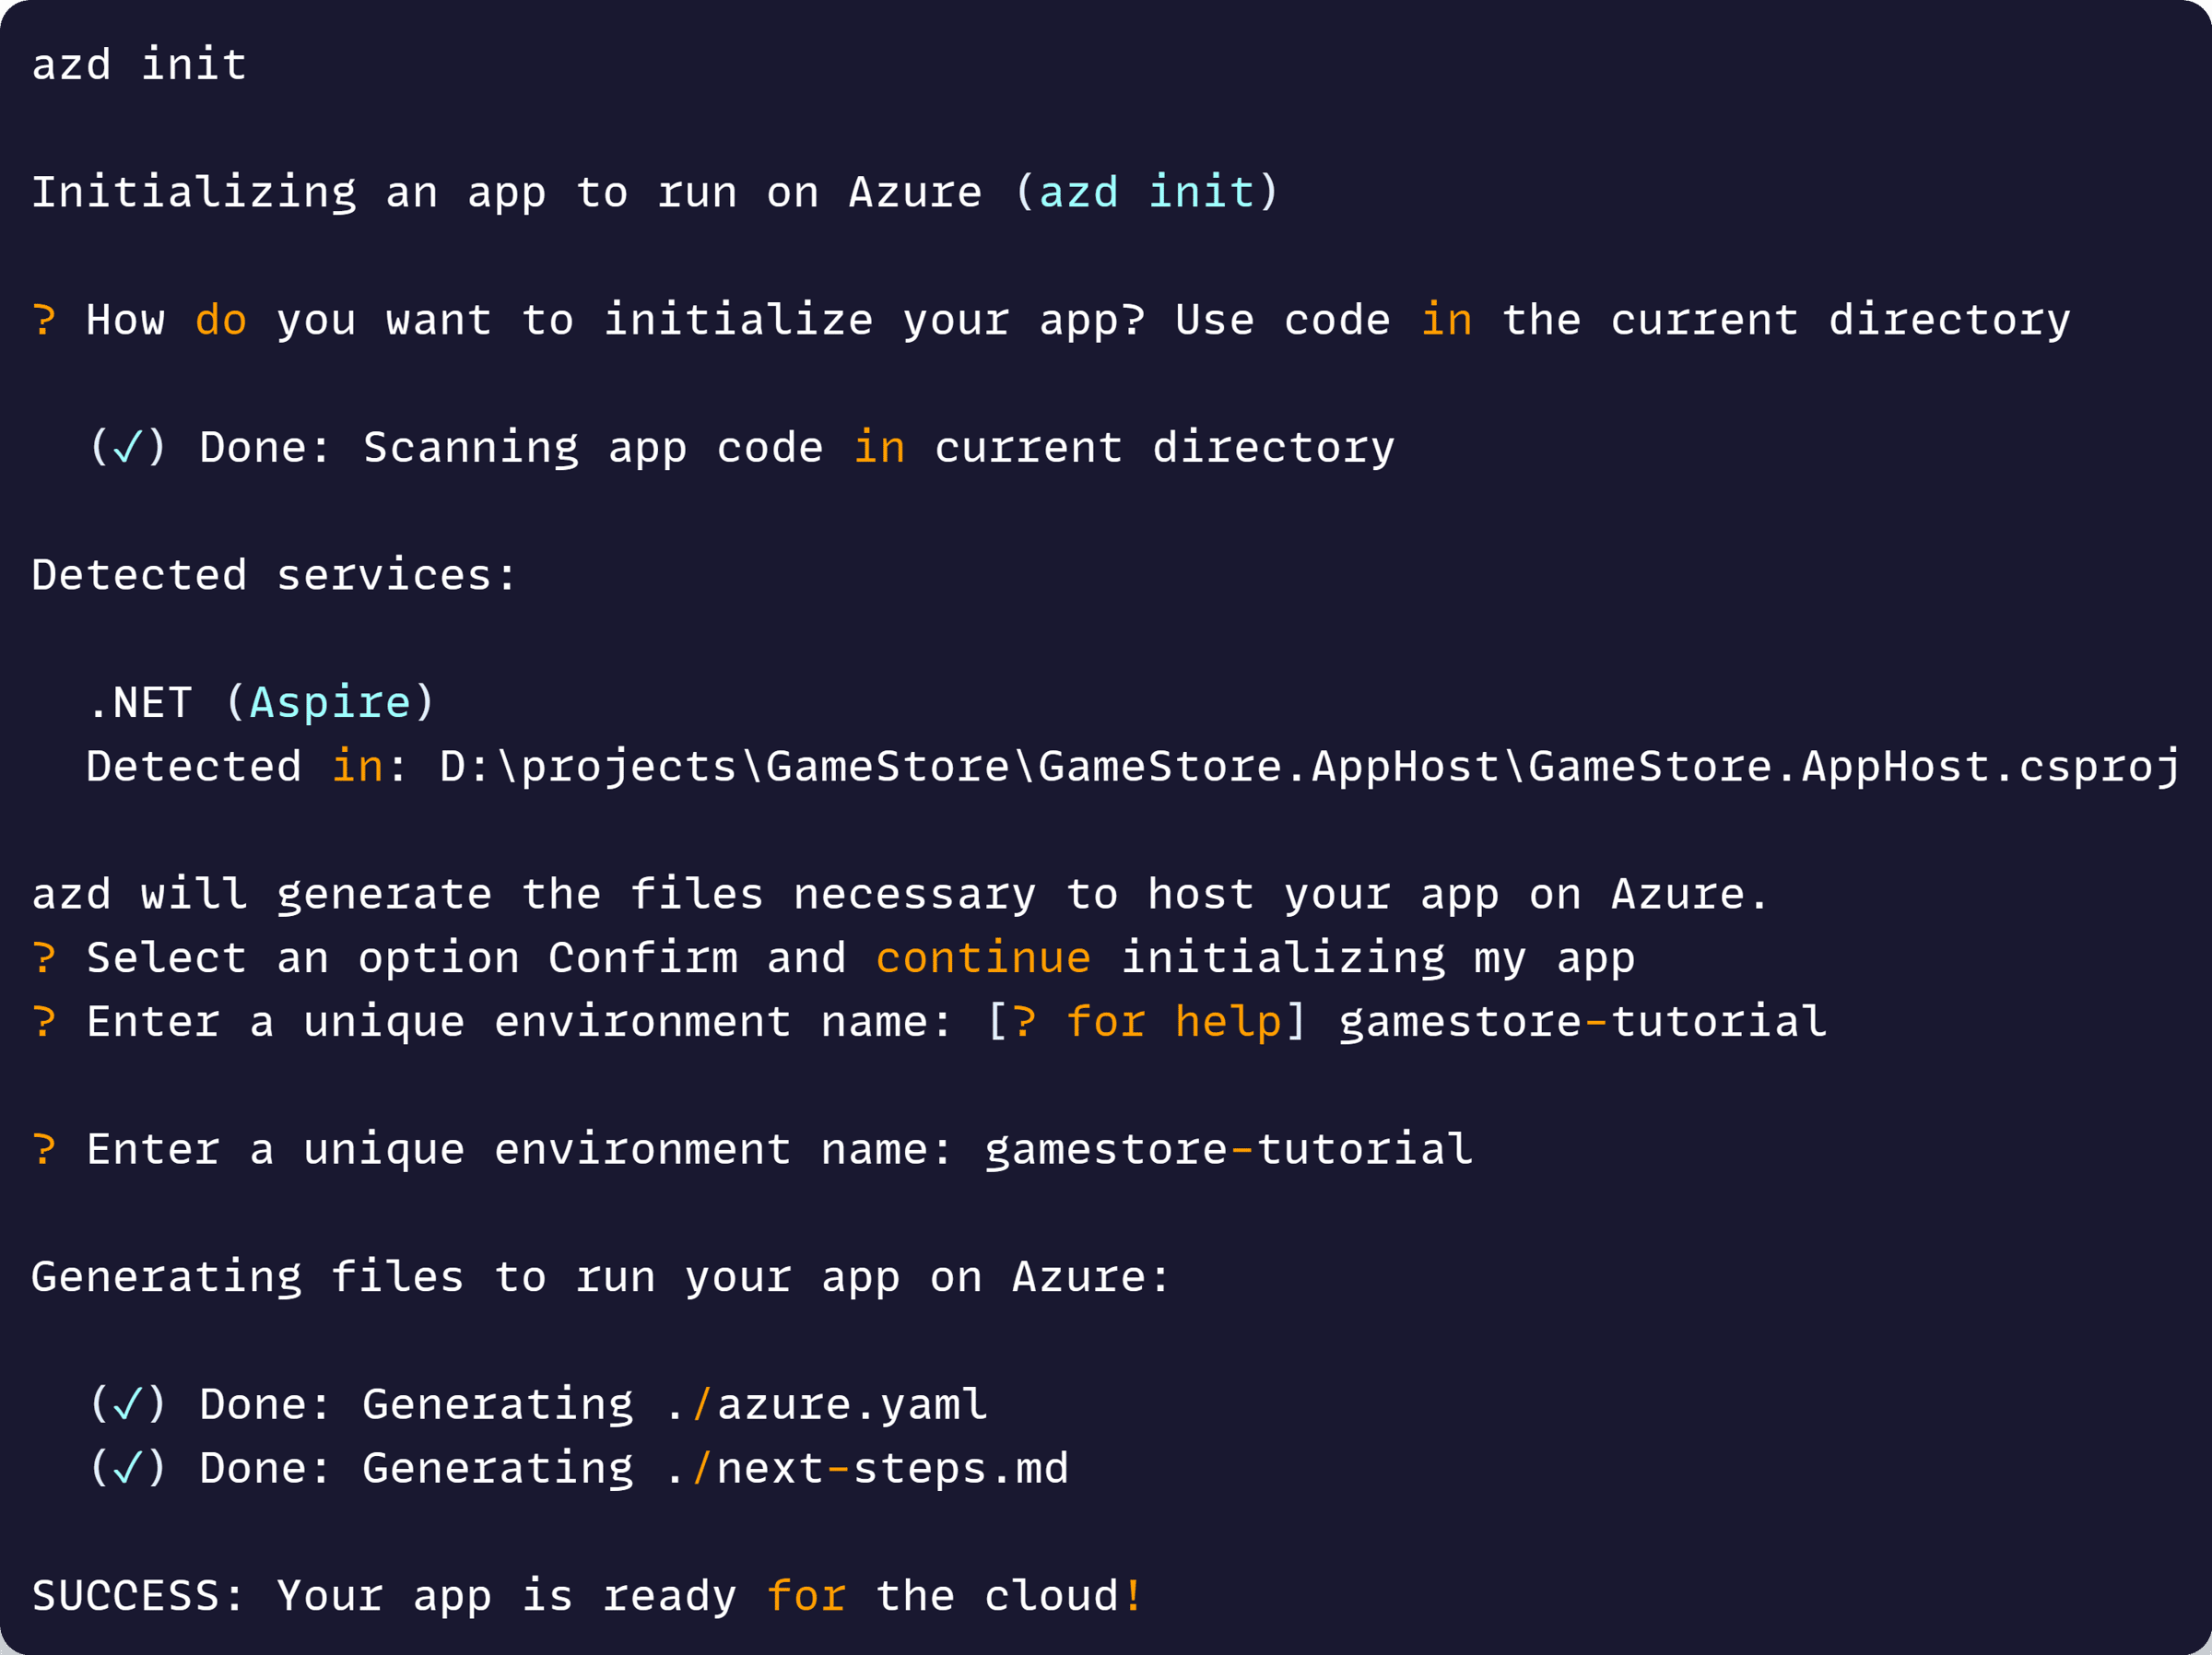
Then, open a terminal and prepare your repo for deployment with the azd init command:
Now, login to your Azure account and then kick off the provisioning of your environment with the azd up command:
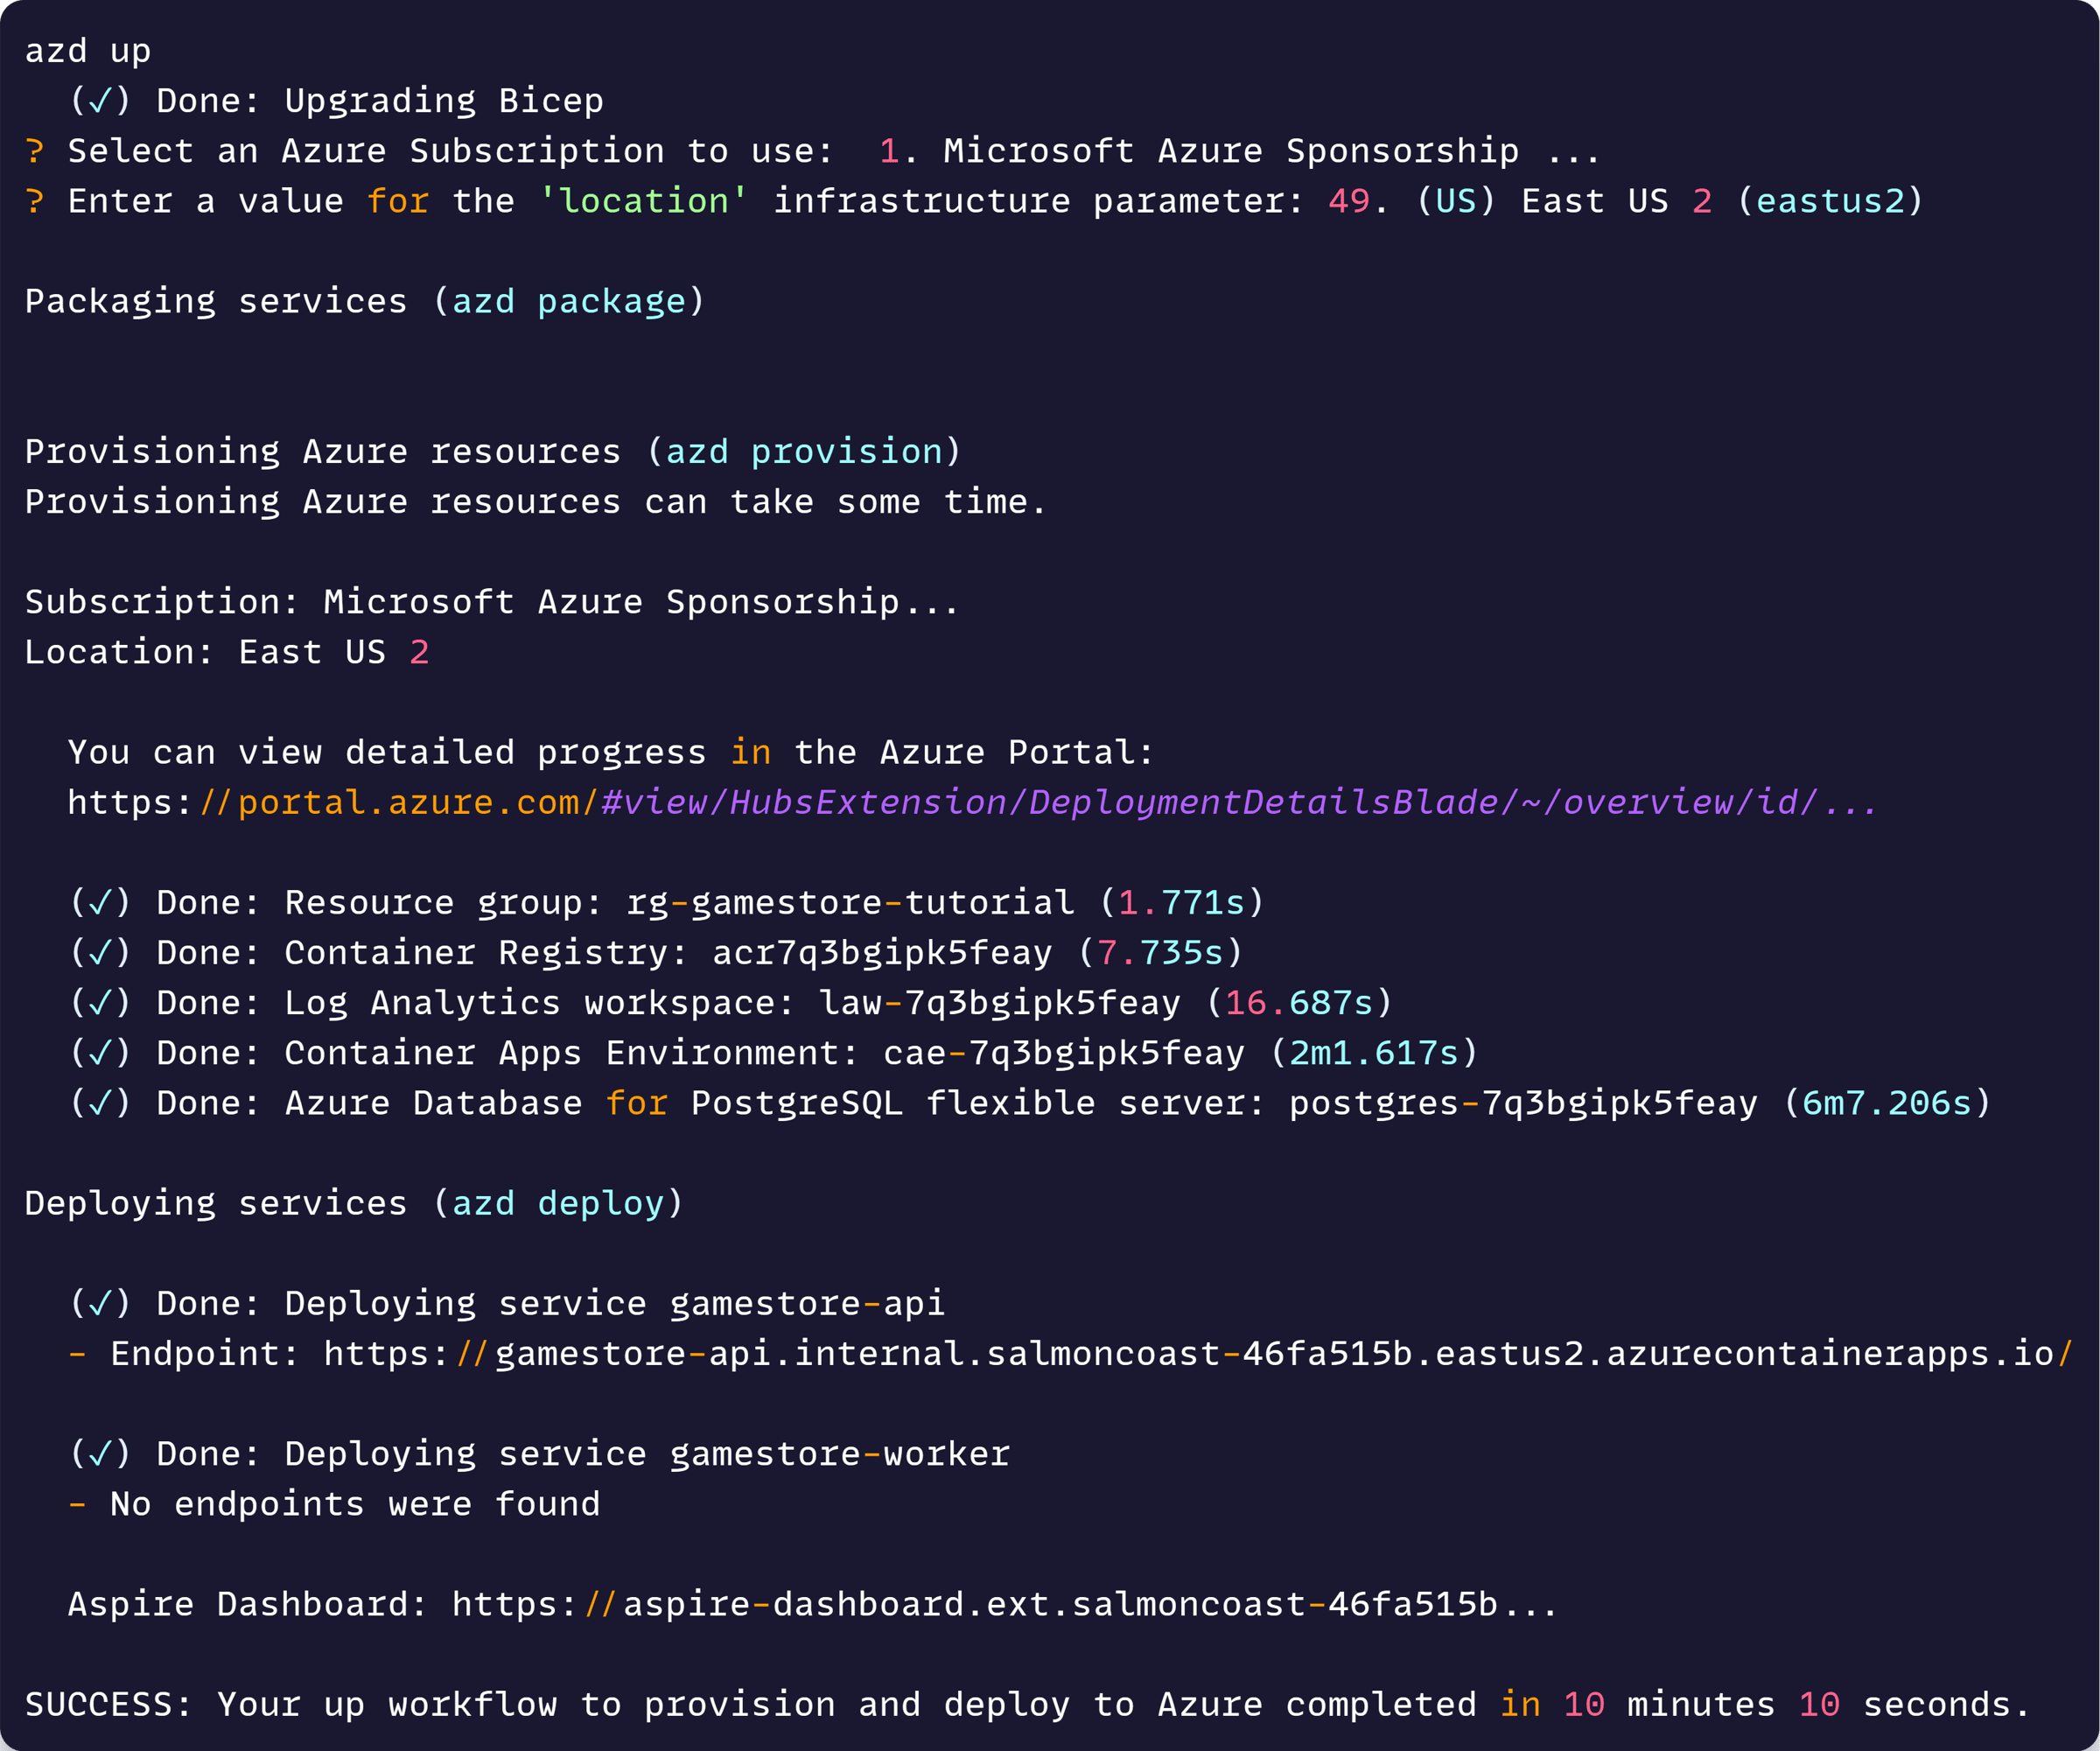
A few minutes later, we are up and running in Prod!
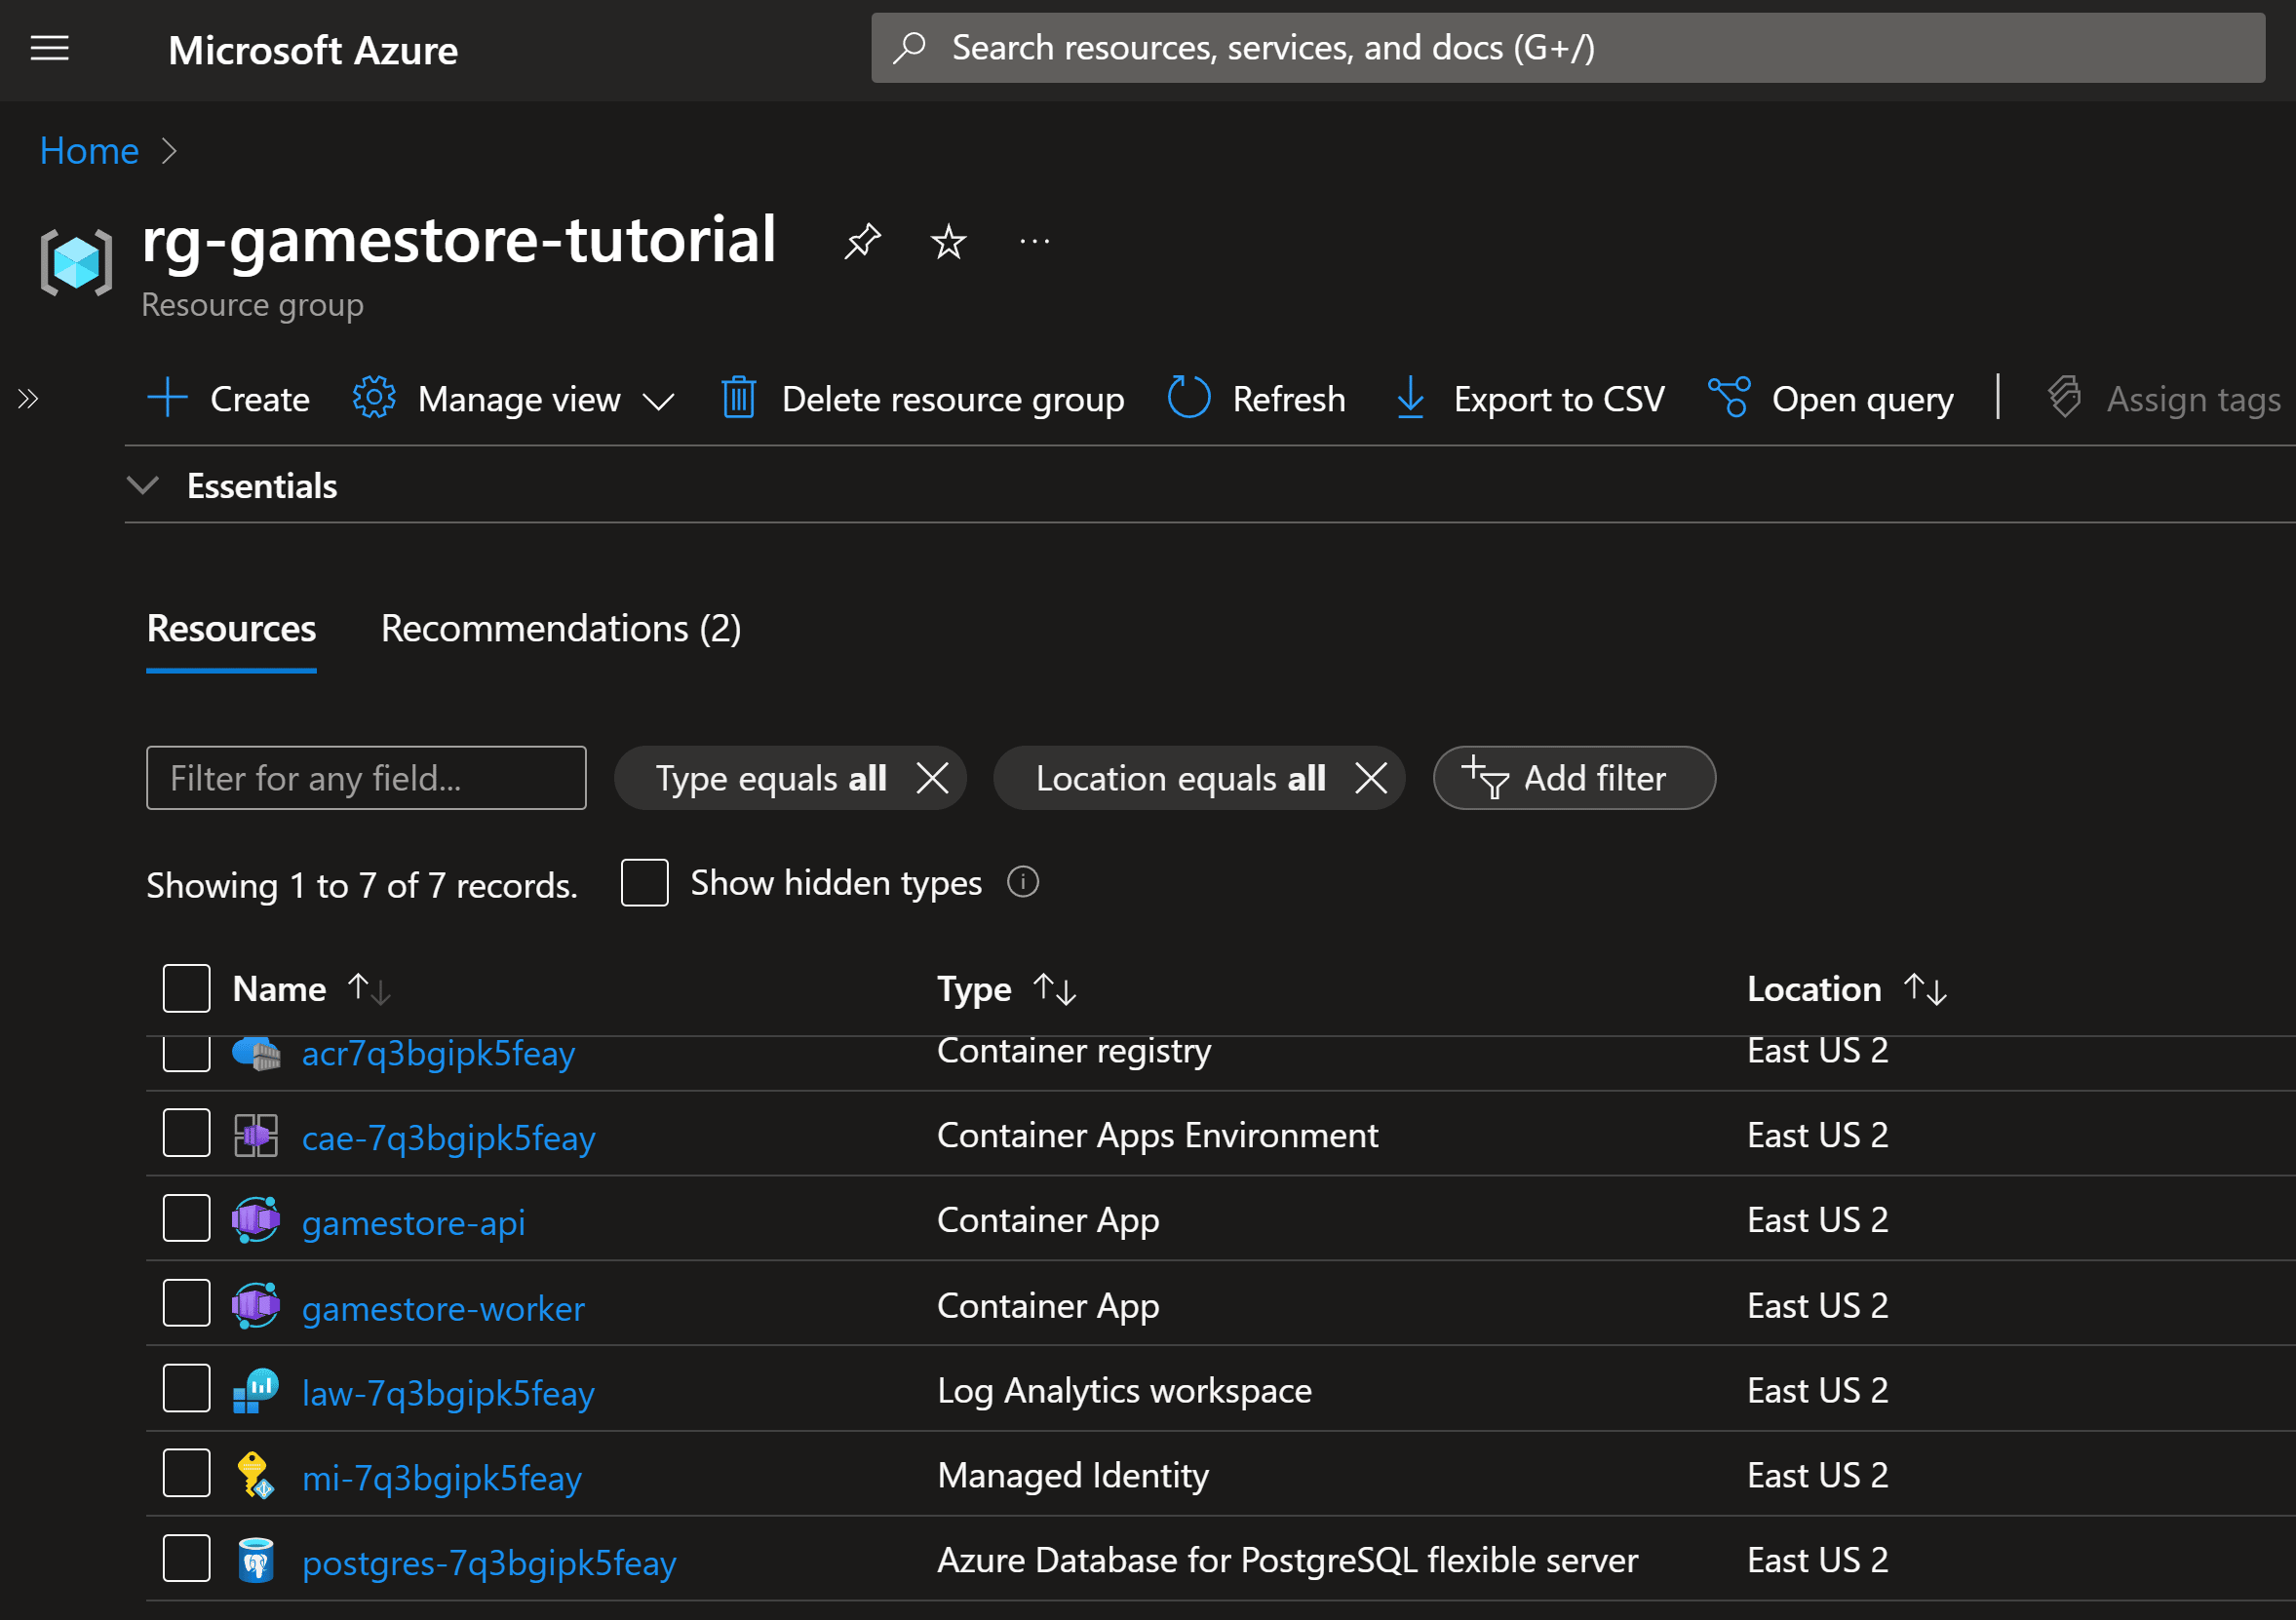
Mission accomplished!
Whenever you’re ready, here’s how I can help:
The .NET Developer Bootcamp: A complete path from ASP.NET Core fundamentals to building, containerizing, and deploying production-ready, cloud-native apps on Azure.
